EasyManuals Logo

Vertiv VRC1 Series User Manual

Vertiv VRC1 Series
70 pages
To Next Page IconTo Next Page
To Previous Page IconTo Previous Page
Page #36 background imageLoading...
Page #36 background image
24
Vertiv I VRC Self-Contained System I User Manual
4. Then connect the L-shape pipe and the reservoir. Use a cable tie to fix it.
Figure 3-18 Connect the pipe 4 and the reservoir
5. After that, condensate pump bracket part 2 should be tightened by a M5 screw. Torque=4.0 Nm (2.95
lb-ft).
Figure 3-19 Pump bracket part 2 installation
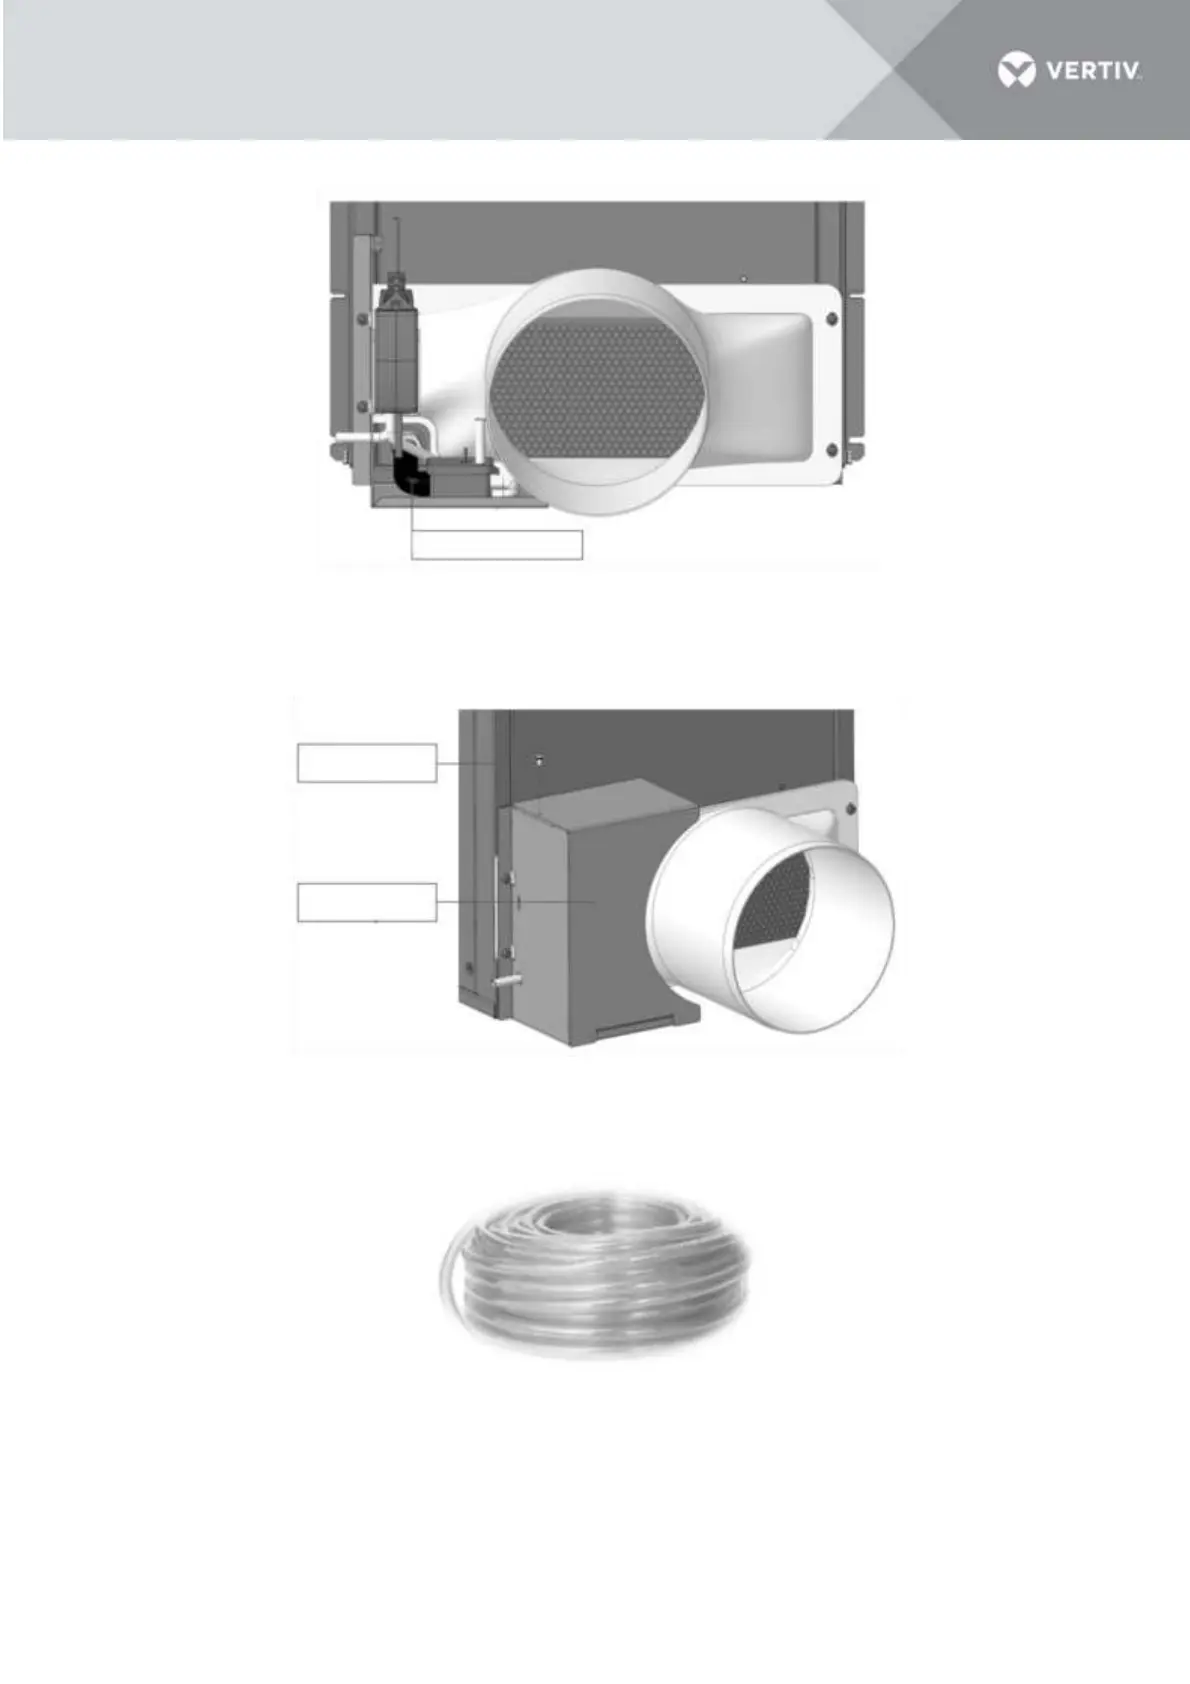
6. There are a condensate water pipe (7.5 m / 24.6 ft) in the package, which can be used to extend
drainage lines.
Figure 3-20 Anti-Siphoning device and condensate water pipe
The pump power plug can be pulled out from the gap between the pump bracket and the transition part.
In case of powering the condensate pump not through rPDU in vRack, the pump must be protected by a 1
A inline fuse upstream.
Use a cable tie to fix it
Using a screw to
install it
Condensate pump
bracket part 2

Table of Contents

Other manuals for Vertiv VRC1 Series

Questions and Answers:

Question and Answer IconNeed help?

Do you have a question about the Vertiv VRC1 Series and is the answer not in the manual?

Vertiv VRC1 Series Specifications

General IconGeneral
BrandVertiv
ModelVRC1 Series
CategoryFreezer
LanguageEnglish

Related product manuals