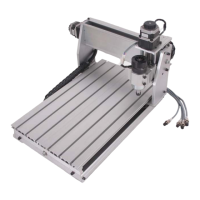
The engraving steps:
(1) Power on the drive and move the X, Y, axis to the original point by hand put the Z axis down to
the material board, distance is about 1 CM with material board
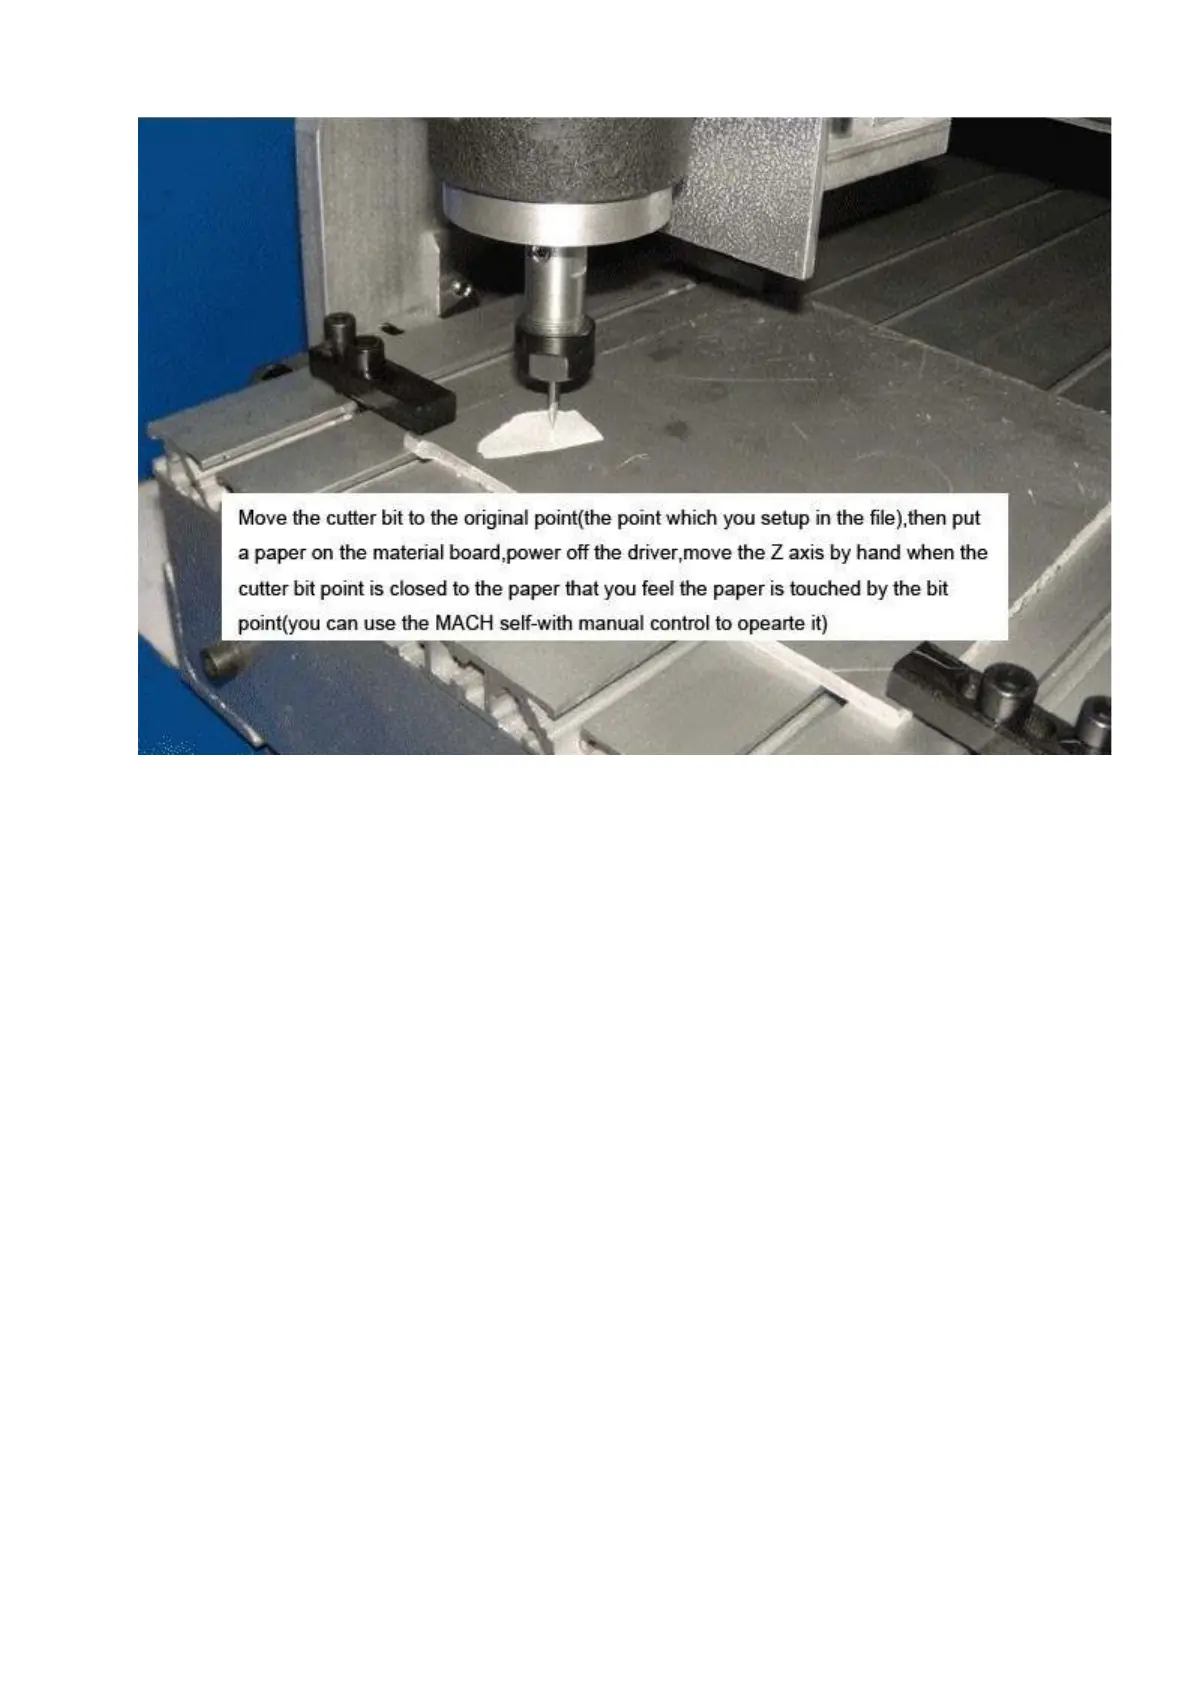
(2)Power off the drive on the control box, and put a small piece of paper on the original point and
move the Z axis by hand, and put the Z axis down, when the bit point is closed to the paper, you can
feel the paper is touched by the bit point but the bit point is not touch the material, this tool setting
tolerance is about 0.05MM(if you need more precise, you can buy a professional tool presenter)
(3)After it, power the drive on the control box and all the axis will be self-locked.
(4)Make sure the spindle speed regulator is in the safe position and power on the spindle and move
the speed regulator slowly, for the first time you can move it to highest speed(the biggest point around
the speed regulator)to check whether the full speed running of the spindle is fine.
(5)Make sure you wear the face mask(at least cover for the eye protection),then click the “Alt-R” to
engrave in MACH3.
Remark:During the machine is working, if something emergency happens, please press the E-stop
button on the control box or Click the E-stop button in the Mach 3.
4.To know the engraving bits in common use
(1)ACRYLIC cutting process,we suggest use one spiral flute bits,its advantage is no smoke no
smell,high speed,high efficiency,non-stick powder,thin lay of cutting,smooth surface material board,if
the material is thin ACRYLIC like as 2-3mm thickness,two spiral flute bits or straight bits are suitable
too
(2)Aluminum board cutting process,we suggest use one spiral flute bits for aluminium,non-stick,high