66250203 - V4.4 - 15/05/22
- 15 -
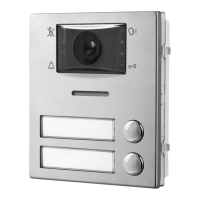
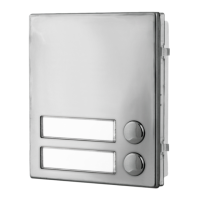
4000 Series Vandal Resistant Range
Art.4212 - Installation instructions
Flush mounting door station installation
Fig. 1 Fig. 2 Fig. 3
Fig. 4 Fig. 5
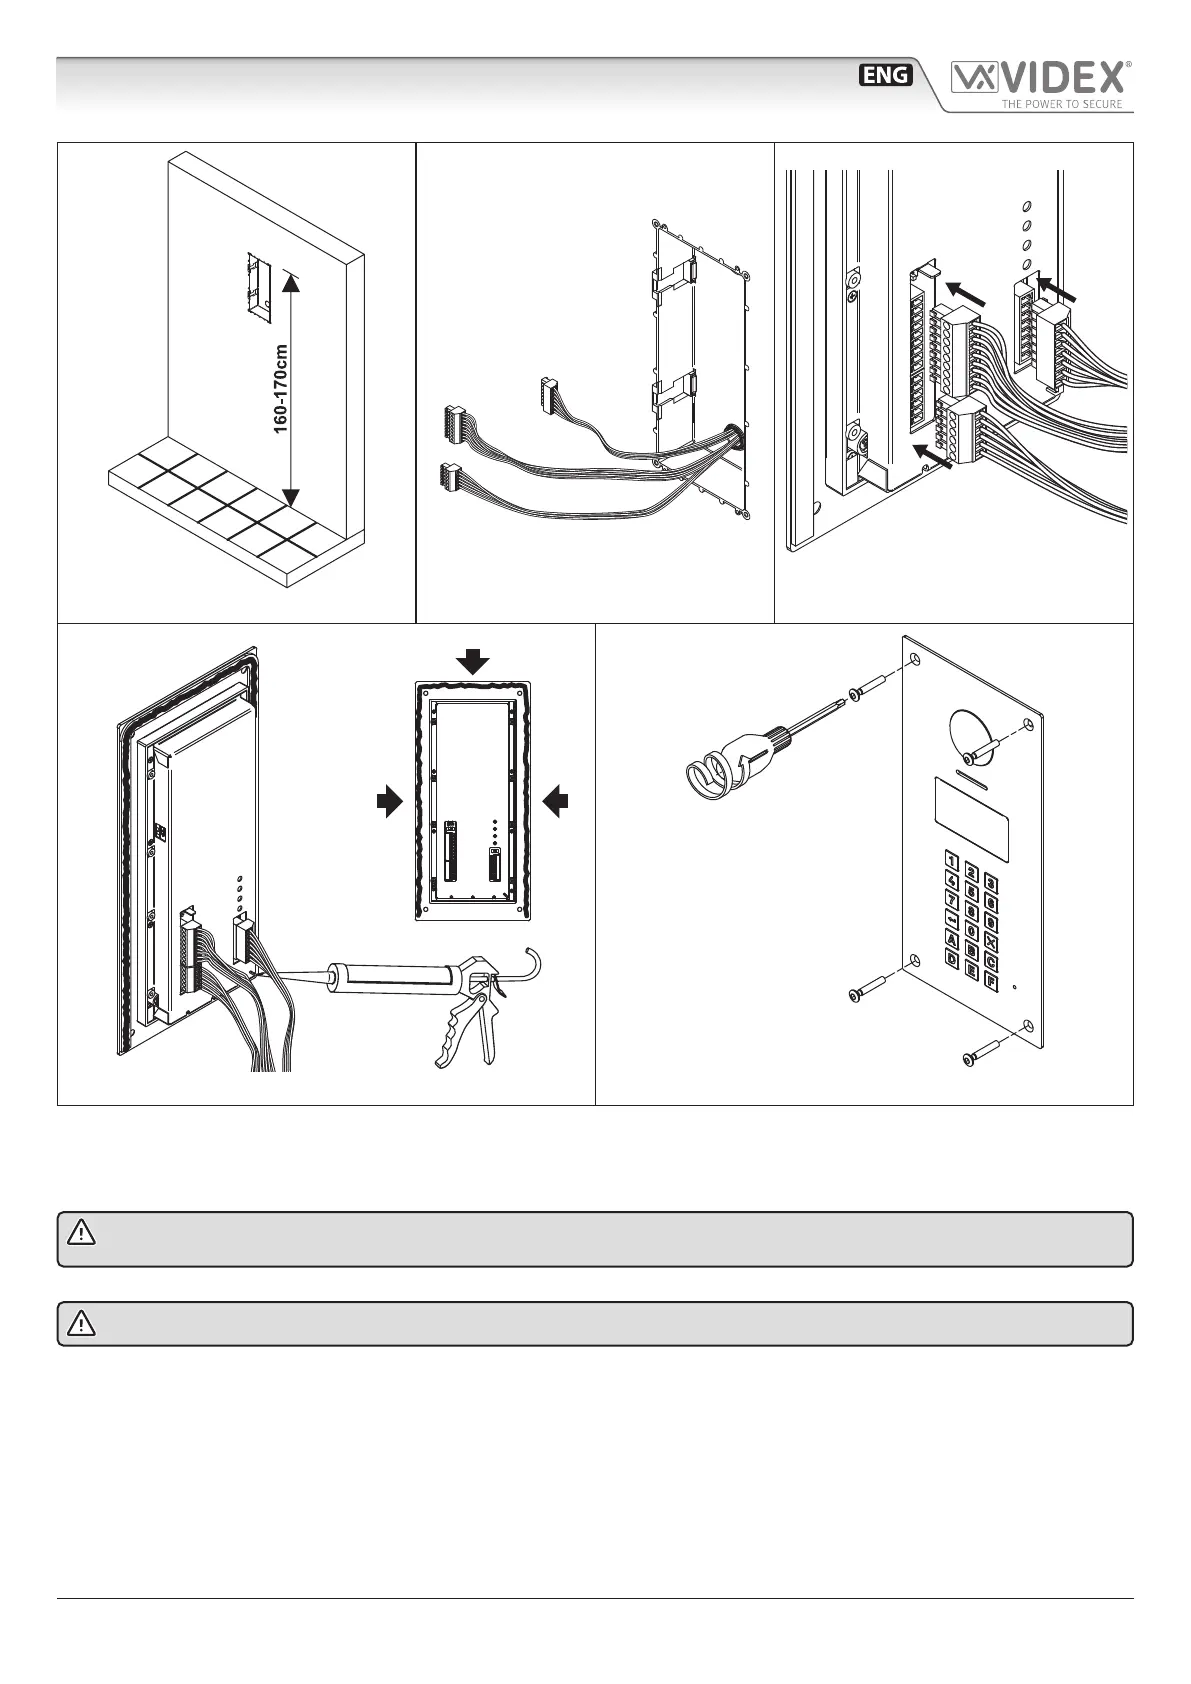
1. Embed the ush mounting box into the wall (160-170cm between the top of the box and the oor level as shown in Fig. 1) pass-
ing the cables (Fig. 2) through a cable knockout hole in the box;
2. Make all the connections on the removable terminal blocks (Fig. 2), then plug back into the panel (Fig. 3), setup the dip-switches
as per provided connection diagram or instruction sheet, then power up the system and check that it works correctly;
In order to prevent water ingress we highly recommend using a silicon sealant between the plate and the wall ON
THE LEFT, TOP AND RIGHT SIDES ONLY. DON’T USE SILICON SEALANT ON THE BOTTOM SIDE OF THE PLATE (Fig. 4);
3. Fix the plate to the ush mounting box using the screwdriver provided (torx end) and the pin machine torx screws (Fig. 5).
Do not over tighten the screws more than necessary.

 Loading...