© 2012 Viking Preferred Service
48
Service Diagnostics and Procedures Service Diagnostics and Procedures–Disassembly
To avoid risk of electrical shock, personal injury, or death, disconnect electrical power to unit before servicing.
Wires removed during disassembly must be replaced on proper terminals to insure correct earth ground and
polarization. After servicing, reconnect electrical power.
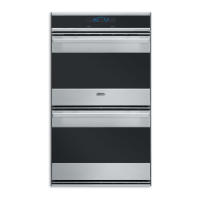
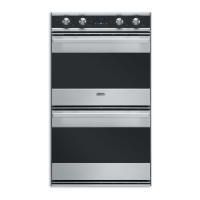
Door Lock Assembly
Note: Access to the
upper door latch
requires removal of
the main top/front
cover. Then removal
of the access cover
shown here. Access
to the lower latch will
require removal of the
oven for service.
To access door lock
assembly:
1. Remove unit from installation.
2. Open oven door.
3. Remove screws securing door lock assembly
to front frame.
Note: A string or wire should be tied to the old latch
hook so that when the new latch is replaced, the
service technician can use the wire to pull the hook
and latch through the front frame.
4. Remove rear cover (see Rear Cover
Disassembly).
5. Remove cooling fan (see Oven Cooling Fan
Disassembly).
6. Slide door lock assembly through cooling fan
opening at rear of unit.
7. Disconnect wiring.
8. Repair or replace door lock assembly as
necessary.
9. Reverse procedure to reinstall.