STEP 2: CONNECT AND CALIBRATE THE SCANNER 9
7. Select Yes on the Setup Complete window and then click Finish to
restart the computer.
8. Remove the installation CD.
THE SCANNER ICON
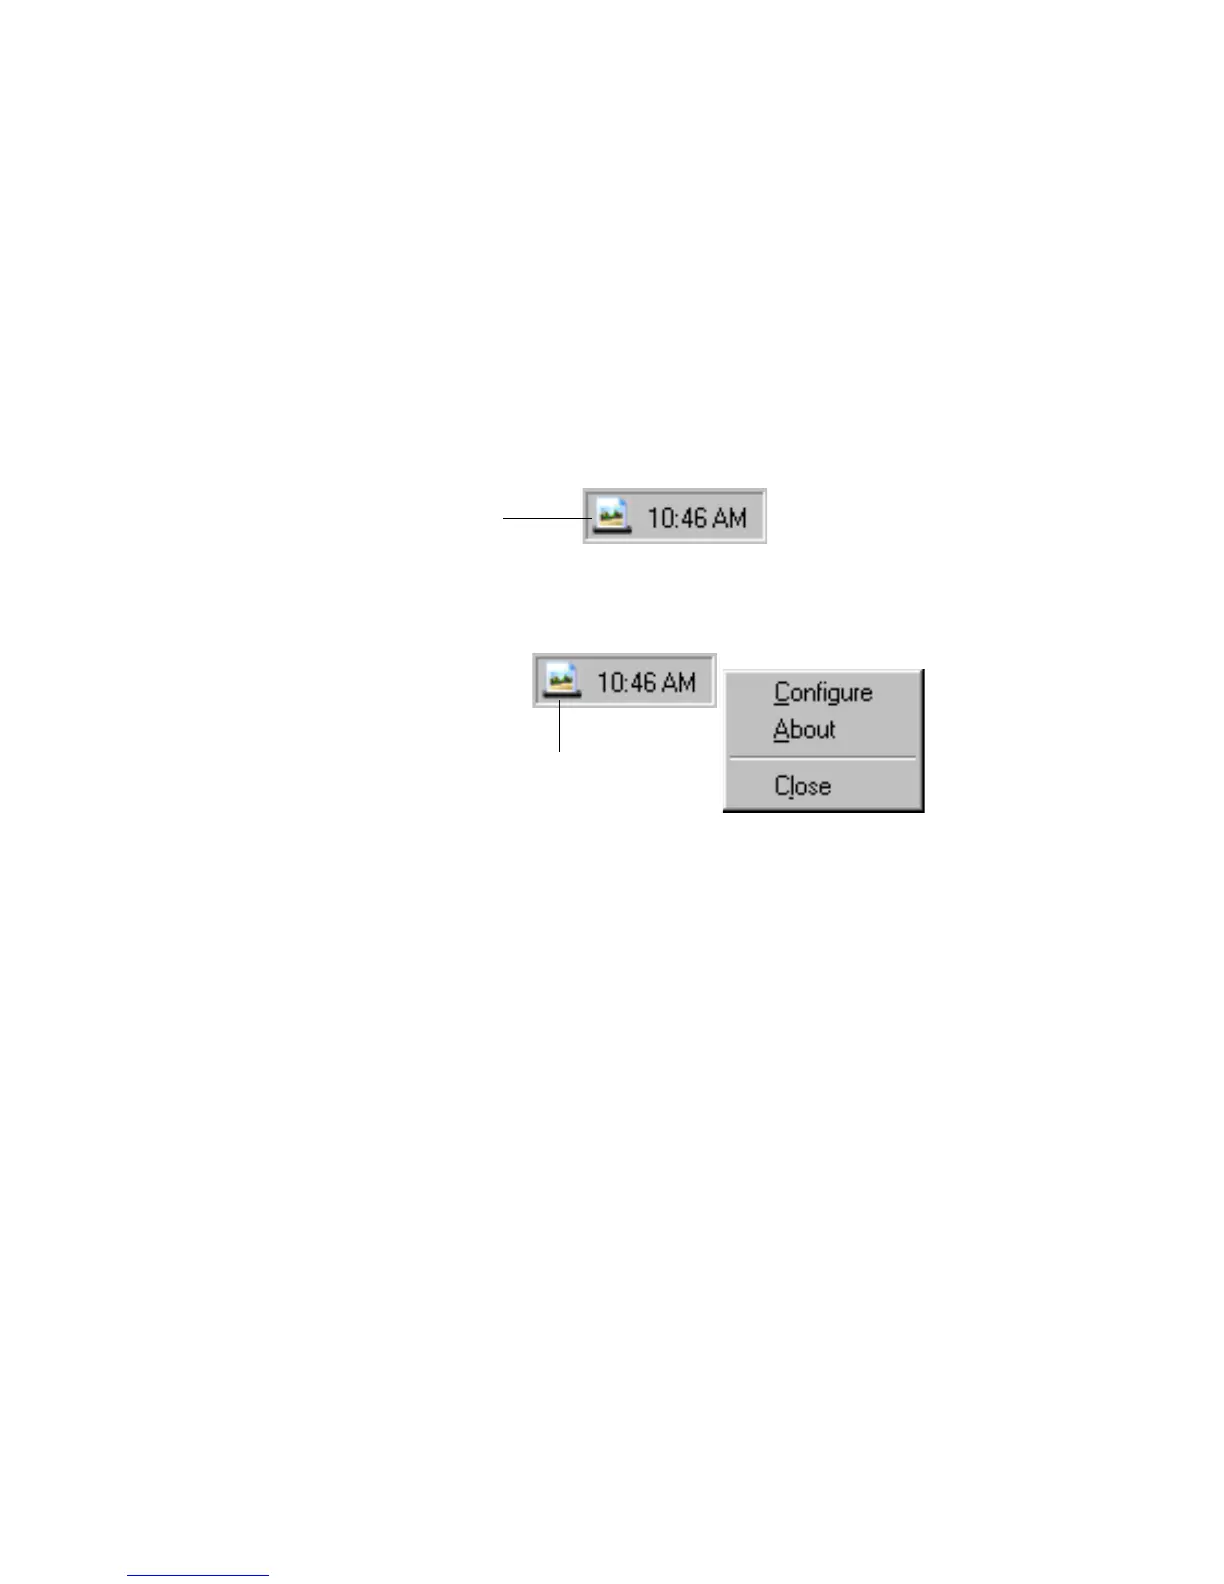
After your computer restarts you will see a Scanner icon added to the
right side of the Windows taskbar.
You can use the Scanner icon to access a dialog box to view and edit the
scan settings for your scanner, and to view basic scanner information.
To open a dialog box to view and edit scanner settings:
1. Right-click the Scanner icon, and then select Configure from the
shortcut menu.
The OneTouch Configuration dialog box opens, showing the
current settings for the scanner’s AutoScan feature. To change the
settings, see “Configuring the AutoScan Feature” on page 15.
2. Click OK to close the dialog box.
Scanner icon
Right-click the Scanner icon
to open the shortcut menu