WBV.PU.002.EN VX136Q V2.0
Table of figures
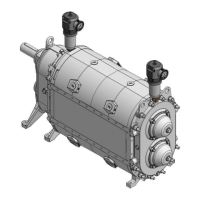
Fig. 1: Flow direction with InjectionSystem...................................................................................................... 13
Fig. 2: Name plate ........................................................................................................................................... 14
Fig. 3: Positions of the warning and safety labels ........................................................................................... 19
Fig. 4: Transport aids ....................................................................................................................................... 20
Fig. 5: Installation variants ............................................................................................................................... 22
Fig. 6: Long suction lines ................................................................................................................................. 24
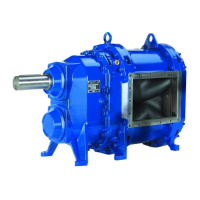
Fig. 7: Flow direction with motor drive ............................................................................................................. 25
Fig. 8: Flow direction with PTO drive ............................................................................................................... 25
Fig. 9: Flow direction with pump units ............................................................................................................. 26
Fig. 10: Tightening sequence .......................................................................................................................... 27
Fig. 11: Orientation procedure ......................................................................................................................... 29
Fig. 12: Coupling guard ................................................................................................................................... 30
Fig. 13: Vent screw on the gearbox (removing the seal) ................................................................................. 33
Fig. 14: Buffer fluid tank ................................................................................................................................... 41
Fig. 15: Draining/filling the buffer chamber ...................................................................................................... 42
Fig. 16: Pump with quenching fluid tank .......................................................................................................... 44
Fig. 17: Pump with pressure valve .................................................................................................................. 45
Fig. 18: Installation example - dry buffer chamber .......................................................................................... 48
Fig. 19: Flushing operation .............................................................................................................................. 49
Fig. 20: Gear oil change .................................................................................................................................. 51
Fig. 21: Opening/closing the Q cover .............................................................................................................. 57
Fig. 22: Rotary lobe change............................................................................................................................. 58
Fig. 23: HiFlo and HiFloplus arrangement ....................................................................................................... 59
Fig. 24: Position of pressure disc and spring washer ...................................................................................... 60
Fig. 25: Lobe puller components ..................................................................................................................... 60
Fig. 26: Hooking puller arm into lobe ............................................................................................................... 61
Fig. 27: Pulling out the lobes with lobe puller .................................................................................................. 61
Fig. 28: Installation position of the curved wear plates .................................................................................... 62
Fig. 29: Cartridge mechanical seal on the gearbox ......................................................................................... 64
Fig. 30: Adjustment of pump housing segments ............................................................................................. 65
Relevant documents
• Dimension sheet / drawing
• Characteristic line
• EC declaration of conformity
Optional:
• Technical information on drive system
• Technical information on safety devices
Please read and adhere to the information and instructions in the relevant documents.