9 vwr.com I Instruction manual VWR
®
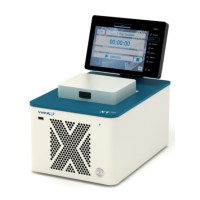
PCR Cycler XT
96
Before first use, ensure that the voltage requirements of the PCR Cycler exactly match your local AC
power supply. Connect the PCR Cycler to the AC power supply only by the AC power cord delivered
with your PCR Cycler XT. Only connect the PCR Cycler XT to electric power systems with an earth
conductor.
The AC power inlet is located at the rear of the Cycler. To disconnect the cycler
from the AC power supply, remove the AC power cord from the AC power inlet. The
accessibility of the AC power inlet must be not hindered or obscured in any way.
If a service is required, contact your local distributor or the manufacturer (see "TECHNICAL SERVICE
AND ORDER INFORMATION", page 36).
The serial number of the PCR Cycler is located underneath the instrument. Unauthorised work on the
device voids the warranty.
The surface of the device should be decontaminated with a lint-free cloth soaked with 70% ethanol
before sending. Please fill in and sign the decontamination certificate and send it to the
manufacturer together with the device.
For safety reasons the device must be switched off and the mains plug pulled before cleaning is
performed!
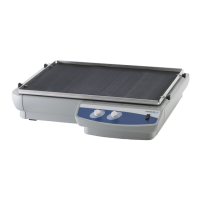
INSTALLATION OF THE PCR CYCLER XTENDER
96
The VWR thermal cycler XTender
96
is a fully equipped PCR Thermal cycler without a Touch screen, the
ideal device controlled by a PC or from another XT
96
Thermal cycler.
To connect multiple XTender
96
Thermal Cyclers, you need:
- An Ethernet cable for each XTender
96
Thermal Cycler
- A network or an external network router (DHCP server is required)
Please ask your network administrator for the required settings.
Set up the Connections
1. Connect the Ethernet cable to the back of the thermal cycler and connect the other end of the
cable to the network.
2. Repeat step 1 for each thermal cycler.
3. Power on the XTender
96
thermal cycler.
4. Plug the “Network Configuration USB-Stick” into an USB port of the XTender
96
thermal cycler.
Note: For each XTender
96
thermal cycler, a new “XT96ConfigFile” file must be created.
5. The XTender
96
Thermal Cycler will recognize the USB stick and set up the network configuration
automatically. After finalization, the instrument will switch of.
6. Remove the “Network Configuration USB-Stick” from the USB port of the XTender
96
.
7. Power on the XTender
96
thermal cycler
8. Follow the instructions in “Remote Control” on page 33 and 34 of the manual to enable a
remote control from a XT
96
Thermal cycler or from a PC.