Headstage preparation
Using the proper handling precautions described above, connect the headstage cable
connector into the rear panel probe receptacle and connect the I
m
output BNC to an oscilloscope.
The headstage probe normally requires a grounded enclosure (Faraday cage) to shield it from
50/60 Hz line interference.
The shield should be grounded to the (black) circuit ground jack on the rear of the PC-505B
chassis. Place the headstage into the shield enclosure and run the grounding cable to the
amplifier in the same bundle as the headstage cable.
NOTE: As a general rule, cables and wires running to the same location should be bundled to
minimize stray capacitances.
Test Procedures
To perform the following tests of the instrument you will need these tools and components.
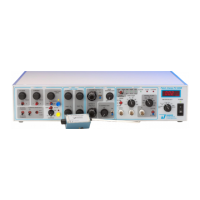
• The PC-505B amplifier
• The headstage mounted into a shielded enclosure
• An oscilloscope with BNC cables
• An adjustable DC voltage source
• The model cell shipped with the instrument
Initial connections
Place the amplifier on a counter and make the following connections between the
instrument and oscilloscope.
1. Connect the I
m
output BNC on the instrument front panel to the oscilloscope.
2. Connect the DC voltage source to the COMMAND IN BNC on the instrument rear
panel.
3. Connect the headstage to the amplifier and place the headstage into the shielded
enclosure (Faraday cage). Do not make attachments to the headstage inputs at this
time. Insure that the Faraday cage is grounded as described above.
4. Plug the amplifier, voltage source, and oscilloscope in.
5. Power up the voltage source and oscilloscope.
Initial configuration
Set all controls on the PC-505B to the values specified in the following table. With the
exception of the power switch, this initial configuration will be used to return the amplifier
to a known condition to begin each sub–section during the instrument checkout.