16
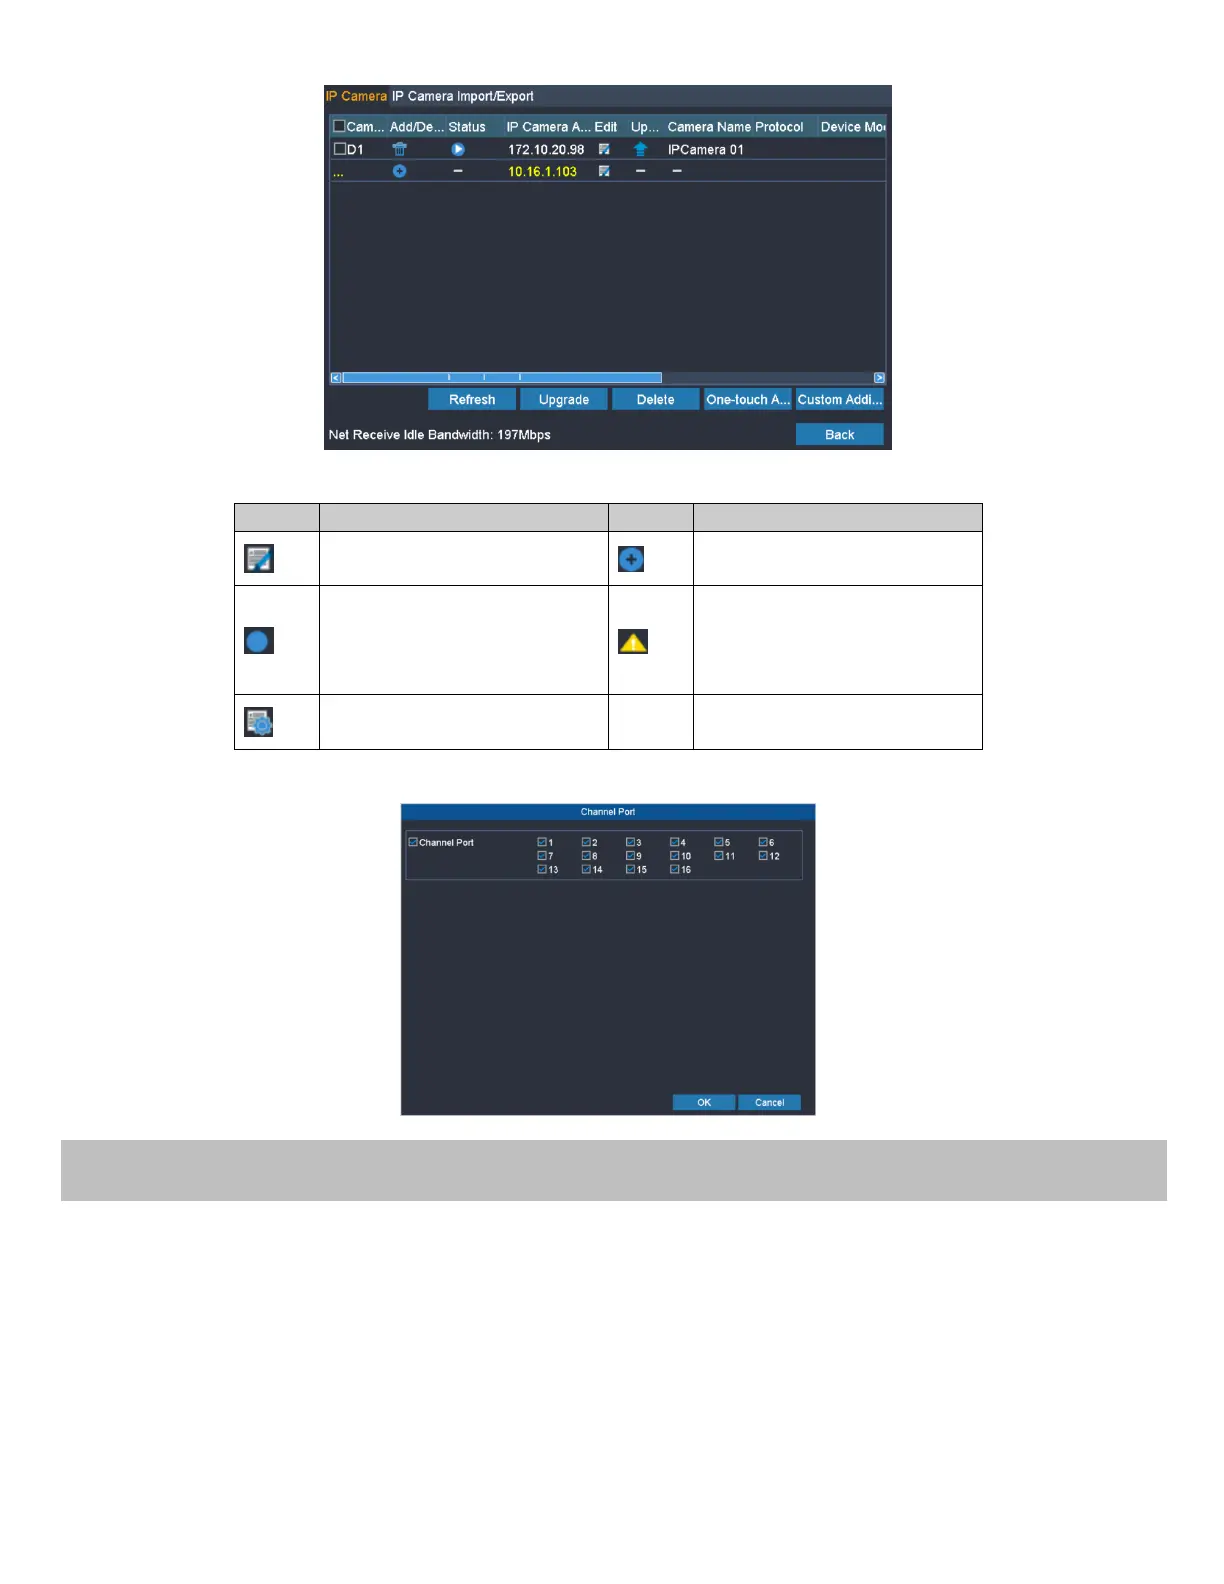
Edit basic parameters of the
camera
Add the detected IP camera.
The camera is connected; you
can click the icon to get the
live view of the camera.
The camera is disconnected;
you can click the icon to get
the exception information of
camera.
Advanced settings of the
camera.
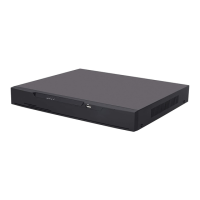
3. (For the encoders with multiple channels only) check the checkbox of Channel No. in the pop-up window, as shown in
the following figure, and click OK to finish adding.
Before you start:
Make sure that the HDD has already been installed. If not, please install a HDD and initialize it. You may refer to the user
manual for detailed information.
Note:
After rebooting all the manual records enabled are canceled.
Steps:
1. Click Remote Configuration> Camera Settings> Record Schedule to enter Record Schedule settings interface.
2. Select the camera to configure the record schedule.
3. Check the checkbox of Enable Schedule to enable recording schedule.