Thermo Pro 90 5 Faults, Troubleshooting
510
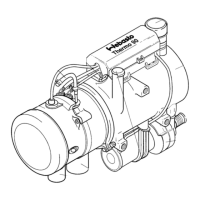
5.3 Visual inspection for evaluation of burner unit
Observe the specific features of the burner unit if it needs to
be replaced or no source of error is apparent.
The criteria for proper checking are listed in the following.
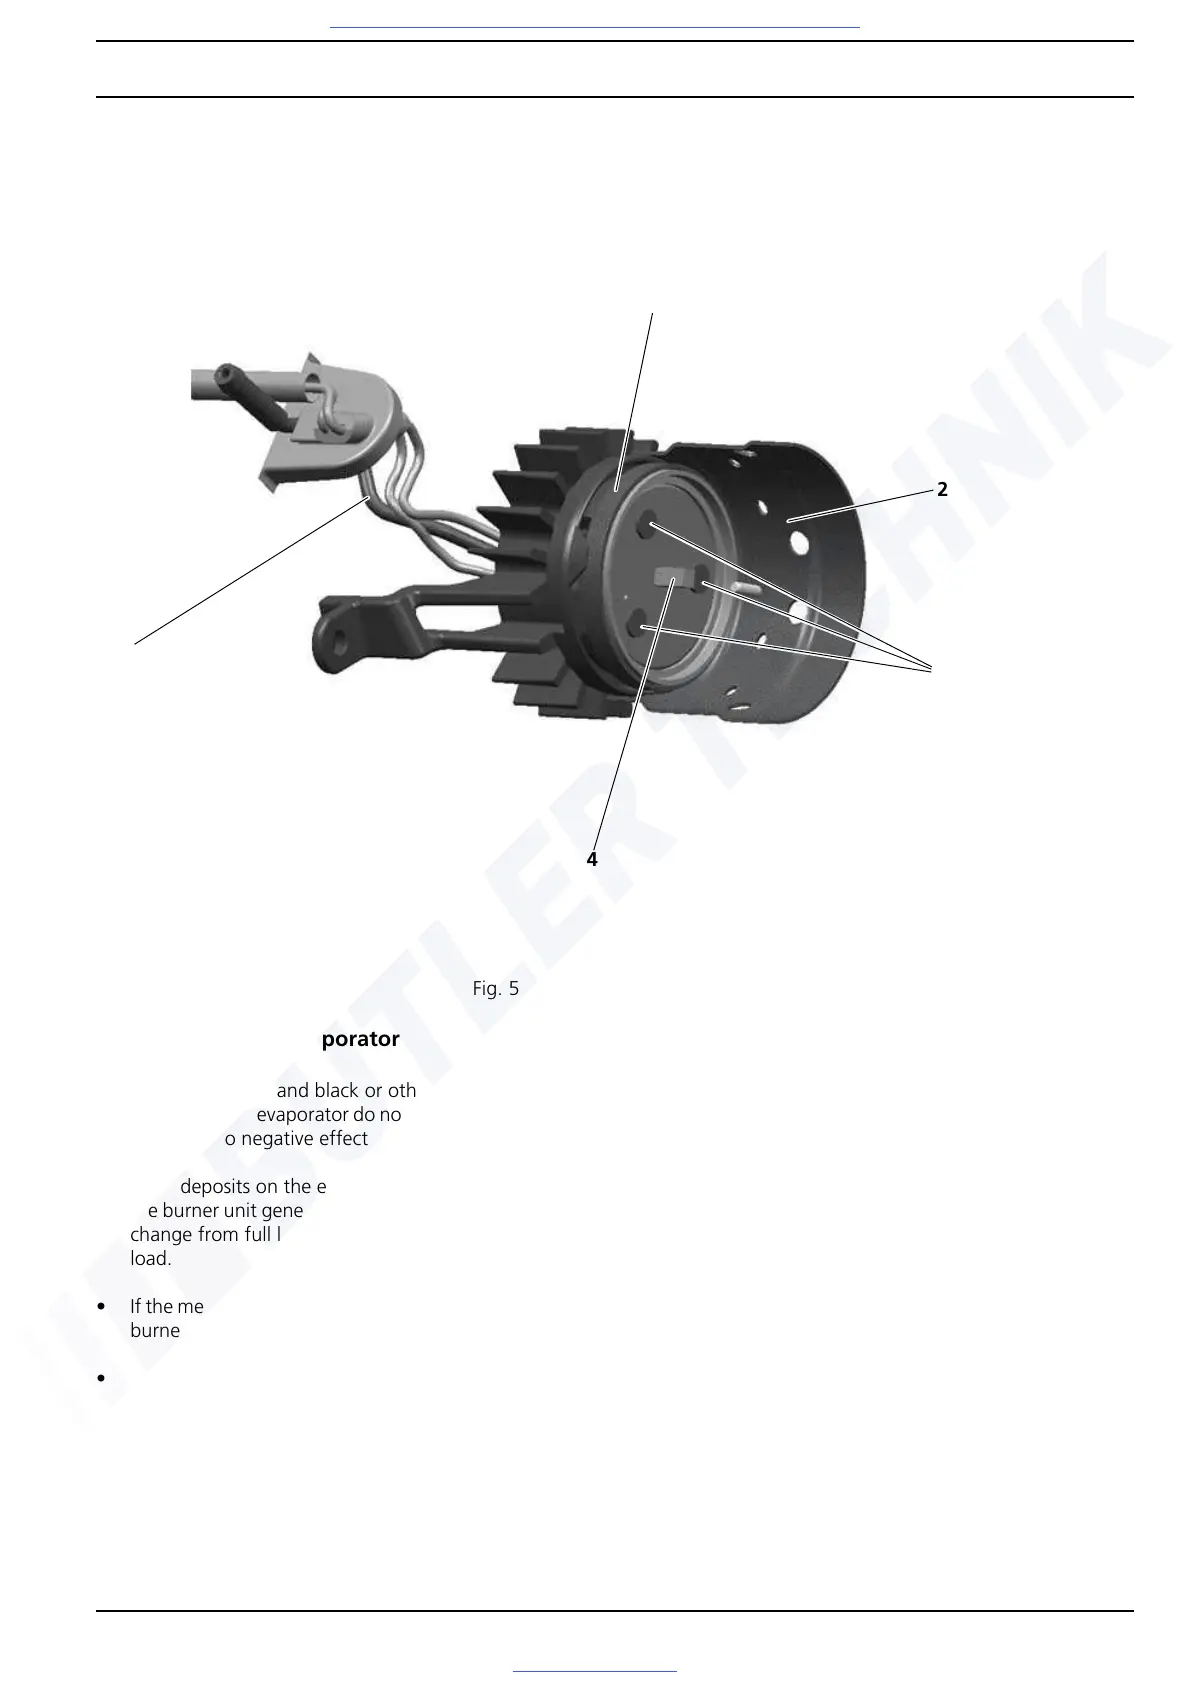
First, the burner unit is checked for completeness and
proper condition according to Fig. 504.
5.3.1 Metal fibre evaporator
• Cracks, chipping and black or other discolourations of
the metal fibre evaporator do not result in burner failure
and have no negative effect on operation.
• Coke deposits on the evaporator surface are common;
the burner unit generally cleans itself thanks to the load
change from full load/partial load and partial load/full
load.
• If the metal fibre evaporator is partially burned away the
burner unit must be replaced.
• The retaining ring is deformed. As a result, the metal
fibre evaporator is not pressed on correctly and the
burner unit must be replaced.
5.3.2 Combustion chamber
• The combustion chamber (Fig. 505) should not be
damaged (e.g. dented). A dented combustion chamber
can result in poor combustion or carbonising of the
heater.
Remedy
Replace burner unit
• The air holes (Fig. 505) in the combustion chamber may
not be clogged with coke. Air holes clogged with coke
can result in a failure to start or poor combustion.
Remedy
Carefully clear air holes by scraping
Fig. 504 Visual inspection, rear wall of burner
1) Fuel pipe with rear wall
2) Combustion chamber with
inside metal fibre evaporator
3) Fastener (3x)
4) Glow plug
1
4
2
1
3