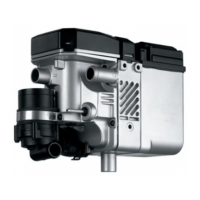
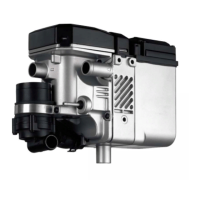
9 Maintaining and Replacing Components Thermo Pro 90
903
9.5 Replacing overheating protection
Removal
NOTE
The overheating protection may only be removed if it is
replaced with a new one.
The operating test must be carried out while installed.
1. Remove heater (see Section 8.5.1), depending on space
required.
2. Disconnect electrical connections (see Section 9.3).
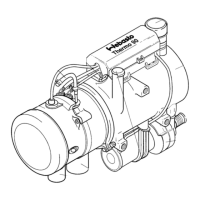
3. Remove clamp (2, Fig. 902) and pull off protective cap
(1).
4. Lever off retaining spring with screwdriver and remove
overheating protection (3).
5. Carry out measures on components when dismantled
(see Section 9.2).
Installation
IMPORTANT
Incorrect installation will result in the heat exchanger melt-
ing.
1. Insert new overheating protection (3, Fig. 902) in heat
exchanger (4) and press in retaining spring.
NOTE
The spring must be heard and felt to engage in the
groove.
Only then is the overheating protection in its proper
installation position.
If the spring is not heard and felt to engage:
• Clean contact surface of overheating protection on
heat exchanger
• Clean groove on heat exchanger
• Make sure that locking lugs are present on both
sides of spring. Replace overheating protection if
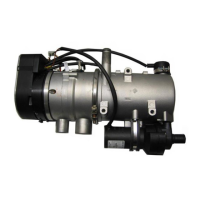
necessary. Position circulation pump (2, Fig. 901) in
assembly position and fasten with clamp (3) and
screws (4).
2. Lay on protective cap (1) and secure with clamp (2).
3. Tighten clamp to 0.5 Nm ± 20%.
4. Connect electrical connections (see Section 9.3).
5. Install heater (see Section 8.5.2) if previously removed.
9.6 Replacing coolant temperature sensor
Removal
1. Remove heater (see Section 8.5.1).
2. Disconnect electrical connections (see Section 9.3).
WARNING
Escaping hot coolant can cause burns.
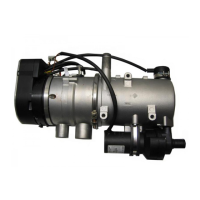
3. Screw out coolant temperature sensor (6, Fig. 902) (13
mm hexagon) and remove with round sealing ring (5).
4. Carry out measures on components when dismantled
(see Section 9.2).
Installation
1. Grease round sealing ring (5, Fig. 904) with acid-free
grease (Vaseline).
2. Screw coolant temperature sensor (6) with round seal-
ing ring (5) into heat exchanger (4) and tighten to
1.5 Nm ± 10%.
3. Connect electrical connections (see Section 9.3).
4. Install heater (see Section 8.5.2) if previously removed.