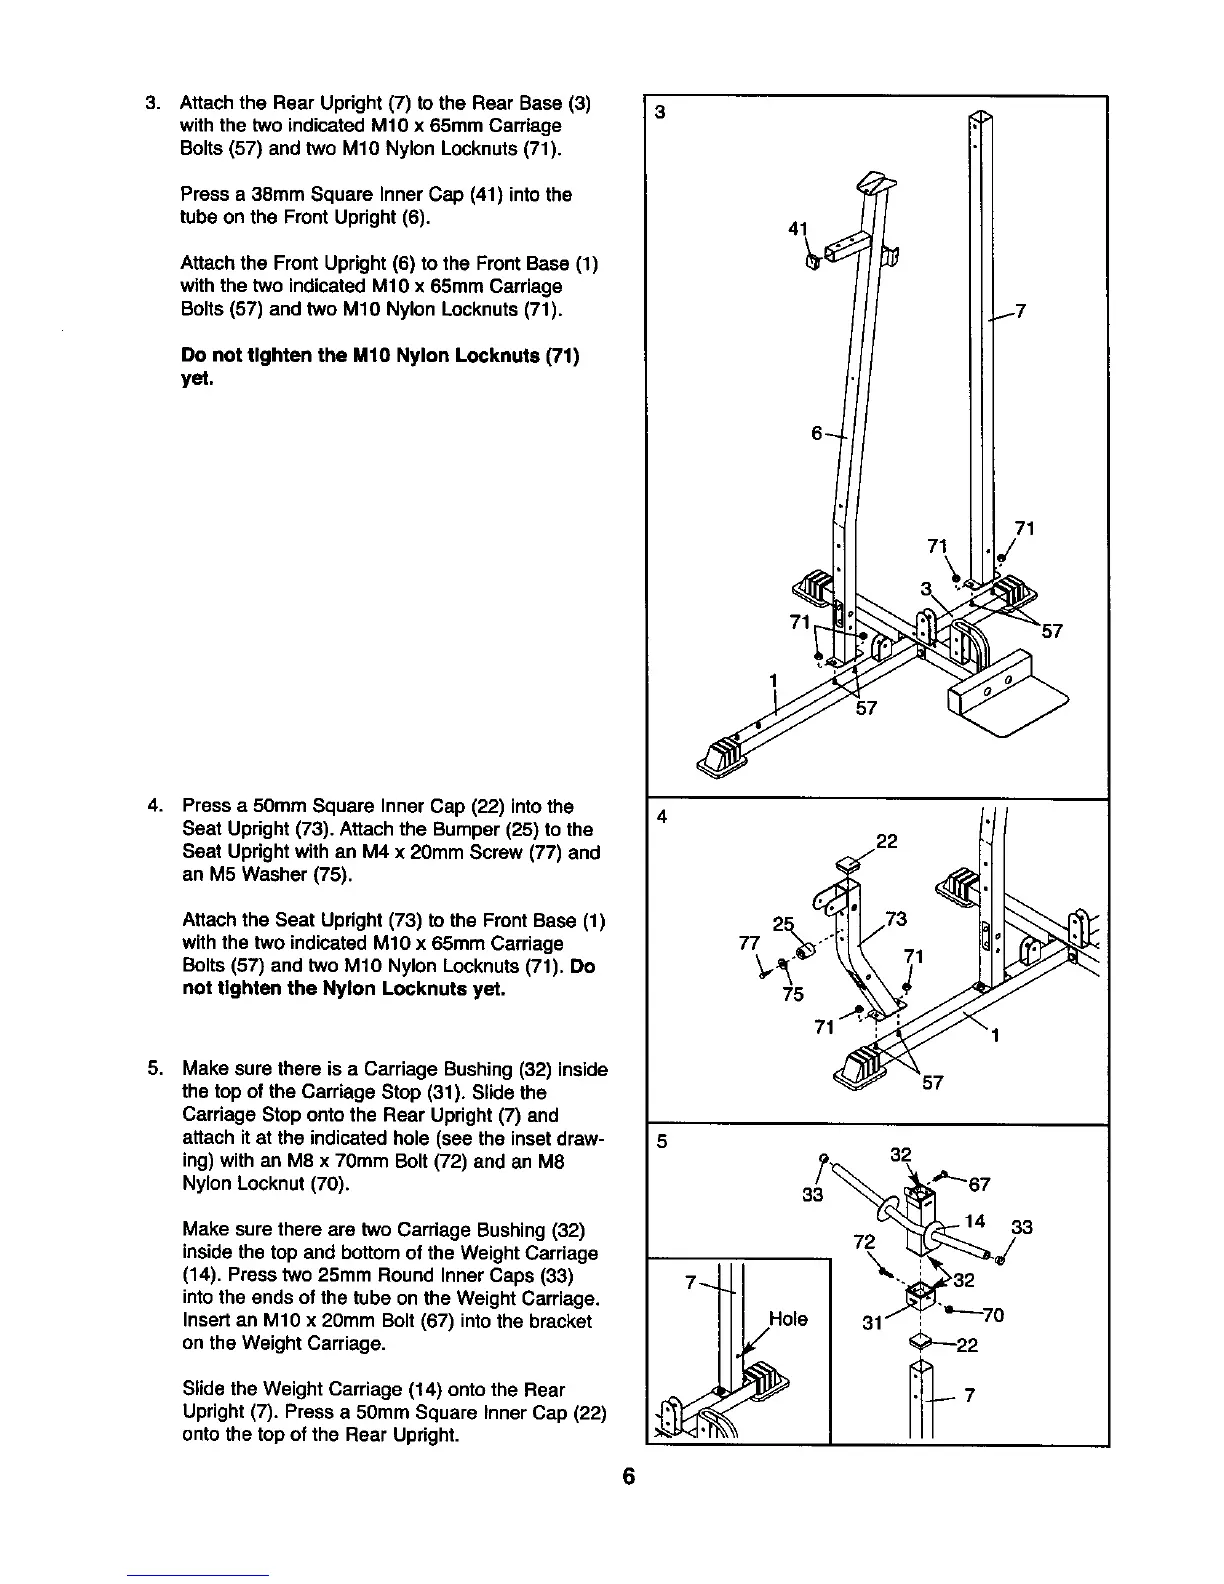
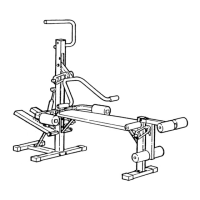
3. Attach the Rear Upright (7) to the Rear Base (3)
with the two indicatedM10 x 65mm Carriage
Bolts(57) and two M10 Nylon Locknuts(71).
Press a 38mm Square InnerCap (41) intothe
tube on the Front Upright (6).
Attachthe Front Upright (6) to the FrontBase (1)
with thetwo indicatedM10 x 65mm Carriage
Bolts(57) and two M10 Nylon Locknuts(71).
Do not tighten the MIO Nylon Locknuts (71)
yet.
4.
Press a 50mm Square Inner Cap (22) intothe
Seat Upright (73). Attachthe Bumper (25) to the
Seat Uprightwith an M4 x 20mm Screw (77) and
an M5 Washer (75).
Attachthe Seat Upright(73) to the Front Base (1)
with the two indicated M10 x 65mm Carriage
Bolts(57) and two M10 Nylon Locknuts(71). Do
not tighten the Nylon Locknute yet.
5.
Make sure there is a Carriage Bushing(32) inside
the top of the Carriage Stop (31). Slide the
Carriage Stop onto the Rear Upright(7) and
attach itat the indicatedhole (see the insetdraw-
ing) withan M8 x 70mm Bolt (72) and an M8
Nylon Locknut (70).
Make sure there are two Carriage Bushing(32)
inside thetop and bottomof the Weight Carriage
(14). Presstwo 25mm Round Inner Caps (33)
intothe ends of the tube on the Weight Carriage.
Insertan M10 x 20mm Bolt (67) intothe bracket
on the Weight Carriage.
Slide the Weight Carriage (14) ontothe Rear
Upright (7). Press a 50mm Square Inner Cap (22)
ontothe top of the Rear Upright.
4
77
5
6
71
1
57
22
75
57