Instructions for Assembly
Item number 116523-0000
We reserve the right to make technical
changes
Version 4 01.04.2014 Page 28/49
Opal Design II / Opal Design II LED
5.5.2 Installation of multi-field systems
1.
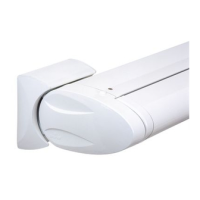
Fit wall brackets
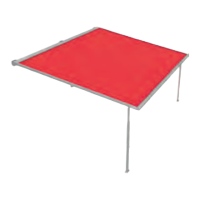
2. Attach the awning
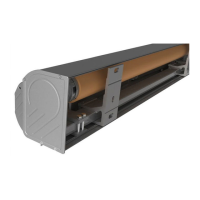
1. Mount the system with motor
onto the wall brackets and align.
2. Screw the clamping profiles
tightly together.
3. Mount the second system part
onto the brackets with a lateral
distance of 50 mm from the first
system part.
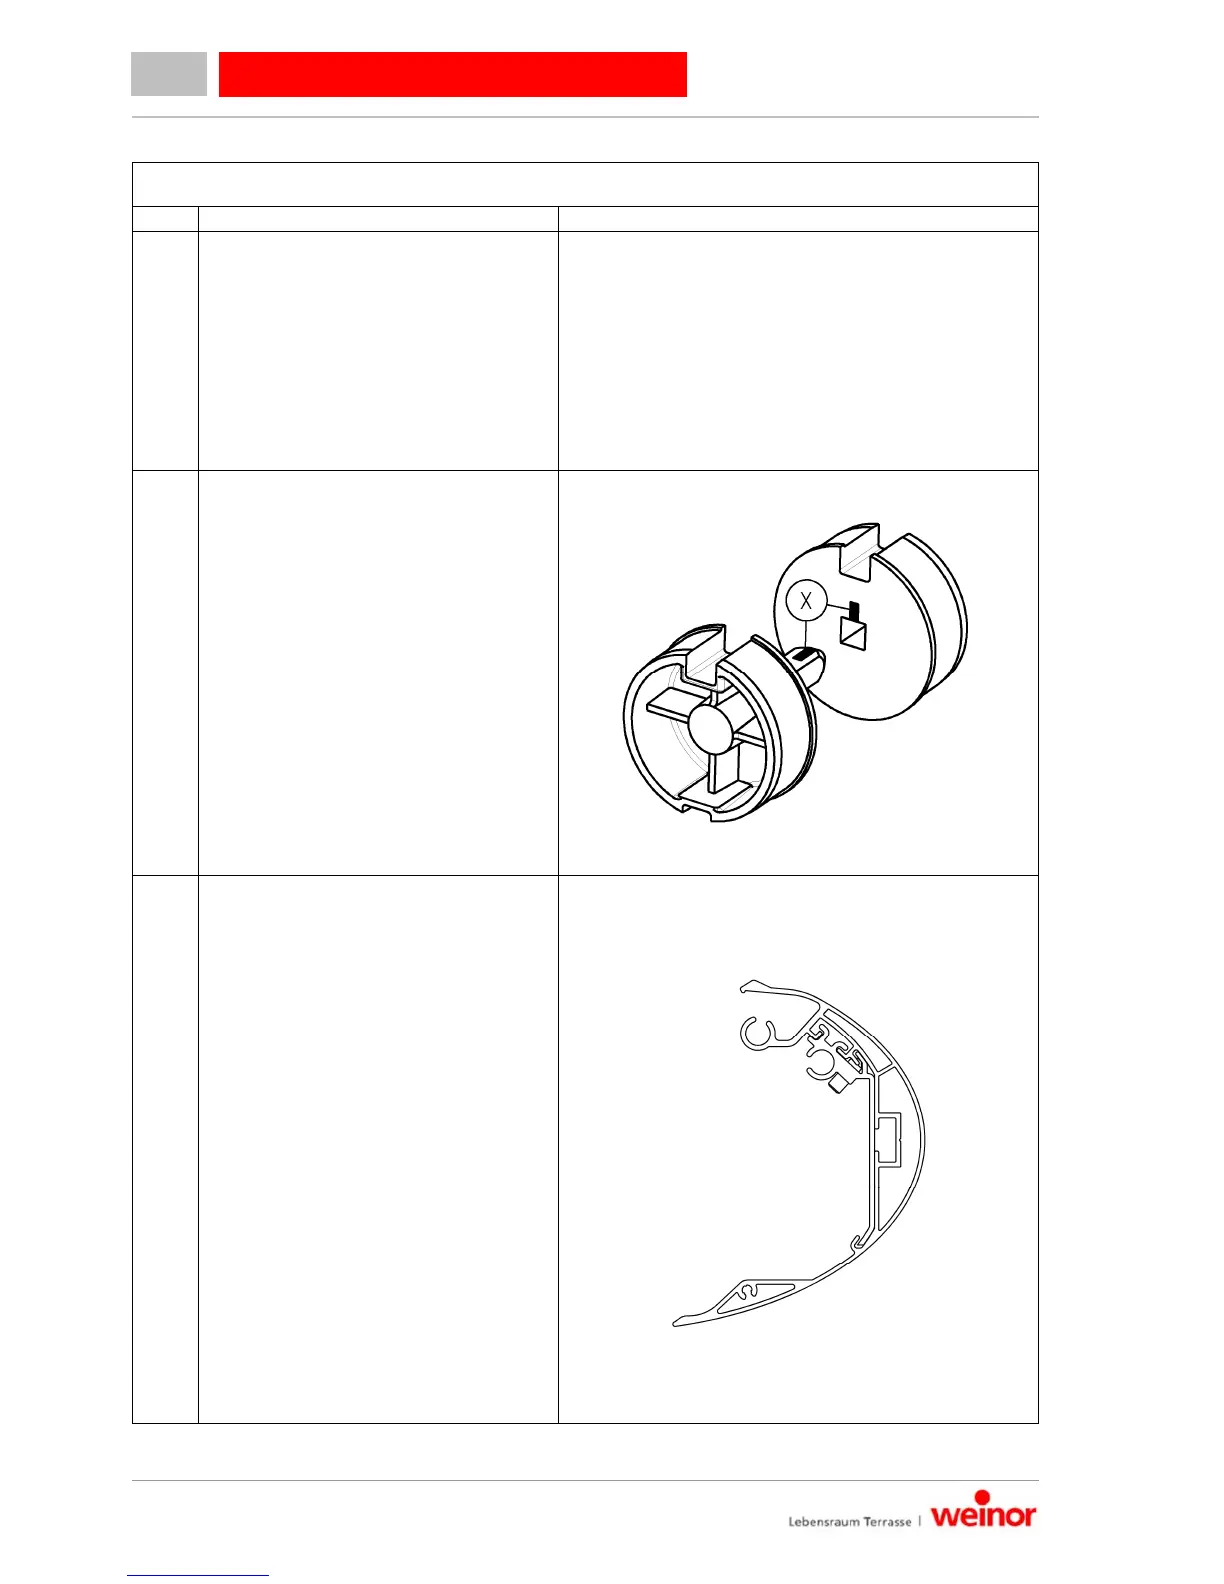
3. Couple the system parts
1. Insert the adapter for coupling
(1) with brass bush (12) into the
central plate of the system part
without motor.
2. Lubricate the Ø 21 mm washer
(18) and push into the brass
bush.
3. Turn the external square (21) of
the system part without motor.
Wind the fabric tightly around the
roller tube.
4. Align the outer and inner
squares. The roller tube groove
and marking (X) on both system
parts must match.
5. Slide the system part without
motor into the other part. The
external square slides into the
roller tube insert of the system
part with motor
6. Push the coupling adapter all the
way to the back and secure by
means of the adjusting screw.
7. Screw the clamping profiles on
the second system part to the
brackets.
8. Open the belts on the jointed
arms on the system part without
motor.
9. Extend the system approx. 200
mm.
10. Screw the central plates
together.
11. Extend the system completely.
12. Push the coupling profile into the
drop profiles and centre.
13. Join the drop profiles and screw
the coupling profile in place.
 Loading...