6 Replacing components
Back to contents >
Merrychef conneX
®
service and repair manual 78
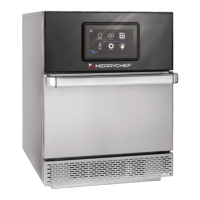
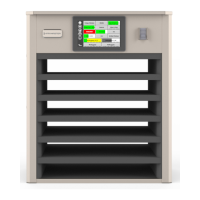
8. Remove the 3mm white spacers and replace with two blue 5mm spacers, again over the top corners of the door seal.
Then carefully close the door ensuring the spacers are still in position.
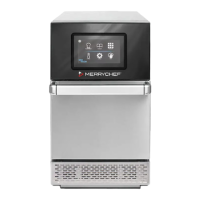
9. Loosen the interlock adjuster and locking nut.
10. Loosen the two flange head screws just enough to let the microswitch bracket move.
11. Pull up the microswitch bracket until is sits against the underside of the insulation (as far as it will travel).
12. Screw the interlock adjuster to begin closing the switch actuator.
13. As soon as the secondary door switch (SW2) closes, nip up the two flange head screws to 2.1Nm.
14. Tighten the interlock adjuster locking nut against the bracket using a 7mm spanner to 1Nm.
15. Remove the spacers, then open and close the appliance door a few times to validate the door switches operate in the
correct sequence.
16. Once the panels have been refitted, conduct a microwave leakage test.
IMPORTANT:
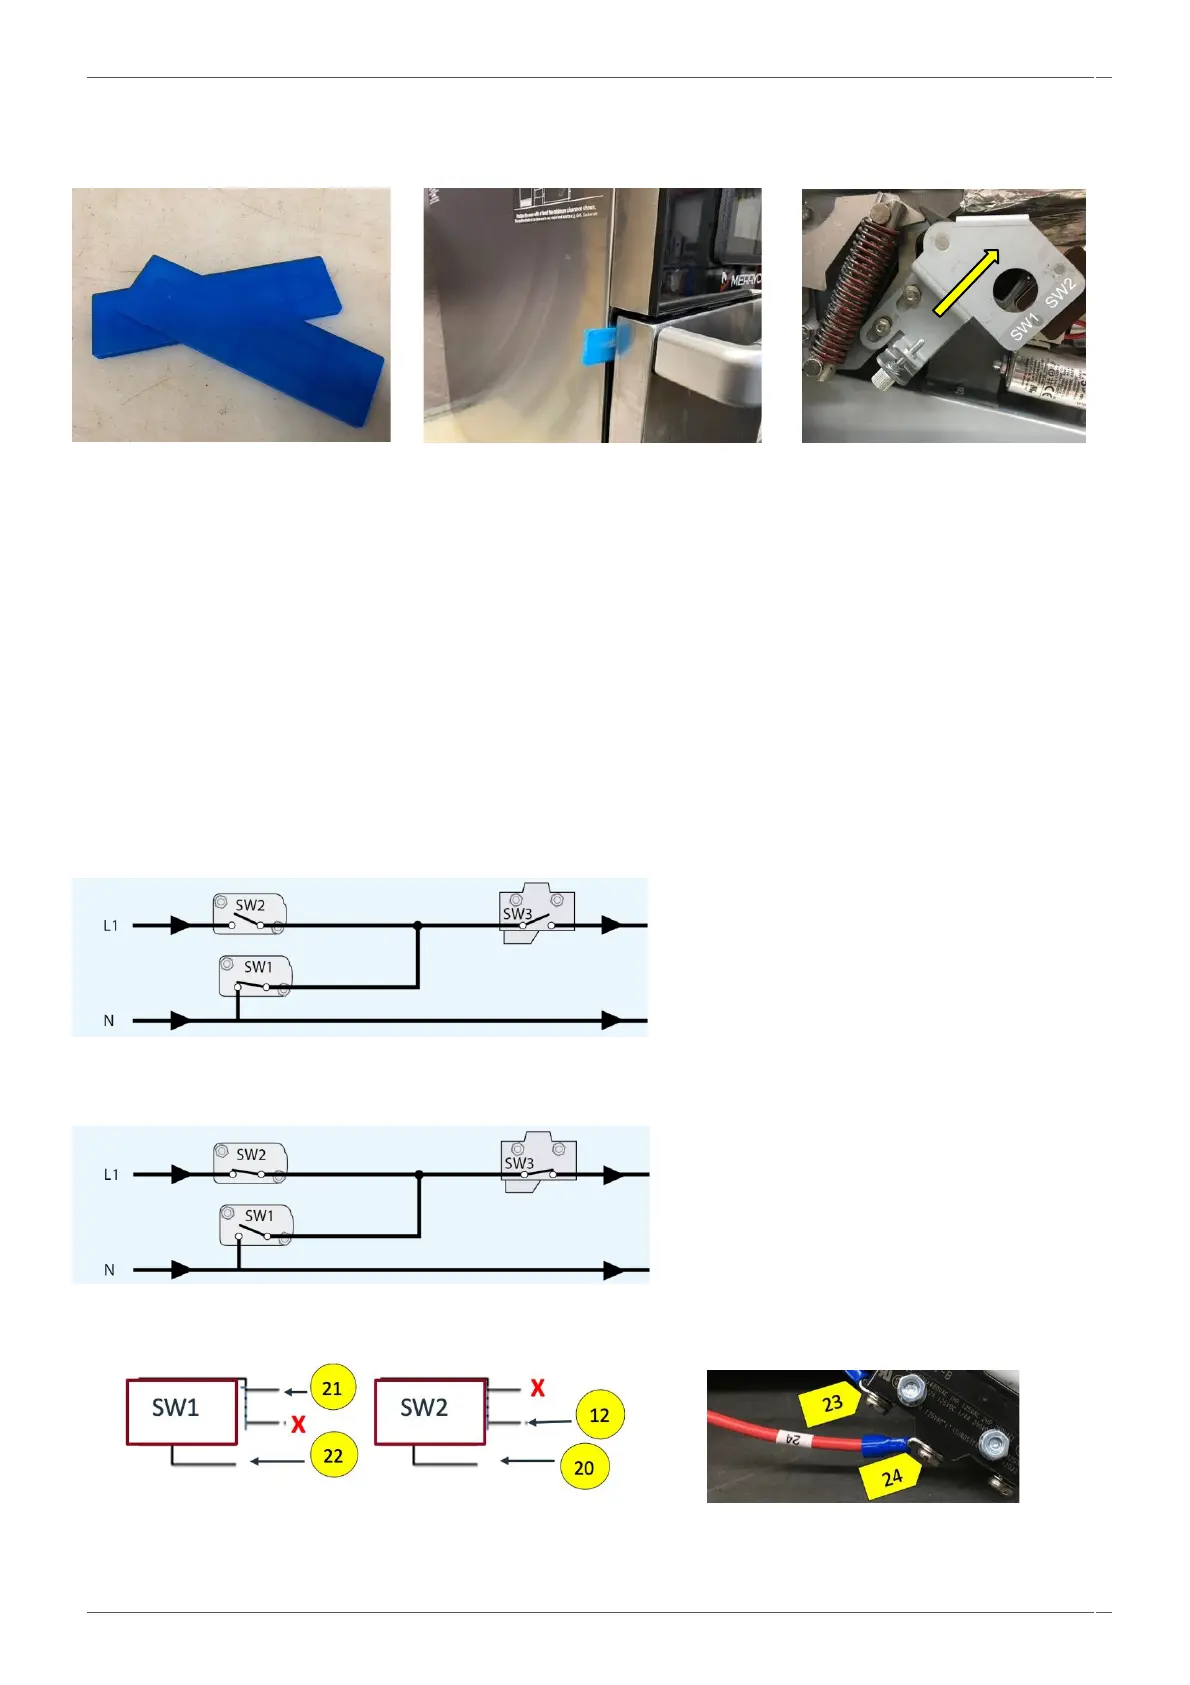
Check if the switches operate in the following sequence as microswitch SW3 must switch the load current.
Oven door open
Closing the door:
SW1 opens first
SW2 closes second
SW3 closes third
Oven door closed
Opening the door:
SW3 opens first
SW2 opens second
SW1 closes third
Right-Hand Side Left-Hand side
Outer Switch Inner Switch (closest to cooling fan)
 Loading...