6 Replacing components
Back to contents >
Merrychef conneX
®
service and repair manual 89
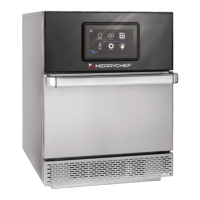
4. Unfasten the sixteen M7 hex nuts (nine on the standard power variants).
5. Carefully remove the partition plate.
NOTE: The partition plate features a rubber gasket on the side
pointing upwards (to the stirrer) when mounted. The rubber
gasket prevents grease laden air from soiling the stirrers and
needs to be intact at any time.
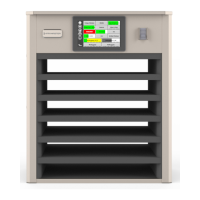
6. The stirrer(s) is positioned inside the top of the oven cavity,
above the partition plate.
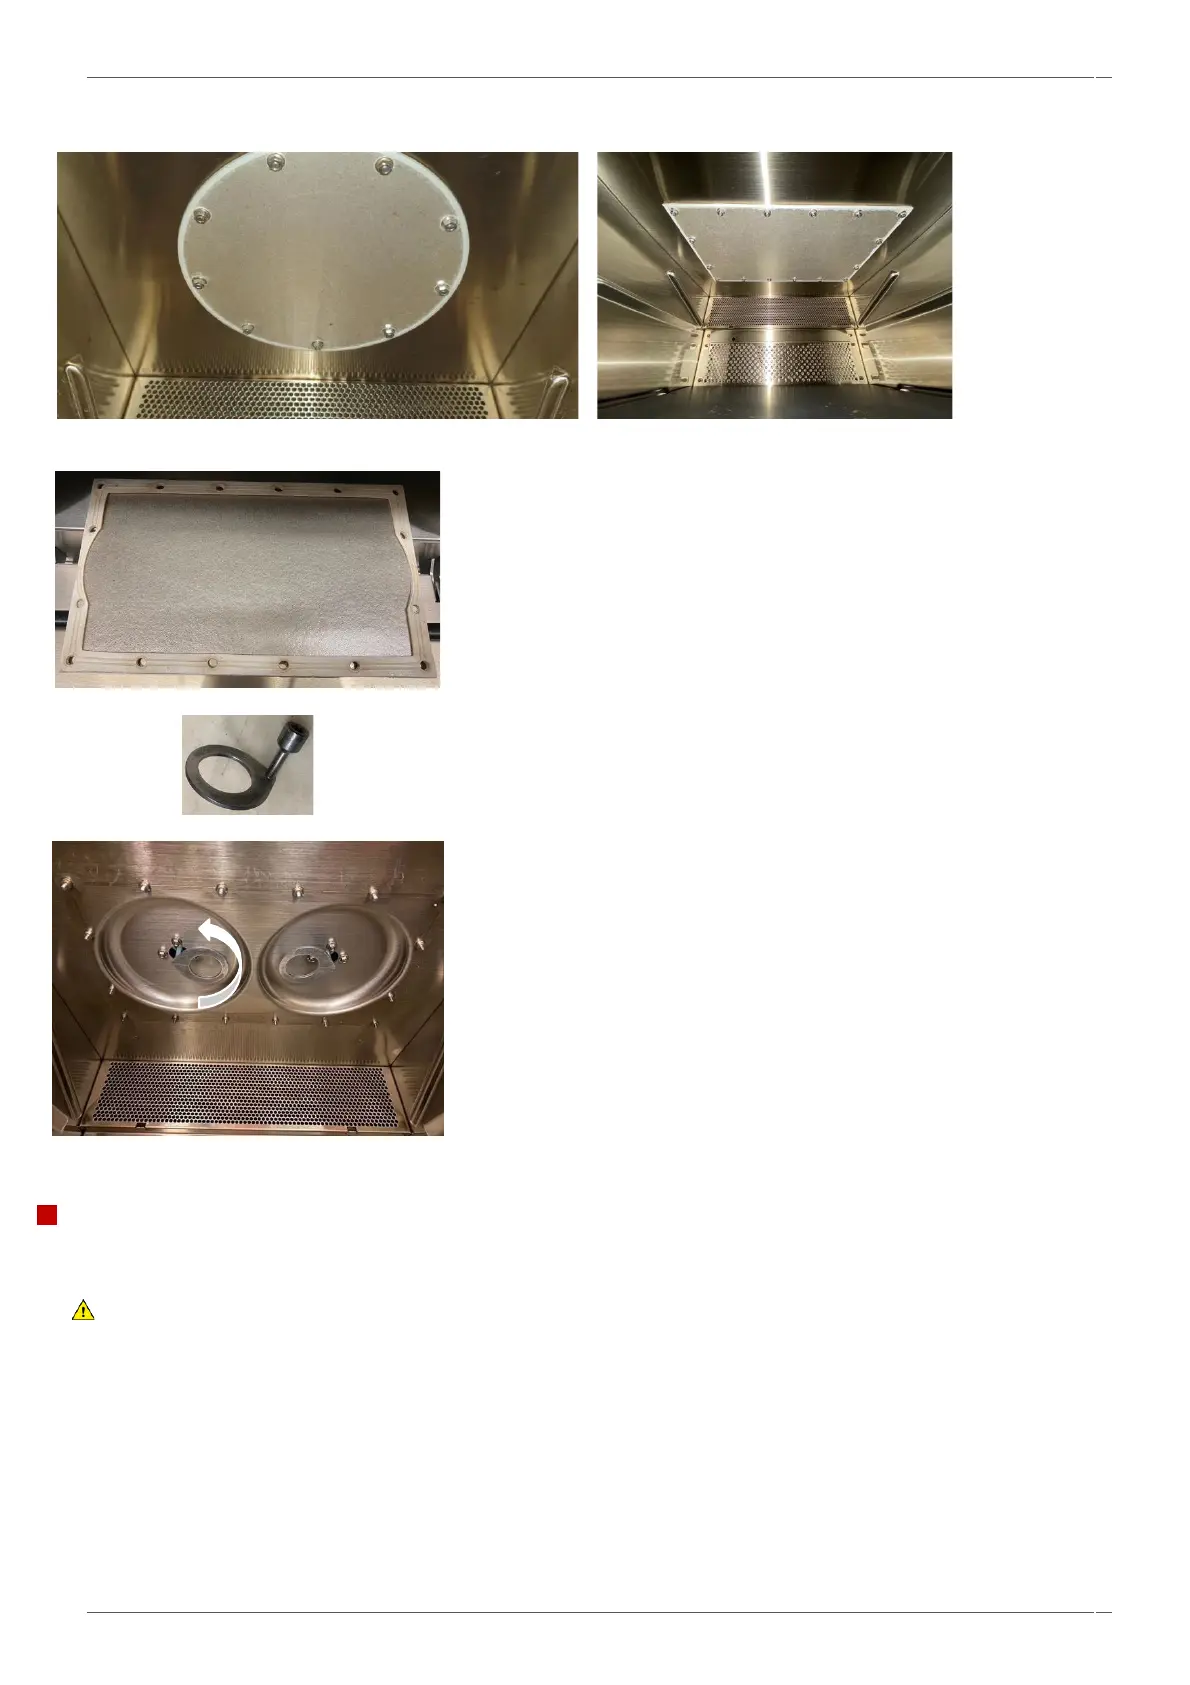
7. To remove the stirrer from the spindle, turn anti-clockwise
(looking up). Hold the stirrer cog located next to the motor cog to
prevent the stirrer motor from rotating.
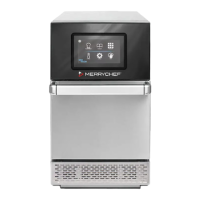
8. Remove any remains of the old gasket from the top of the
cavity before fitting a new partition plate (comes with gasket) to
ensure a good seal.
Fitting the stirrer motor and assembly
Follow the steps in the reverse order to fit the stirrer motor and stirrer.
IMPORTANT:
Follow the steps in the reverse order to fit the stirrer.
When refitting the partition plate fasten the screws on opposite corners/sides in turns and do NOT proceed
stringently clockwise or anti-clockwise.
Tighten the partition plate screws to 2.1 Nm of torque.
Tighten the jet/impinger plate screws to NO more than 1.8 Nm of torque.
Tighten the stirrer motor pozidrive screws to 1Nm torque.
 Loading...