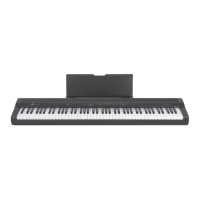
11
1 2 3 4
7
5
8
6
9
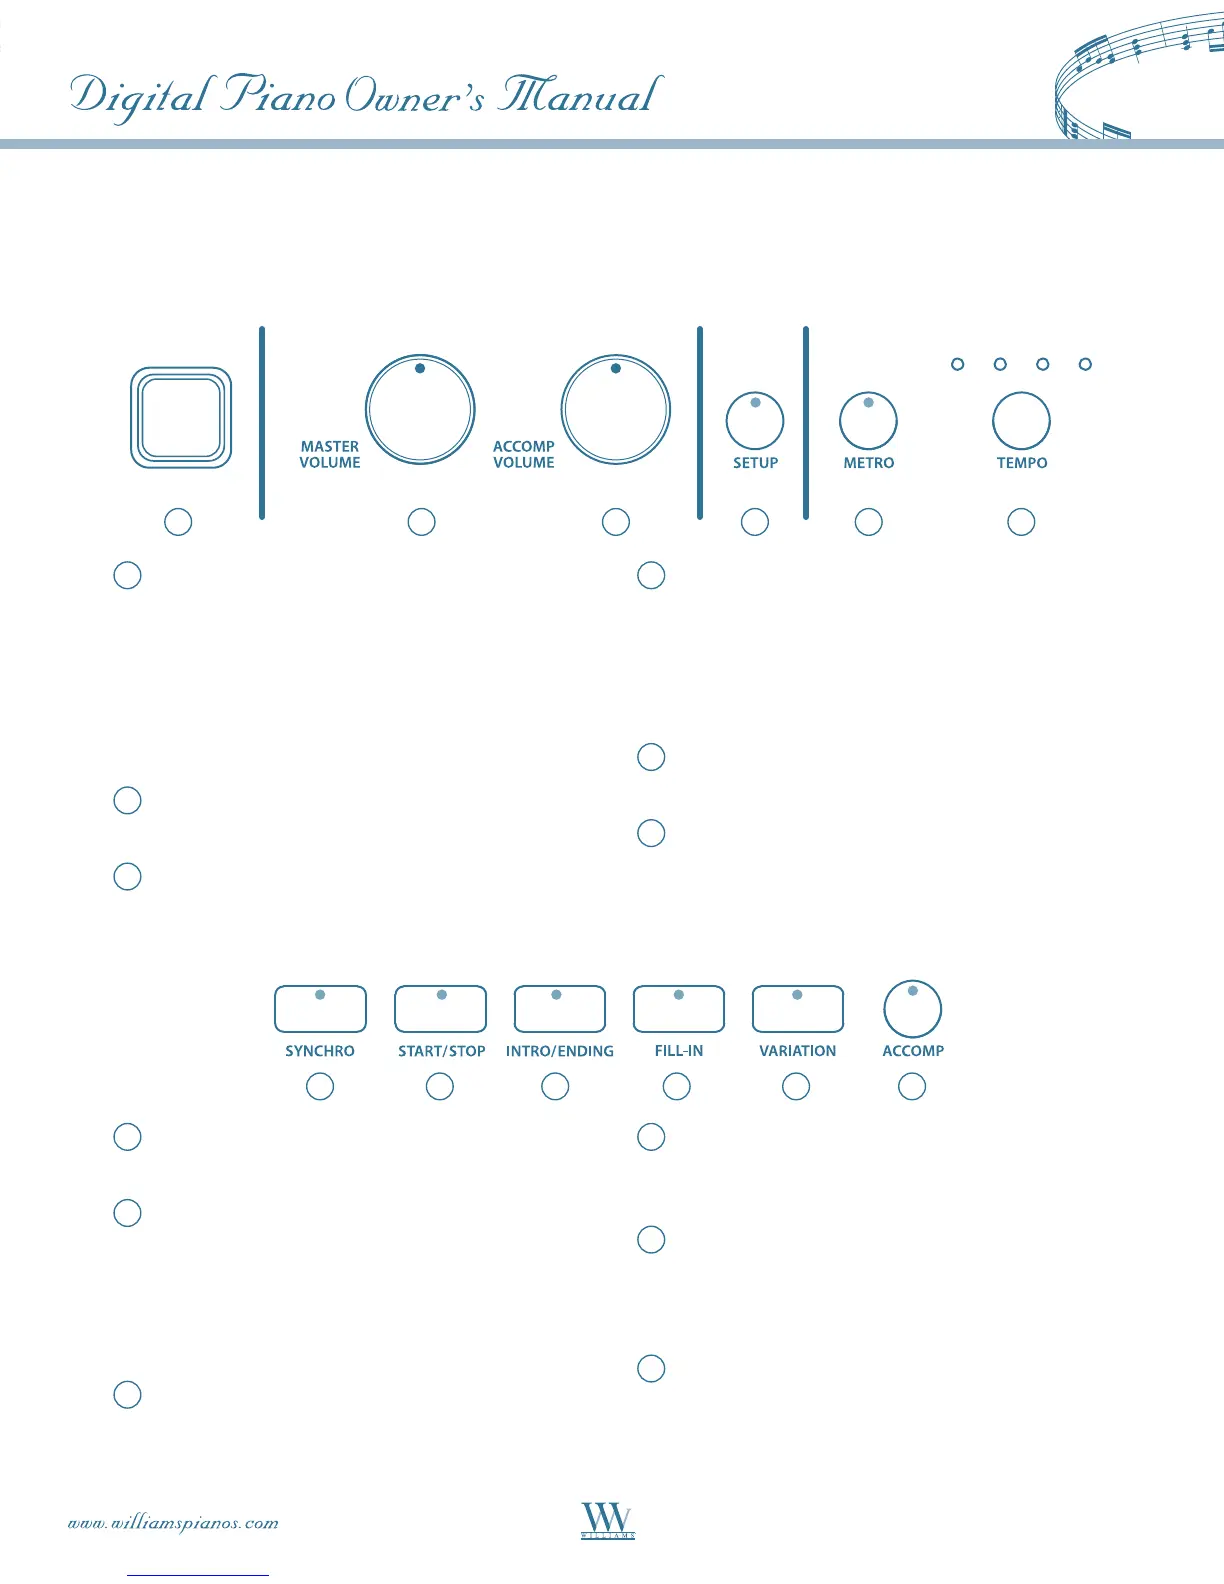
PANEL CONTROLS
The control panel is divided into several distinct sections. The following is a brief description of all the features
located on the control panel.
1
Power Switch – Press this button to turn the
power On/Off. The button is located to the left of
the keyboard.
Note: When you turn the power off, do not turn it
back on immediately. Wait at least five seconds to
turn the power back on so that the electronic circuits
can properly reset.
2
Master Volume–Adjuststheoverallvolumeof
the keyboard.
3
Accomp Volume –Adjuststhevolumeoftheauto
accompaniment and metronome.
4
Setup – The SETUP button accesses the SETUP
menu to change parameters for: reverb level,
chorus level, touch response, split point for voice,
auto accompaniment split point, tuning and the
auto harmony type etc. Please see the SETUP
section of this manual for more information.
5
Metronome–PresstheMETRObuttontoengage
the built-in metronome.
6
Temp o–PresstheTEMPObuttontochange
the metronome tempo using the +/YES and
–/NO buttons.
7
Synchro – Synchronized Start sets the auto
accompaniment into standby mode.
8
Start/Stop – This button starts or stops the
selectedrhythmstyle.IftheAccompaniment
button is also selected, the auto accompaniment
will start with the first recognized chord played
in the auto accompaniment section of the keyboard,
depending on the fingering mode selected.
9
Intro/Ending – The 100 rhythm styles can be
started or stopped with an individual
introduction or ending pattern.
10
Fill-In – Provides the accompaniment with a
short rhythm pattern of one or two measures for
each style.
11
Variation – The 100 rhythm styles include a style
variation that can be played simply by engaging
theVARIATIONbutton.PresstheVARIATION
button again to return to the main pattern.
12
Accompaniment–TheACCOMPbuttonengages
the auto accompaniment fingering mode selected
in the SETUP menu. Each rhythm style has
fully orchestrated auto accompaniment patterns
with drums, bass and chords.
121110