en-US Decommissioning/removal
22 WILO SE 2017-03
2. Attach lifting equipment to attachment point. CAU-
TION!Never pull on the power supply cable! By doing
this the power supply cable gets damaged!
3. Slowly raise the pump and lift it over the guide pipes
out of the operating space. CAUTION!The power sup-
ply cable can be damaged when lifting! During lifting,
hold the power supply cables slightly taut!
4. Thoroughly clean the pump (see point “Cleaning and
disinfecting”). DANGER!When using the pump in flu-
ids which are dangerous to health, disinfect the
pump!
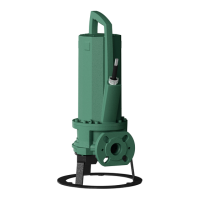
8.4.2 Portable wet well installation
‡ Pump decommissioned.
1. Disconnect pump from power supply.
2. Roll up the power supply cable and lay over the motor
housing. CAUTION!Never pull on the power supply
cable! By doing this the power supply cable gets
damaged!
3. Loosen the pressure pipe from the discharge port.
4. Attach lifting equipment to attachment points.
5. Lift pump out of the operating space. CAUTION!The
power supply cable can be crushed and damaged
when setting down! When setting down the pump, be
mindful of the power supply cables!
6. Thoroughly clean the pump (see point “Cleaning and
disinfecting”). DANGER!When using the pump in flu-
ids which are dangerous to health, disinfect the
pump!
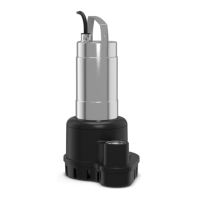
8.4.3 Clean and disinfect
DANGER
Danger due to fluids which are dangerous to
health!
When the pump is used in fluids which are danger-
ous to health there is a danger to life! Decontami-
nate pump before all further activity! Wear the fol-
lowing protective equipment during cleaning:
• Closed safety goggles
• Breathing mask
• Protective gloves
⇒ The listed equipment is the minimum require-
ment, observe the information from the work
regulations! The operator must ensure that
the personnel have received and read the
work regulations!
‡ Pump removed.
‡ The contaminated cleaning water is fed into the
sewage according to the local regulations.
‡ Disinfectants are available for contaminated pumps.
1. Attach lifting equipment to the attachment point of
the pump.
2. Raise pump to approx. 30cm above the ground.
3. Hose the pump from top to bottom with clear water.
NOTICE!For contaminated pumps corresponding dis-
infectants must be used! Strictly comply with the
manufacturer’s information for use!
4. To clean the impeller and pump interior, guide the wa-
ter jet inside through the discharge port.
5. Flush all dirt residues on the ground into the channel.
6. Allow the pump to dry out.
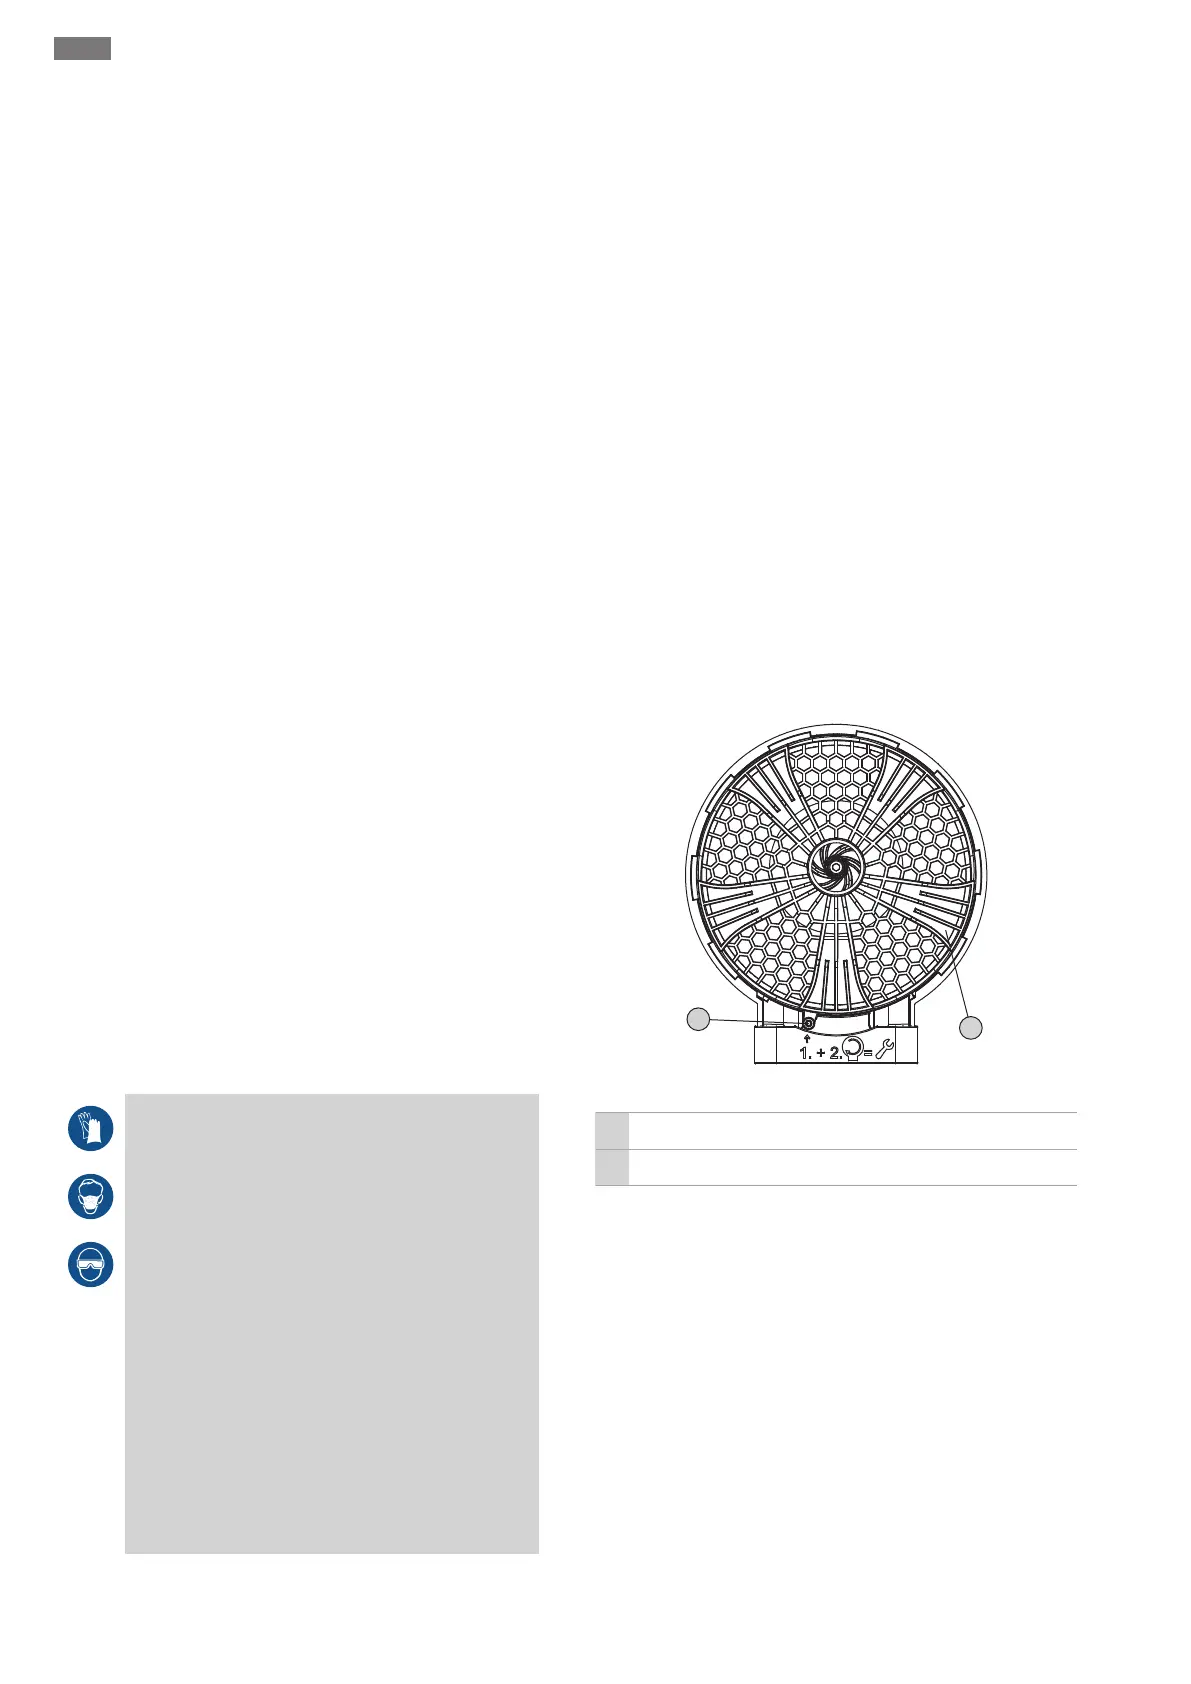
8.4.3.1 Clean the hydraulics interior
For easy cleaning of the hydraulics interior, disassemble
the baseplate of the hydraulics.
Fig.10: Remove baseplate
1 Safety screw
2 Baseplate
1. Position the pump horizontally on a firm surface.
WARNING!Danger of crushing hands. Make sure that
the pump cannot fall over or slip!
2. Unscrew safety screw (hexagon socket 4) of the base-
plate halfway, until the bayonet coupling can be
turned.
3. The baseplate is attached with bayonet coupling. Ro-
tate the baseplate clockwise (right) and remove.
4. Flush out the hydraulics interior with clear water, re-
move solids by hand. WARNING!Sharp edges can form
on the impeller. This can result in the severing of
 Loading...