This check is not yet automated, confirm by clicking the checkpoint in the checklist.
6. Check GPS signals
This is an automated test. Depending on the weather and the location, it can happen that your WingtraOne does not receive GPS lock for several minutes. If GPS lock
cannot be established after more than 5 minutes, try to repower WingtraOne. If you still fail to establish connection, open the battery cover and see if the cable to the GPS
module is well connected. If you still fail to get reception, submit a support request.
7. Press Ready-To-Fly button on your WingtraOne
You make WingtraOne ready to fly by pressing the Ready-to-Fly button for 2 seconds. There will be a confirmation sound and the Ready-to-Fly button will start to blink
with double blinks ( -- -- -- -- ). This checkpoint will automatically turn green as soon as the Ready-to-Fly state is reached. By making WingtraOne ready to fly, the startup
routines of the camera and the flaps start.
If WingtraOne does not react when pressing the Ready-to-Fly button, try again and make sure that you hold the button for 2 seconds. If it still does not work, repower
WingtraOne. For more information about the Ready-to-Fly state, see the chapter on how to handle WingtraOne.
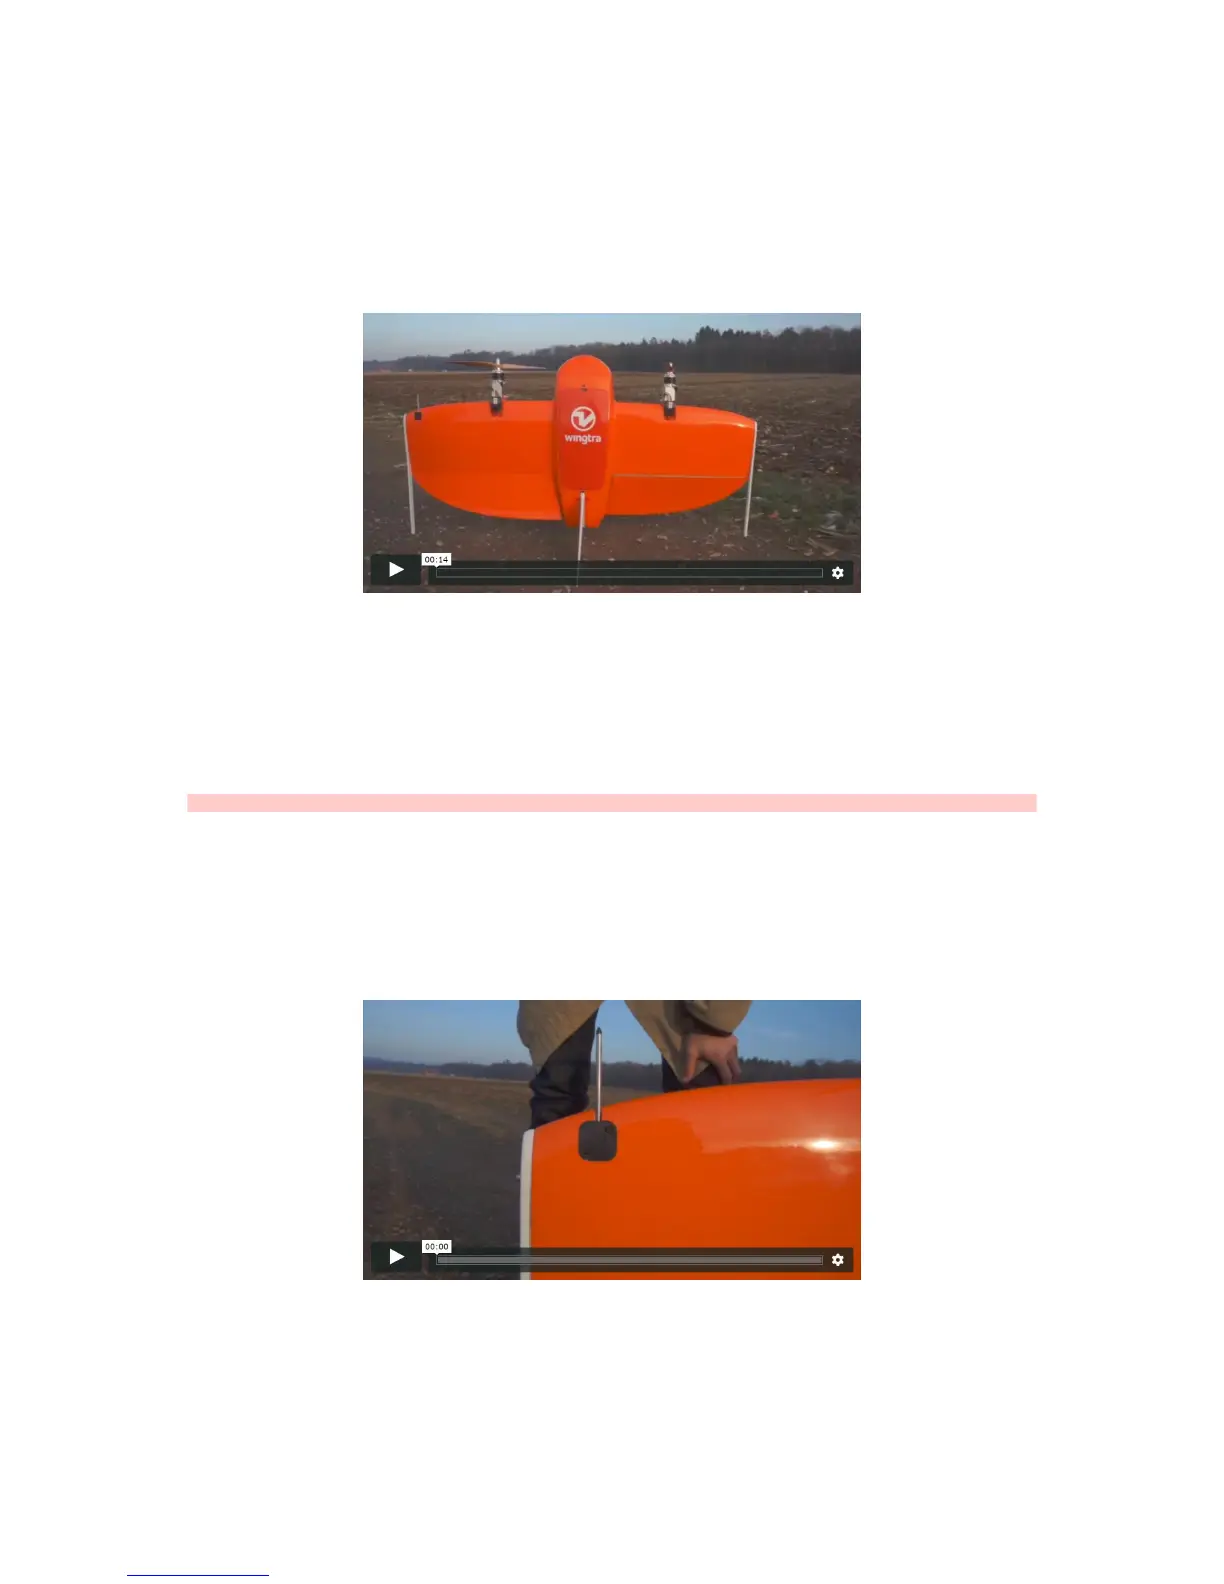
8. Check startup flap movement
After making WingtraOne Ready-To-Fly, the flaps perform a startup routine (see video above). Check if it is run correctly and confirm by pressing this checkpoint. After the
routine the flaps will stay in a steady deflection.
Caution: DO NOT FLY if the routine does not run properly (e.g. one flap is not moving at all) and contact the Wingtra Support.
9. Camera readiness
If you own a WingtraOne with ID ≤ 1135, please refer to page 47 in this manual for this check.
For WingtraOne ID > 1135, click on this checkpoint to manually trigger the camera test process. The WingtraOne will try to write data into the camera during the test
process. The checkpoint will turn orange which indicates the camera test process is on-going, wait for it to be finished. Once the test process is finished successfully, the
checkpoint will turn green.
10. Calibrate airspeed
Take the pitot cover out of the pilot box and cover the pitot tube with it. Start airspeed calibration by clicking on the checkpoint in the checklist. The automated calibration is
finished when you hear the beep. Remove the pitot cover after successful calibration! If airspeed calibration fails, you can restart it by clicking onto the respective
checkpoint again.
11. Review Flight Plan and upload to WingtraOne
After you have planned your flight, make sure you always review the flight plan. Close the checklist and check the parameters and the planned flight path. Make sure
WingtraOne will not collide with any obstacles. Switch to the terrain map to ensure the planned flight altitude is set correctly. Click on this checkpoint in the preflight
checklist to upload the flight plan to WingtraOne. WingtraPilot saves the Flight Plan automatically when you upload it by clicking on the checkpoint. In case you make any