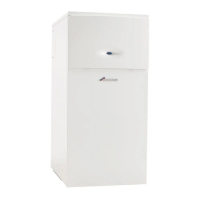
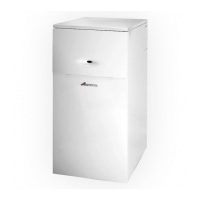
INSTALLATION
INSTALLATION & SERVICING INSTRUCTIONS
23
FLUE INSTALLATION
8 716 115 216b (09.2008)
FLUE INSTALLATION
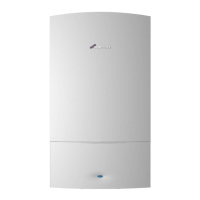
1 Grip the outer sides of the front panel
(F) pull and lift away from retaining lugs.
2
Remove retaining screw (B) to swing
control panel assembly (A) outwards to its
full extent.
3
Remove screws (C) from inside of casing.
Lift front of top panel (D) to release.
Pull forwards to disengage rear retainer
(E), then lift panel (D) away from boiler.
4
Release four screws (H) to remove the
inner case cover (J).
B
A
C
J
D
F
H
E
1
2
4
3
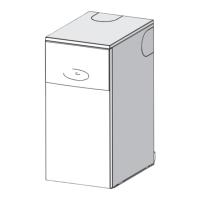
CONVERT FROM REAR FLUE OUTLET:
The boiler is supplied ready to fit a rear flue
outlet. To flue from the sides or top of the boiler,
follow the procedure below:
1
Remove the required side or top
'knock-out' panel (A) from the
outer casing (B).
2
Remove the flue outlet blanking plate
comprising: cover (D) and gasket (E) from
the inner casing (C) by removing the three
screws (F).
3
Refit the outlet blanking plate over
the rear flue outlet.
D
C
A
B
F
E
A
B
1
2
 Loading...