Introduction
1–10 975-0188-01-01
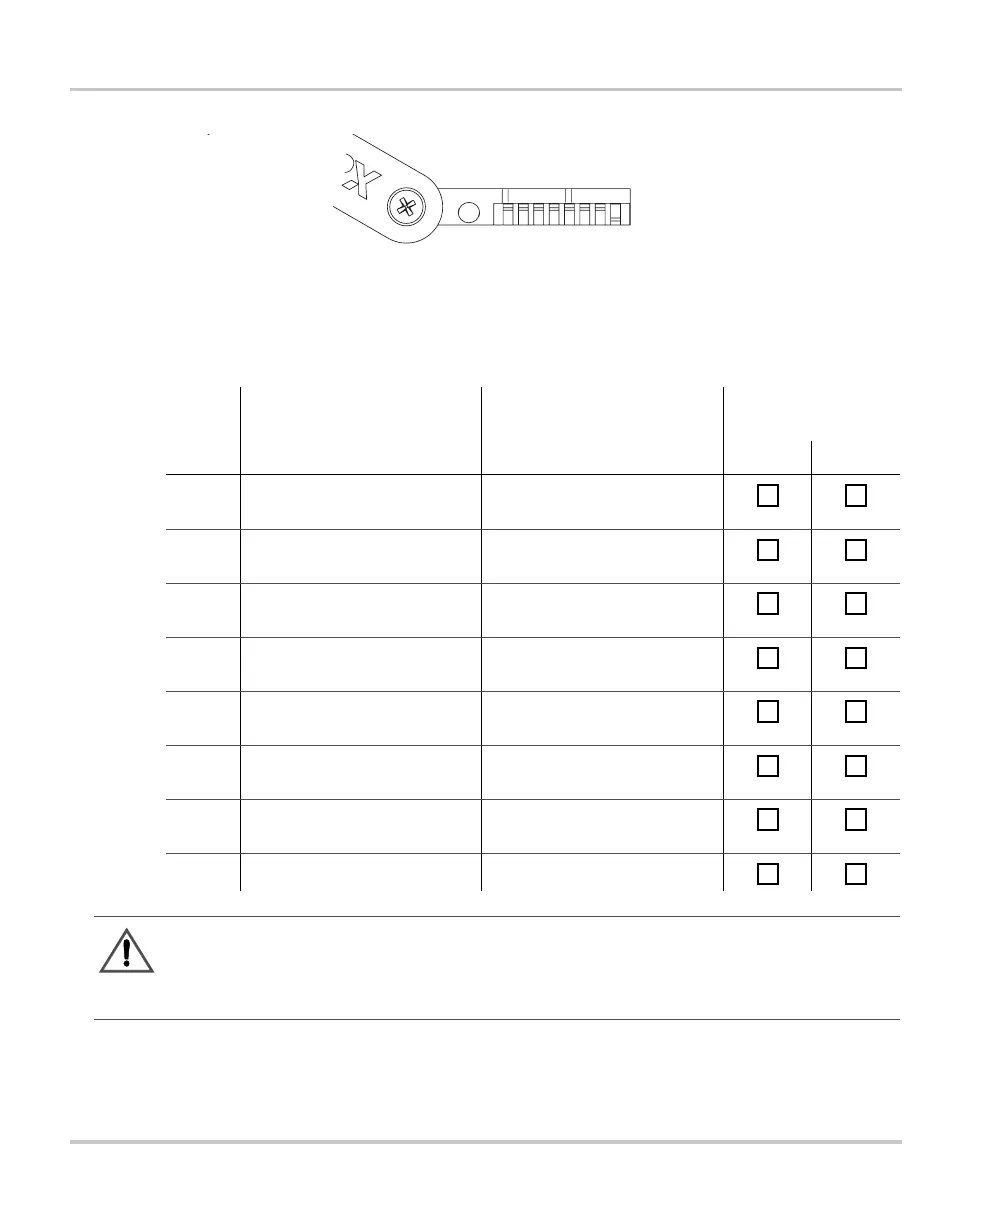
Use Table 1-2 to set the DIP switches to match your actual configuration if needed.
Figure 1-6
DIP Switches
1 2 3 4 5 6 7 8
UP
DOWN
Table 1-2
DIP Switch Settings
Custom Install
Record
Switch UP DOWN UP DOWN
8 Remote display installed Remote display not
installed
7 Bank 3 = Flooded
Bank 3 = Gel
Bank 3 = AGM
Bank 3 = Lead Calcium
6 Bank 3 = Flooded
Bank 3 = AGM
Bank 3 = Gel
Bank 3 = Lead Calcium
5 Bank 2 = Flooded
Bank 2 = Gel
Bank 2 = AGM
Bank 2 = Lead Calcium
4 Bank 2 = Flooded
Bank 2 = AGM
Bank 2 = Gel
Bank 2 = Lead Calcium
3 Bank 1 = Flooded
Bank 1 = Gel
Bank 1 = AGM
Bank 1 = Lead Calcium
2 Bank 1 = Flooded
Bank 1 = AGM
Bank 1 = Gel
Bank 1 = Lead Calcium
1 3-stage charging 2-stage charging
CAUTION
Ensure that the metal cover is replaced securely, to prevent damage from moisture or
contamination.
BC_Charger_User.book Page 10 Friday, August 12, 2005 3:31 PM
 Loading...