Configuring the BC Series
975-0188-01-01 1–9
Configuring the BC Series
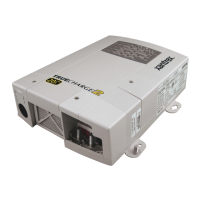
Once the charger is connected to a battery on bank 1 or to AC, it is live and it may
be configured..
Configuring with DIP Switches
The DIP switches are used to configure the settings for the BC Series. The
BC Series comes with factory default settings of 3 stage charging, all banks set to
Flooded Lead Acid type and no remote display. Whoever performed the installation
may have configured the DIP switches, but if not the configuration will need to be
set appropriately for each installation. Use Table 1-2 to set the DIP switches to
match each configuration.
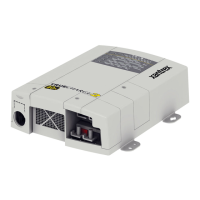
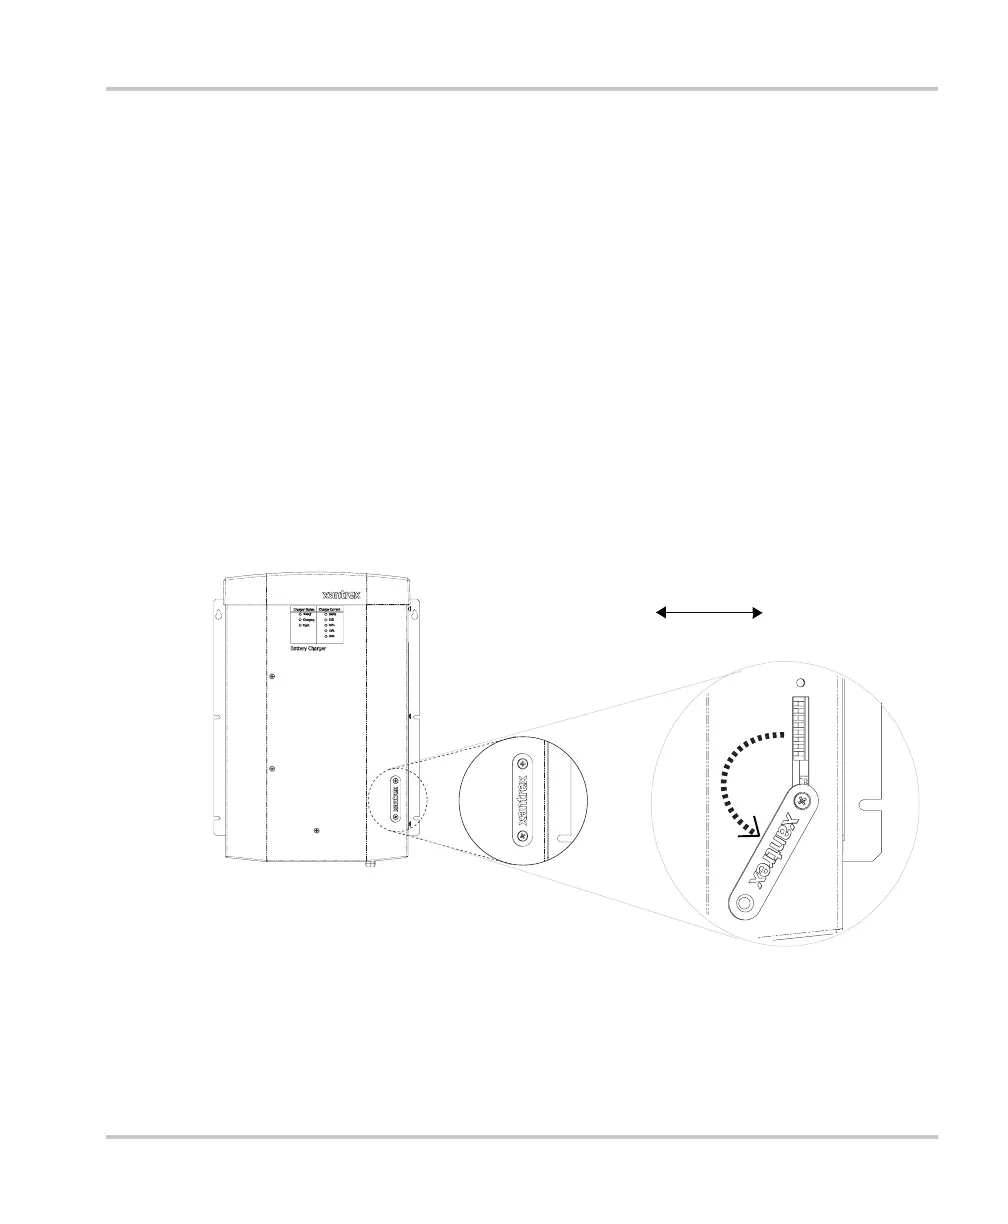
Figure 1-5 shows the location of the DIP switches on the BC Series and the switch
position convention used in Table 1-2. As the figure shows, twist the metal plate
with the Xantrex logo in order to access the DIP switches.
Figure 1-6 shows the default DIP switch settings for a BC Series without the
optional remote display installed.
Figure 1-5
DIP Switch Access
Switch Position
UP DOWN
(towards charger centerline) (towards mounting outer side)
BC_Charger_User.book Page 9 Friday, August 12, 2005 3:31 PM
 Loading...