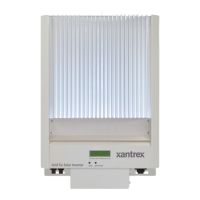
Mounting the Inverter
975-0131-01-01 2–21
Mounting on Wallboard, Siding or Concrete
To mount the GT Inverter to wallboard, siding, or concrete:
1. Locate the area where the GT Inverter is to be installed.
2. Install backing support material if required. See Figure 2-10.
3. Using a level, place the mounting bracket against the wall surface at least
110 cm (43 inches) from the ground. See Table 2-2 on page 2–18 to ensure
minimum clearance requirements are met.
4. Mark the location for mounting screws if using a wall stud for support. At
least four mounting screws and anchors are needed for concrete installations
or wallboard installations where no wall studs are available for support.
For multiple inverters mounted in parallel, the brackets should be mounted
30 cm (12 inches) apart. Inverters mounted less than 30 cm (12 inches) apart
may not achieve full rated power.
5. Remove the bracket and drill the holes using an appropriately sized drill bit.
Drill appropriately sized holes for screws or anchors.
6. Secure the bracket to the supporting surface using at least two screws and
washers.
Figure 2-10
Installing the Mounting Bracket using Plywood Support
Ground / Floor Ground / Floor
Single GT Inverter Dual GT Inverters
110 cm (43")
110 cm (43")
At least 2 screws
with washers to
secure bracket
to plywood
30 cm (12")

 Loading...