Installation
2–24 975-0402-01-01
This guide for use by qualified installers only
Powering Up
Make one last check that all connections are correct and
connectors are secure.
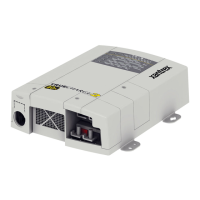
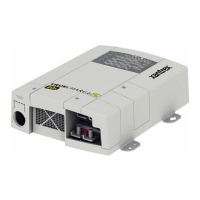
The Truecharge™ 2 Battery Charger charger may now be
powered up.
1. Close the DC disconnect switch or breaker.
2. Switch the AC power on at the source breaker. It is
normal to see a 7 to10 second delay while the charger
powers up. During this time, the indicator LEDs on the
onboard display and the remote panel will illuminate for
a second (power on test) before reporting charging and
battery status information.
WARNING: Fire hazard
The final connection of the DC battery circuit will generate an arc.
Ensure all areas of the system, including batteries and engine
compartments, are well ventilated prior to making this connection.
Note: The indicator LEDs will also illuminate with DC power
alone when DC power is applied and the minimum battery
voltage (i.e., the connected batteries) is above 9 V.
 Loading...