Setting the Network Environment 25
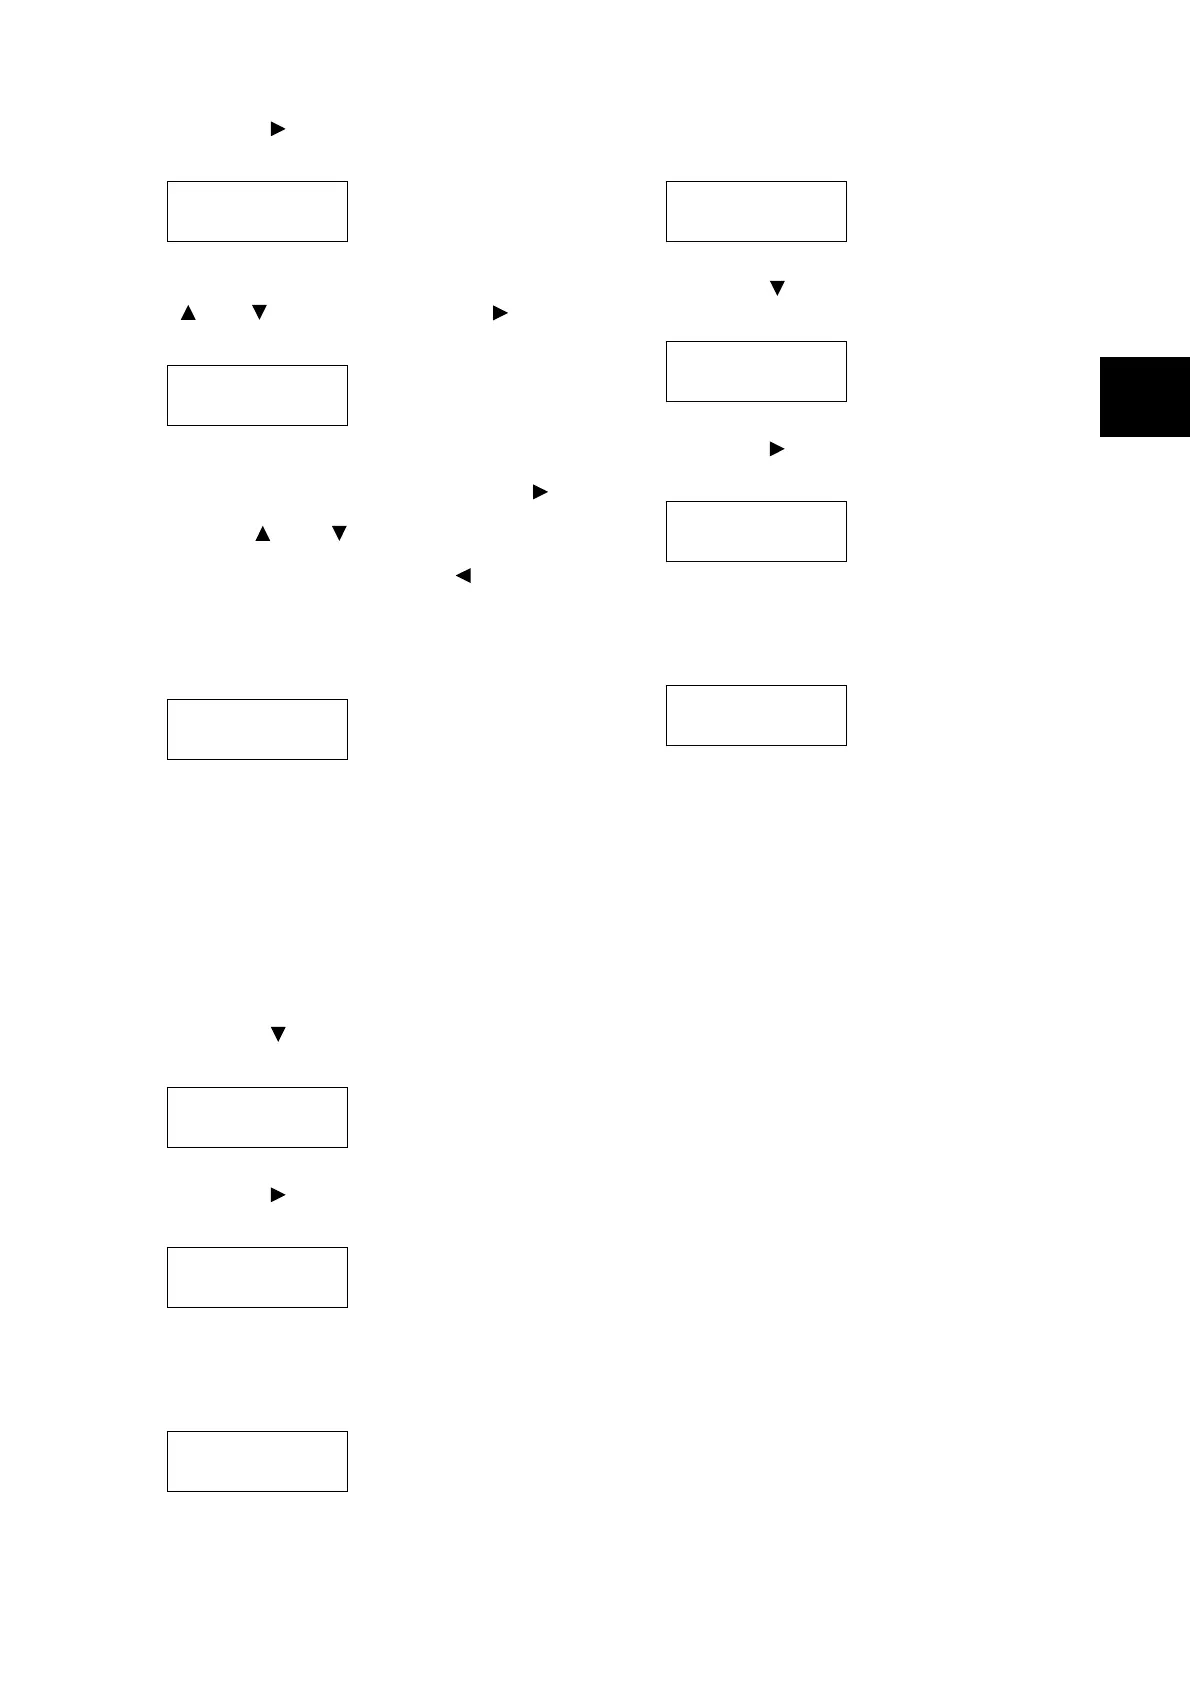
14. Press the < > or <OK> button to select.
The current IP address is displayed.
15. Enter the value in the first field using the
< > or < > button, and press the < >
button.
Note
• If you do not need to change the setting, press the < >
button to advance to the next field.
• Pressing the < > and < > buttons simultaneously
increments the value by 10.
• To return to the previous field, press the < > button.
16. Enter the rest of the fields in the same
manner. After entering the last (4th) field,
press the <OK> button to confirm your entry.
17. If you want to set a subnet mask and
gateway address, press the <Return> button
and proceed to Step 18.
If you want to finish configuring the settings,
proceed to Step 25.
To Set the Subnet Mask/Gateway
Address
18. Press the < > button until [Subnet Mask] is
displayed.
19. Press the < > or <OK> button to select.
The current subnet mask is displayed.
20. Enter the subnet mask in the same way you
entered the IP address, and press the <OK>
button to confirm your entry.
21. Press the <Return> button to return to
[Subnet Mask].
22. Press the < > button to display [Gateway
Address].
23. Press the < > or <OK> button to select.
The current gateway address is displayed.
24. Enter the gateway address in the same way
you entered the IP address, and press the
<OK> button to confirm your entry.
25. The setup is now complete.
Press the <Menu> button to close the menu.
The printer automatically restarts.
26. Print the [Configuration Report] to verify your
settings.
IP Address
•
000.000.000.000
IP Address
192.000.000.000
IP Address
•
192.168.001.100
IPv4 Settings
Subnet Mask
Subnet Mask
•
000.000.000.000
Subnet Mask
•
255.255.255.000
IPv4 Settings
Subnet Mask
IPv4 Settings
Gateway Address
Gateway Address
•
000.000.000.000
Gateway Address
•
192.168.001.254

 Loading...


