7
DSP-A595a
STANDBY/ON
+–
SET
MENU
TIME/
LEVEL
INPUT MODE
1.
2.
3.
4.
5.
6.
7.
EFFECT LEVEL :
MUTING : OFF
INPUT (VIDEO) : DVD/LD (DVD/LD)
CENTER SPEAKER : LARGE
REAR SPEAKER : LARGE
MAIN SPEAKER : LARGE
LFE/BASS OUT : SWFR
CHANNEL CENTER R SUR L SUR SWFR
LEVEL (dB) 0 0 0 0
C. Start-up display
The protection function information appears on the front panel display of the main unit.
2. BEGINNING AND CANCELLATION
(1) STARTING UP THE FUNCTION AND THE DISPLAY
After starting up, menu No. 1 is selected.
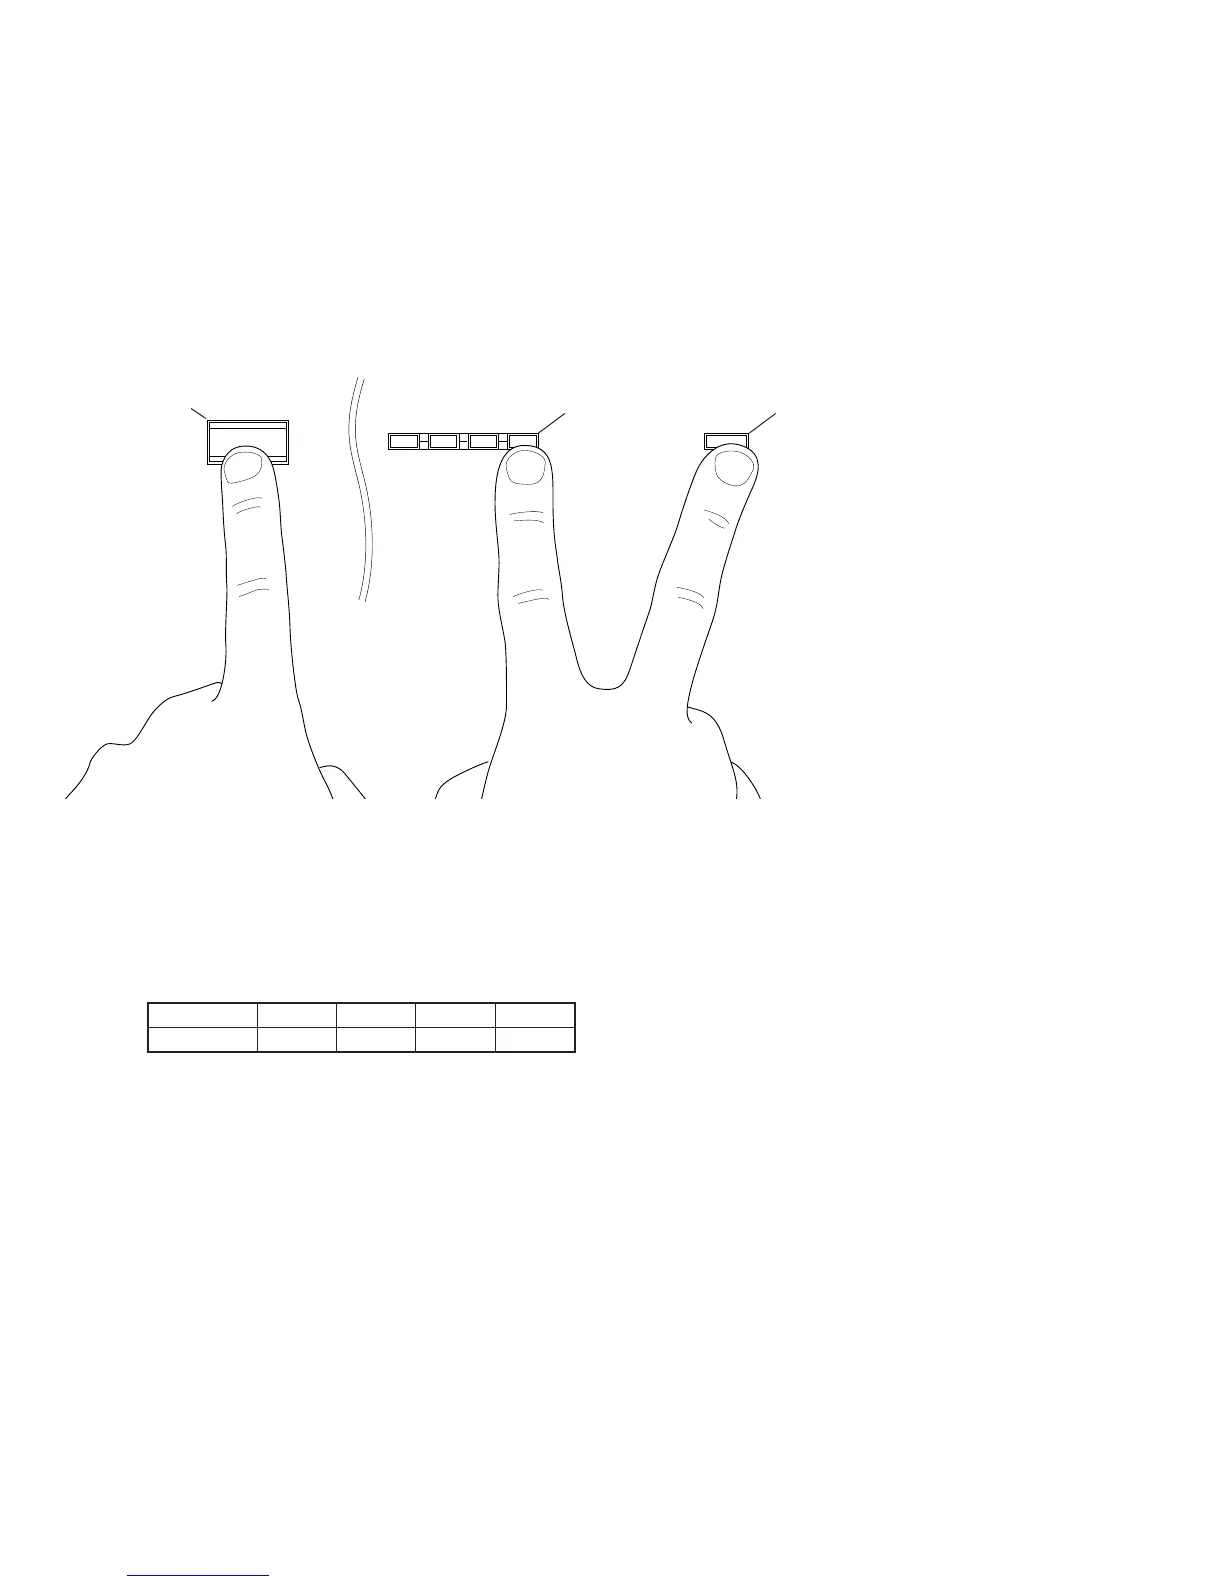
A. How to start diagnostic program
Using the front panel keys of the main unit.
and then press the "STANDBY/ON" key (Step 2).
Plug in the AC power cord , and, with Power OFF, hold down the "INPUT MODE" and "+" keys simultaneously (Step 1),
Submenu No. 1 of the Diagnosis Main Menu No. 1 will start.
B. Settings for start-up of diagnostic program
The settings used when starting the diagnostic program are as follows.
"+" key
"STANDBY/ON" key
"INPUT MODE" key
FRONT PANEL
Step2. Press the "STANDBY/ON" key Step1. Hold down the "INPUT MODE"
and "+" key simultaneously.
 Loading...