14
Chapter 2: User Interface
ProMix 01 User’s Guide
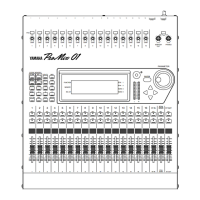
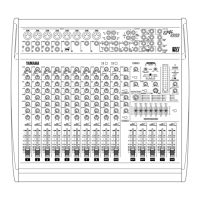
SEL Buttons
The [SEL] buttons are used in conjunction with the LCD functions.
To perform an action on a channel, first select it using a [SEL] button,
then choose a function using the function buttons to the left of the
LCD. This form of editing is similar to computer word processing.
First, you select your text, then execute a function.
The input channel, stereo input channel, and stereo output [SEL]
buttons select their respective channels. The RTN/SEND [SEL] but-
ton, on the other hand, is used to select RTN1, RTN2, SEND3, and
SEND4. Pressing it repeatedly cycles through the options in the fol-
lowing order:
RTN1—>RTN2—>SEND3—>SEND4—>
When SEND3 and SEND4 are used as a stereo pair, SEND3 and
SEND4 are selected together. The order then becomes:
RTN1—>RTN2—>SEND3-4—>
RTN1, RTN2, SEND3, and SEND4 are selected automatically when
the corresponding [SEND] button is pressed. For example, pressing
[SEND1] selects RTN1 and pressing [SEND3] selects SEND3.
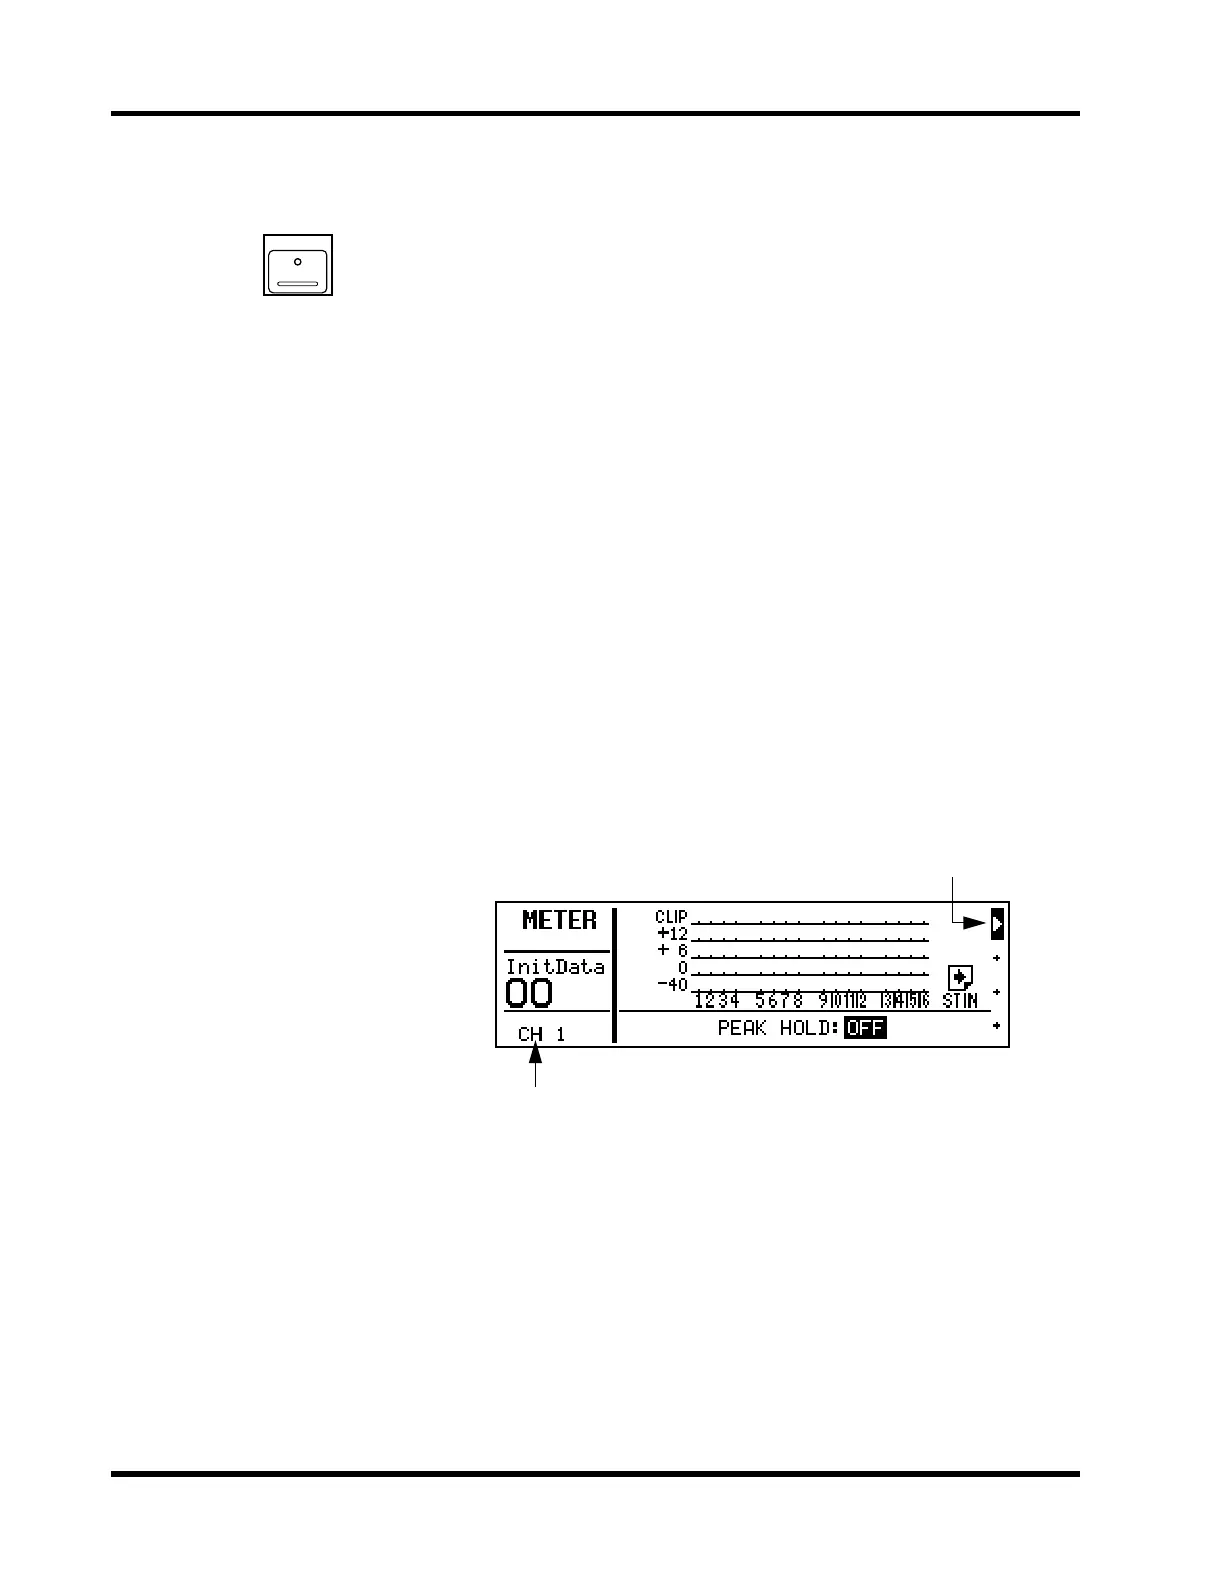
When a channel is selected, its [SEL] button LED lights up and its
name appears in the SEL CH area of the LCD. Stereo-pair channels
are selected together. The channel currently selected by the
RTN/SEND [SEL] button is indicated by the highlighted arrow head
at the right side of the LCD.
SEL
RTN1
RTN2
SEND3
SEND4
Selected channel
Selected RTN/SEND channel