Periodic maintenance and adjustment
65
● When installing the shroud and covers,
be sure to tighten the fasteners secure-
ly.
Top cover (RST90PGT)
To remove the top cover
1. Remove the shroud and the left side cov-
er. (See the above procedures.)
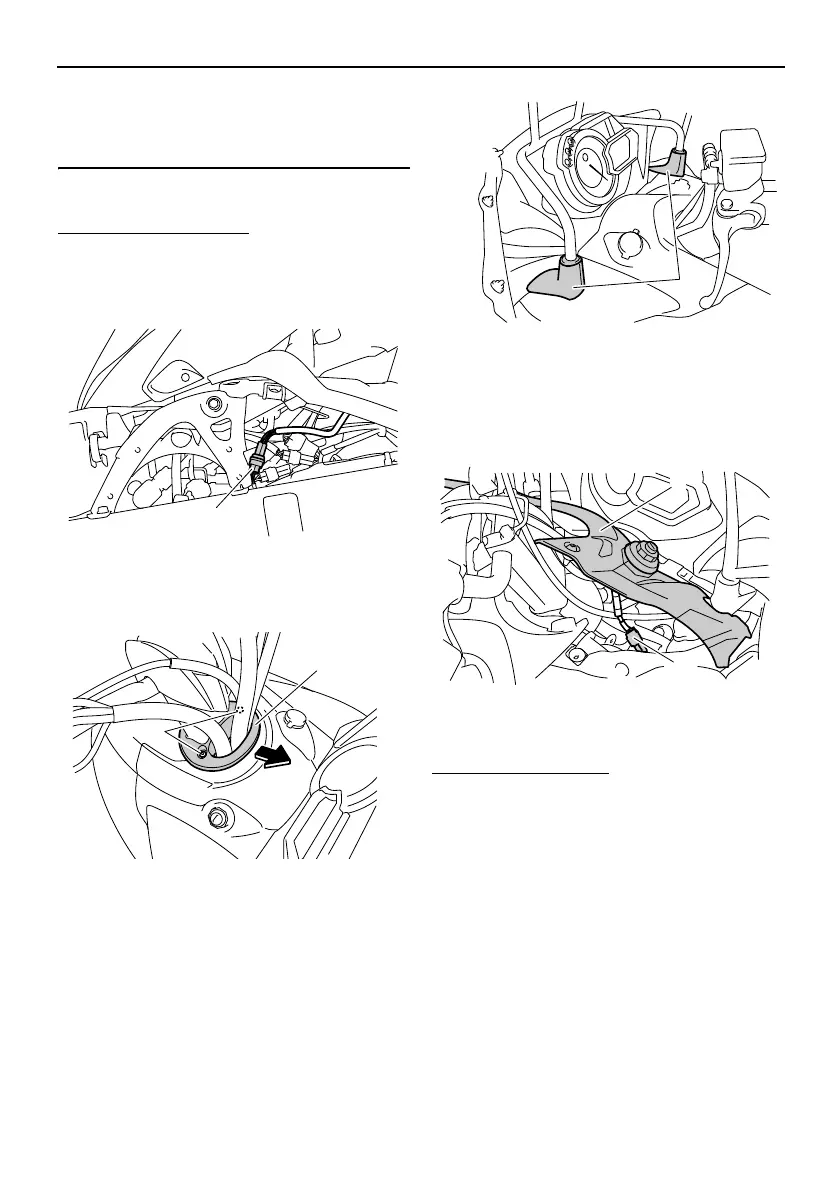
2. Disconnect the auxiliary DC jack coupler.
3. Remove the screws, and then remove
the cable guide.
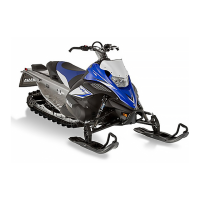
4. Pull the windshield stay rubber covers
upward.
5. Loosen the quick fastener screws.
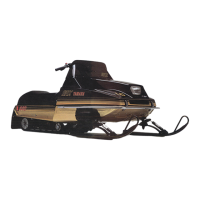
6. Lift up the rear of the top cover, discon-
nect the main switch coupler, and then
remove the cover.
To install the top cover
1. Connect the main switch coupler.
2. Place the top cover in the original posi-
tion, making sure to fit the projections on
the cover into the slots in the headlight
unit.
1. Auxiliary DC jack coupler
1. Screw
2. Cable guide
1. Windshield stay rubber cover
1. Top cover
2. Main switch coupler
U8HV11E0.book Page 65 Monday, April 23, 2012 9:34 AM