16
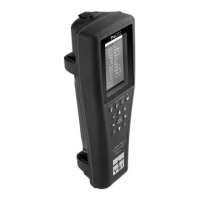
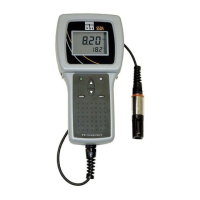
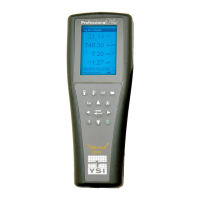
Operation
Figure 17 Logging
Figure 18 Site List
Figure 19 Site
Logging
→ Logging
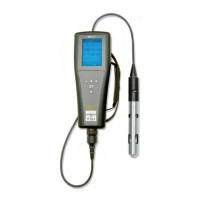
The handheld can add a user-defined Site and/or Data ID to a data record
if these functions are enabled under the Logging menu. A check mark in
the box next to these features indicates they are enabled (Figure 17).
After selecting Site [ ] or Data ID [ ], the Site List or Data ID List will be
shown (Figure 18). New entries can be created by choosing Add new...
If the handheld has a GPS signal, the current GPS coordinates will be
auto-populated when creating a new site. If the handheld does not have a
built-in GPS, the coordinates and altitude can be entered manually.
Sites can be listed in order of Name (i.e. alphanumeric order) or Distance
from the current position (Figure 18).
Choose an entry from the Site List or Data ID List to Select, Edit, or
Delete (Figure 19). When selected, data recorded will be tagged with the
specific site and/or data ID.
NOTE: The Manage Sites menu in KorDSS Software can be used to
send a picture of the Site to the instrument.
Continuous Mode ( Interval logging): Select the Continuous Mode check
box and enter the user-defined Log Interval (in hours:minutes:seconds)
to log samples continuously at the specified time interval. The Run screen
will display Start Logging... when in Continuous Mode. Press
ENTER
to
begin logging.
One sample logging: Clear the Continuous Mode check box. The
Run screen will display Log One Sample. A sample will be logged each
time the
ENTER
key is pushed when in the Run screen.
NOTE: An option to change Site and/or Data ID (if enabled)
appears once
ENTER
is pressed to begin logging.