ZEISS Start-Up and Operation Primovert
40 415510-7244-001 12/2014
• Adjust the desired illumination intensity using the rotary knob (Fig. 11/11).
The selected intensity is indicated in five steps by the blue light-emitting diodes (Fig. 11/24) arranged on
both sides of the stand.
• The torque of the coarse focusing drive is factory-adjusted and can be readjusted if required. For this
purpose, insert a screwdriver into one of the four radially arranged holes of the ring (Fig. 11/20), hold
the coarse focusing knob (Fig. 11/21) in position and turn the ring with the screwdriver to the right or
left in order to adjust the torque of the coarse drive as desired.
• After finishing work, switch off the microscope with the rotary knob (Fig. 28/2) (OFF position).
• Cover the microscope with the dust cover.
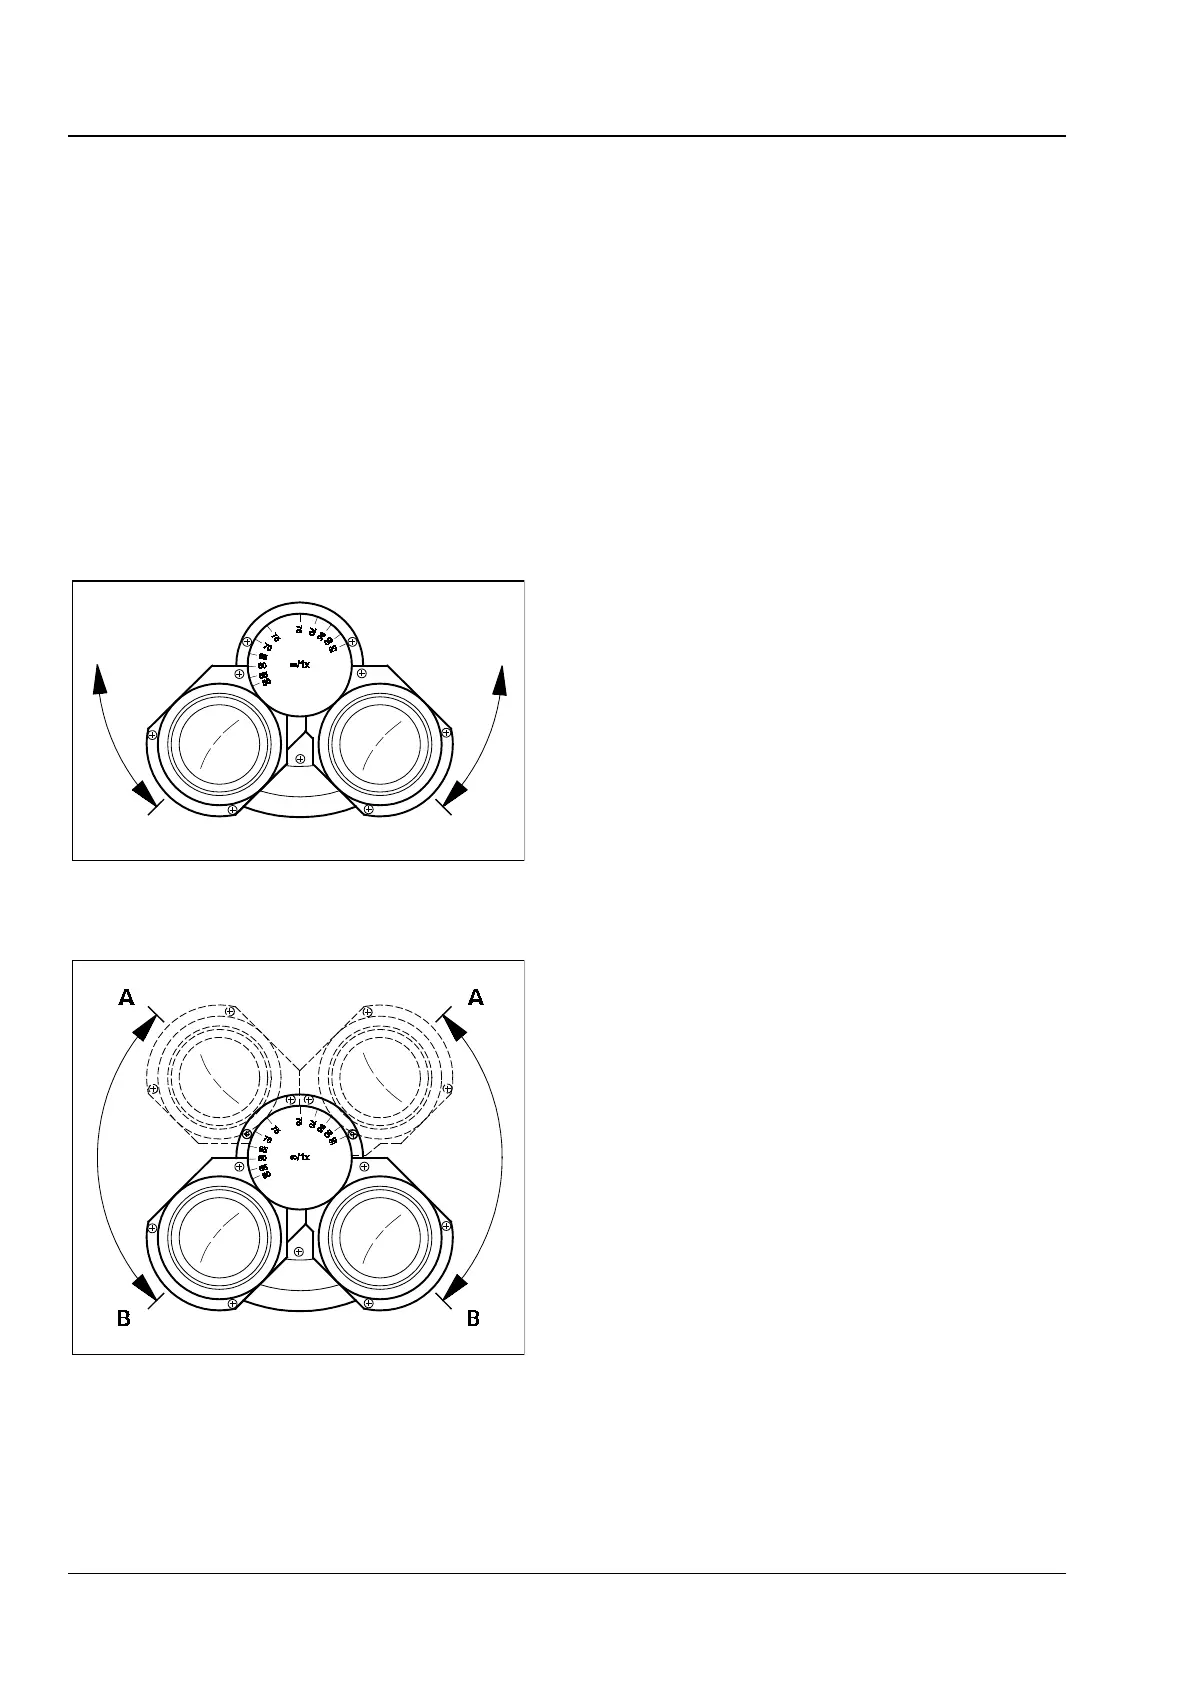
3.5 Adjusting Interpupillary Distance
and Viewing Height
• Rotate the eyepiece tubes symmetrically toward
or away from one another to adjust the
distance between the tubes to your individual
interpupillary distance (Fig. 29).
With the correct interpupillary distance you see
only one round image while looking through both
eyepieces!
• Swivel the eyepiece tubes upward (Fig. 30/A) or
downward (Fig. 30/B) to adjust the viewing
height to your individual requirements.
Fig. 29 Adjusting the interpupillary
distance
Fig. 30 Adjusting the viewing height