©2019, Zortrax S.A. All rights reserved. All trade names, logos and trademarks mentioned in the following
document are registered trademarks of Zortrax and are subject to legal protection.
48
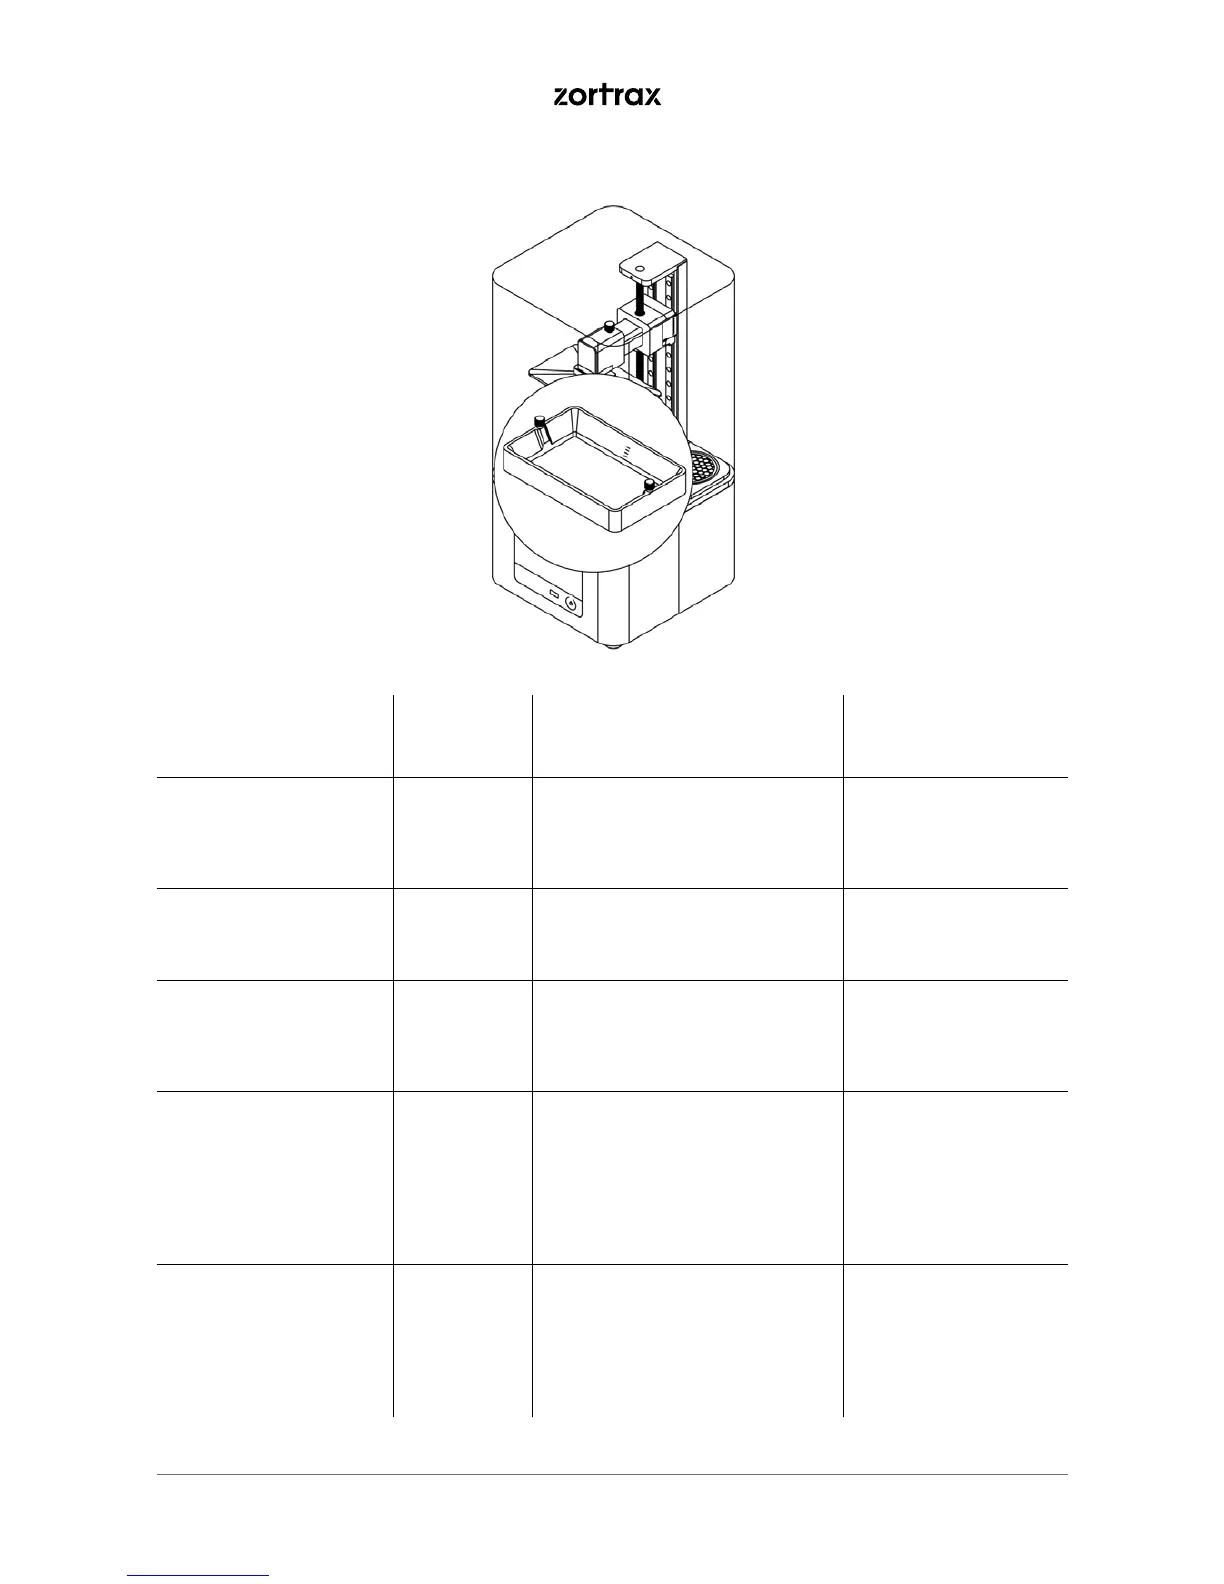
2. Hotend
Activity Frequency Solutions to the problems Necessary accessories
Cleaning the underside
of the FEP lm
Every
time the
resin tank is
removed
Soak a paper towel in IPA and
clean the underside of the FEP
lm.
-paper towels,
-IPA,
-safety gloves
Checking if there are
residues of cured resin
in the tank
Before each
printing
process
Use a plastic spatula and slightly
mix the resin to check if there are
any residues in the liquid.
-a plastic spatula,
-safety gloves
Checking if there are
residues of cured resin
on the FEP lm
Before each
printing
process
Empty the resin tank. If there are
any residues of cured resin on
the FEP lm, remove them using
a plastic spatula.
-a plastic spatula,
-safety gloves
Emptying and cleaning
the resin tank
Every time
the resin
type
or color is
changed
Insert the resin lter into the sil-
icone funnel and pour the resin
left in the tank into the bottle.
Follow the instructions in the
manual: https://support.zortrax.
com/resin-tank-cleaning/
-resin lter,
-silicone funnel,
-bottle of resin,
-paper towels,
-a plastic spatula,
-Ultrasonic Cleaner
(optional)
Replacing the FEP lm Once the
FEP lm
becomes
bent, de-
formed, or
perforated
Follow the instructions in the
manual: https://support.zortrax.
com/fep-lm-replacement/
-a new FEP lm,
-a screwdriver,
-paper towels,
-IPA,
-safety gloves