Configuration manual for 2N IP intercoms
•
•
•
•
Firmware Upload
We also recommend you to update your intercom firmware upon the first login to the
intercom. Refer to www.2n.cz for the latest firmware version. Press the Update Firmware
button in the System / Maintenance menu to upload firmware. The intercom will get
restarted upon upload and only then the updating process will be complete. The process
takes about 30 seconds.
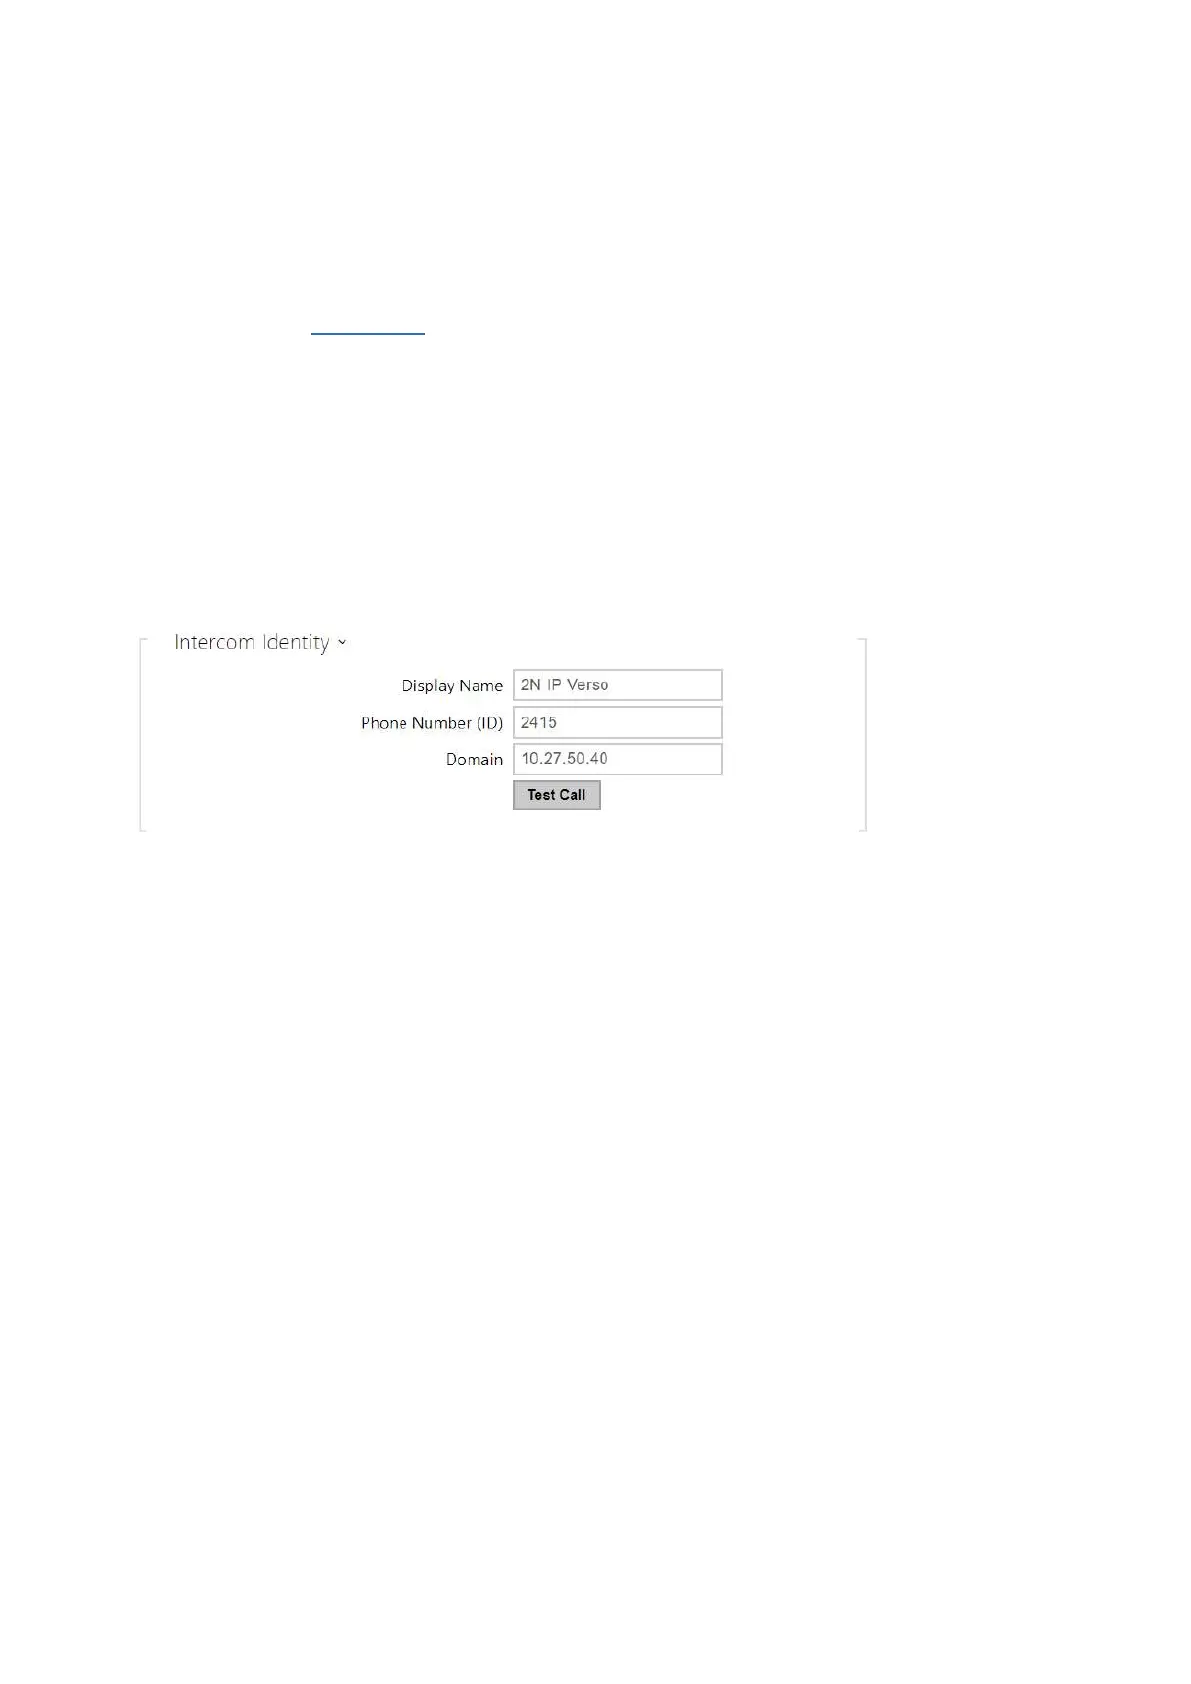
SIP Server Connection Setting
To allow your intercom make calls and be accessible within your VoIP infrastructure Set
the following parameters in the Services / Phone / SIP menu to allow your intercom make
calls and be accessible within your VoIP infrastructure.
Display name –set the name to be displayed as CLIP on the called party's phone. Set
the name to be displayed in the login window and web interface start page.
Phone number (ID) –set the intercom phone number (or another unique ID
composed of characters and digits). Together with the domain, this number
represents a unique intercom identification in calls and registration.
Domain – set the domain name of the service with which the intercom is registered.
Typically, it is equivalent to the SIP Proxy or Registrar address. If you do not use a
SIP Proxy in your intercom installation, enter the intercom IP address.
Test call – display a dialog window allowing you to test a call to a selected phone number,
see below.
If you use a SIP server (Proxy, Registrar), set the addresses for the following network
elements :