113D Systems, Inc.
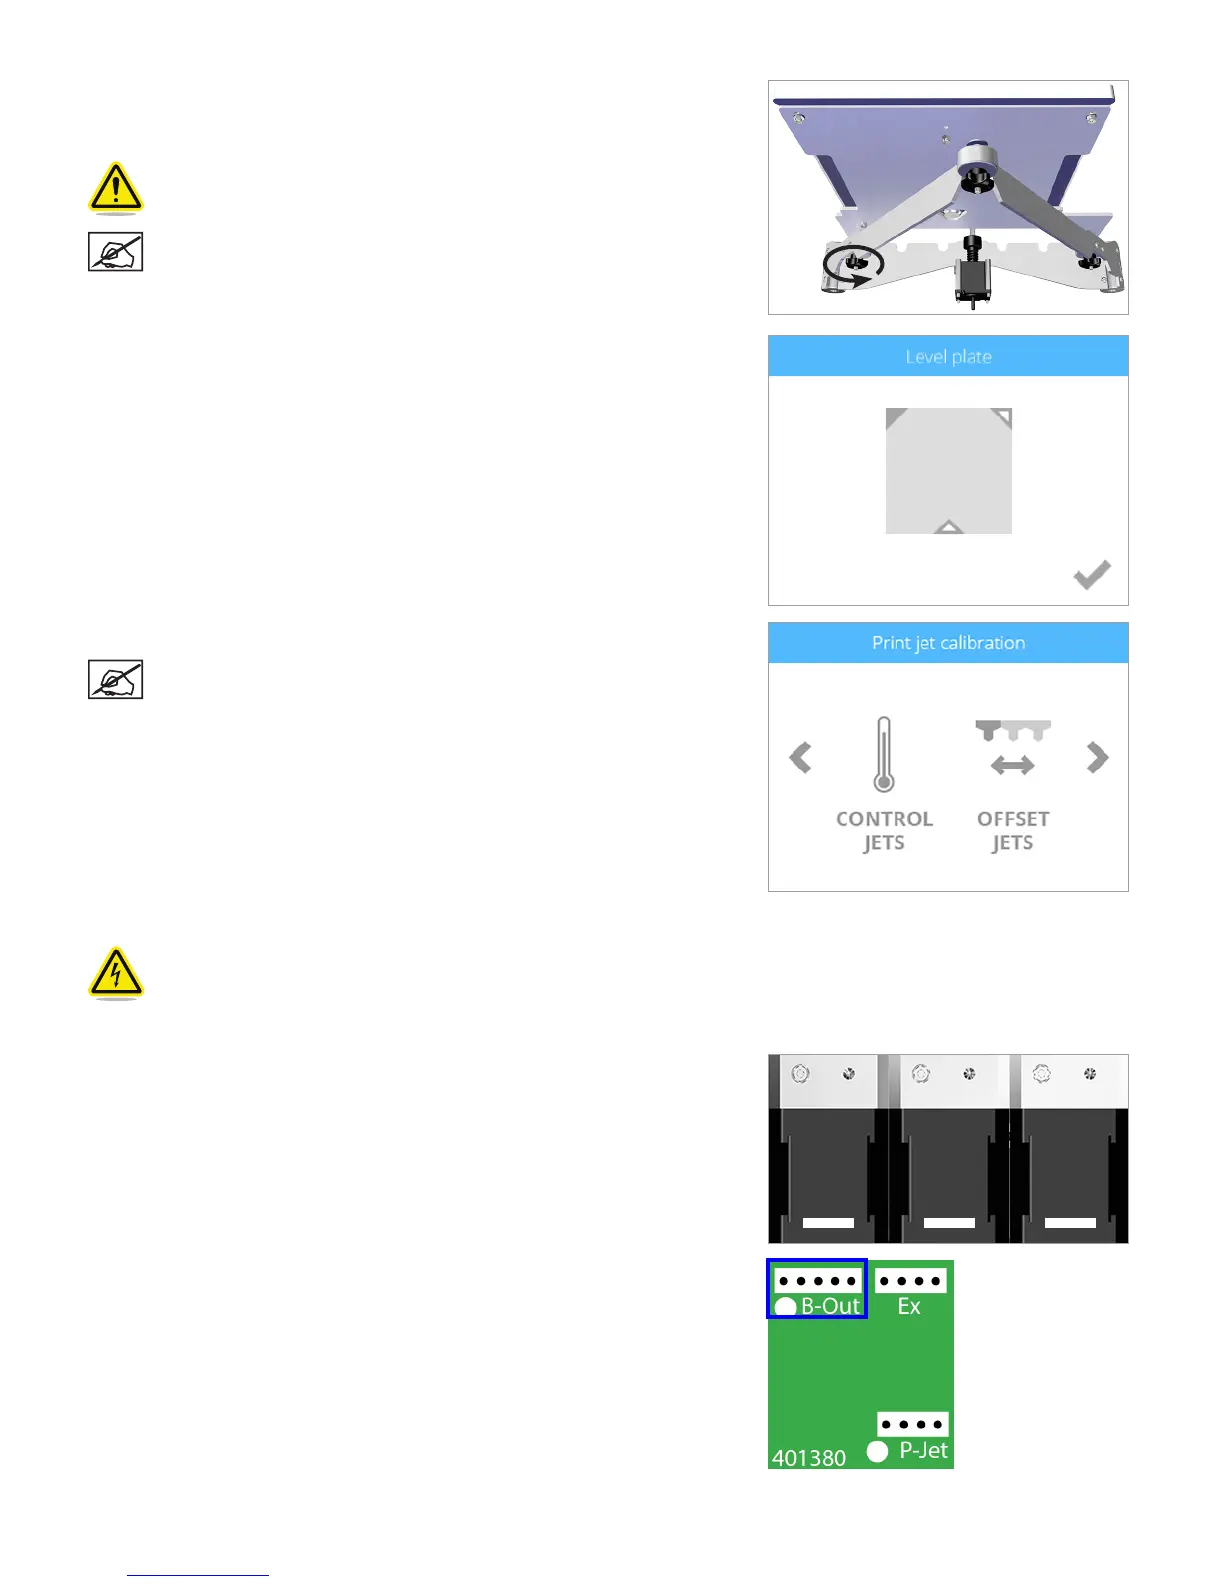
10. If there is no resistance on the paper when sliding it between the print jets and
the print pad, rotate the adjustment knob counter-clockwise (from the bottom)
until there is a slight resistance.
CAUTION: If the print pad is set too high, damage to the print pad or
print jets may occur.
NOTE: If the paper can not be inserted between the print jets and
the print pad, turn the adjustment knob clockwise (from the bottom)
until there is a slight resistance on the paper.
11. Once completed, select the checkmark to exit the utility.
12. Navigate to the Print Jet Calibration screen and select CONTROL JETS.
NOTE: Visually inspect the two extruder fans in front of the extruder
assembly and verify they are spinning. If they are not spinning,
contact Cubify Support.
13. Power off the printer and disconnect it from utility power.
CAUTION: The printer must be powered off and the power cord must be disconnected from utility power.
14. Remove the lid from the top of the printer.
15. Disconnect the cable (X1 (A), X2 (A) or X3 (A)) from the affected extruder
motor.
16. Disconnect the 5-pin jumper cable (PN: 401888-00) from junction B-Out of the
affected extruder.
X1 (A) X2 (A) X3 (A)