ProJet
®
860Pro User Guide Additional Operations
3dscentral.3dsystems.com 45 All Rights Reserved
5/12/13
5.5 Add Cleaning Solution
If there is not enough cleaning solution, 3DPrint displays ADD CLEANING SOLUTION in the Printer Sta-
tus dialog.
Important: Do not add cleaning solution unless you are prompted to in the 3DPrint Printer Status
dialog.
To add cleaning solution, follow the steps below.
1. Open the lower door (under the Build Chamber).
2. Pull the empty cleaning solution cartridge out of its housing on the printer.
3. Get a new cleaning solution cartridge. Check the expiration date, and check the cartridge label for the
correct orientation.
4. Insert the cartridge into its housing. Ensure the cartridge is pushed all the way in. You should feel it
gently snap into place.
Important: If a cartridge does not snap into place, do not force it. Check the orientation and that it is
the correct type and try again.
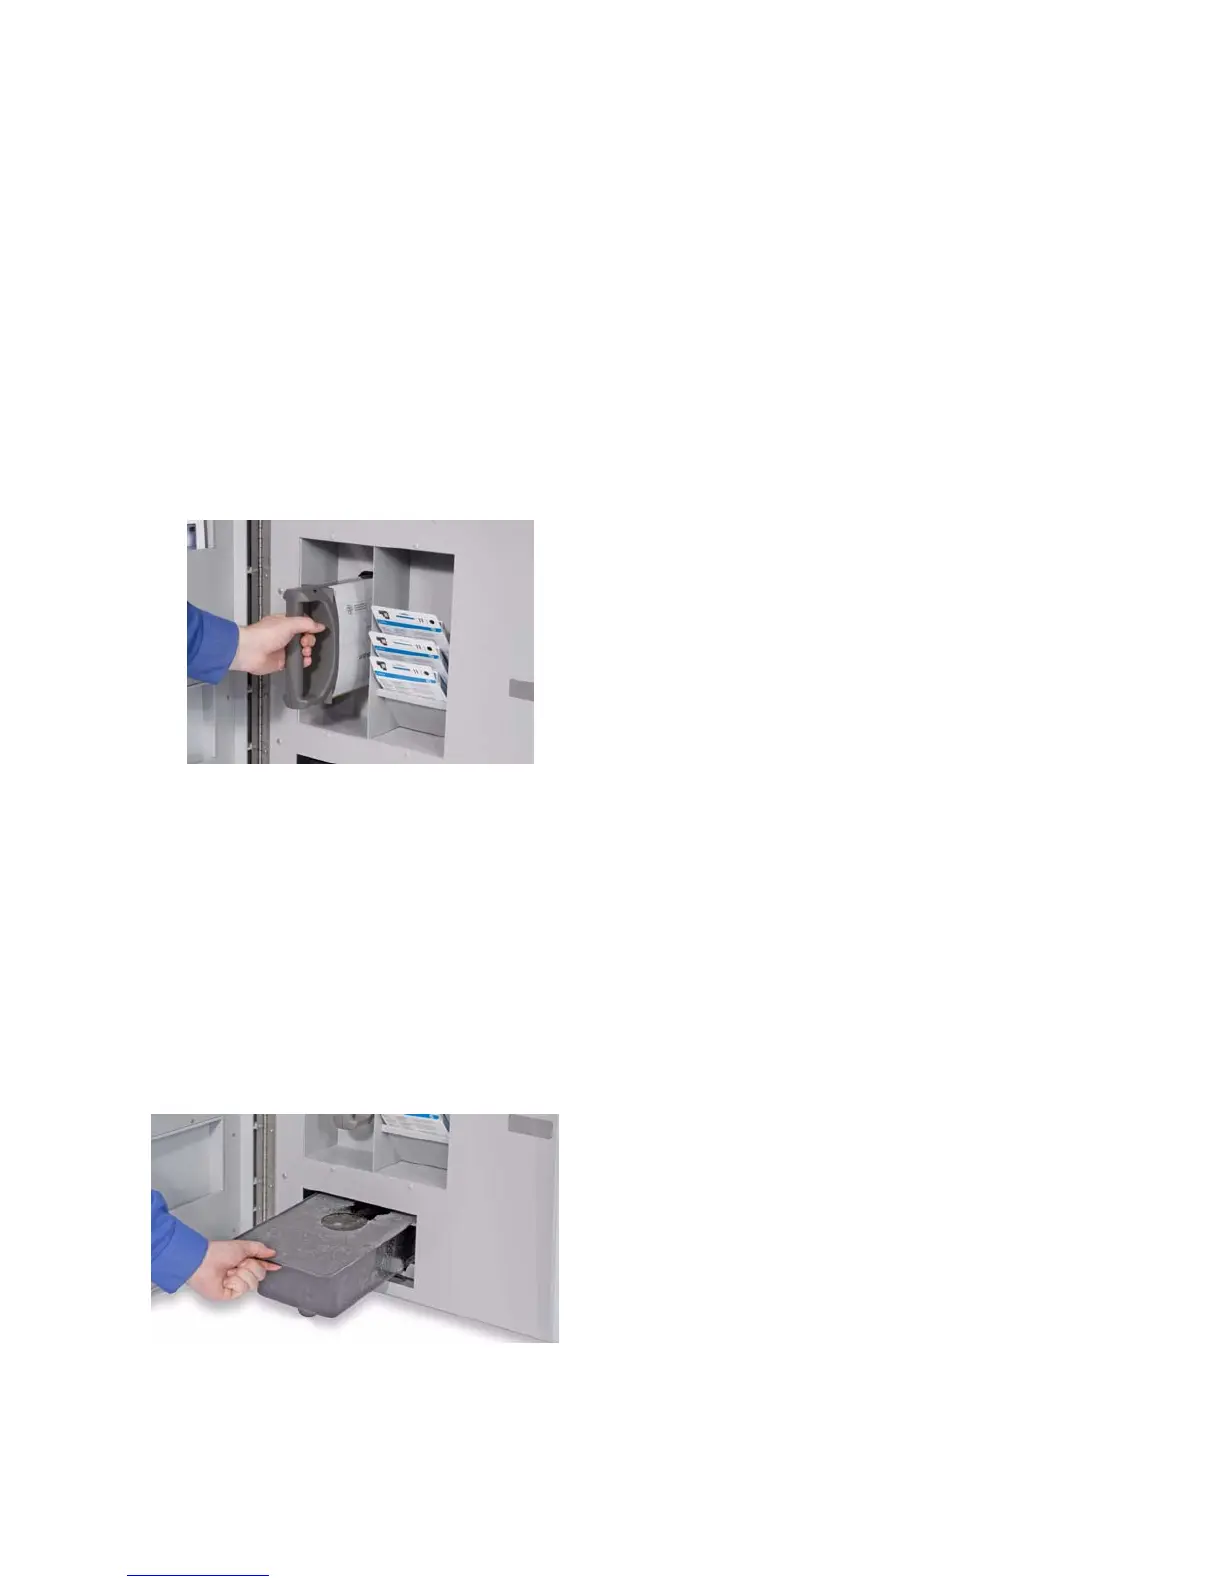
5.6 Replace the Waste Tray
If the Waste Tray is Full, 3DPrint displays EMPTY WASTE TRAY in the Printer Status dialog.
To replace the Waste Tray, follow the steps below.
1. Open the lower door (under the Build Chamber).
2. Pull the full Waste Tray out of its compartment on the printer.
3. Insert a new Waste Tray into its compartment. Ensure the Tray is pushed all the way in.