3
Figure 3. Face-to-Face Window
4. Mark the wiring hole equidistant from each mounting hole.
5. Drill the wiring and mounting holes.
6. Install the appropriate mounting anchors.
7. Route the speaker and mic cables through the wiring hole.
Note
The wire exit hole in the housing is sized to accept a 1-inch conduit fitting.
8. Secure the housing to the speaker post or wall using the appropriate mounting screws.
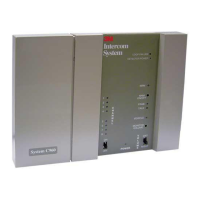
9. Reinstall the cover. Tighten the screws evenly, starting with the four center screws. See Figure 2 or 3.
Important
The cover screws must be tightened securely and evenly to attain sufficient isolation between the
speaker and microphone for duplex operation.