Installation Manual v3.1 | VISIX S-Series Network Camera
12000 Pecos Street, Suite 290, Westminster, CO 80234 | www.3xlogic.com | (877) 3XLOGIC
Camera
Switch/Router
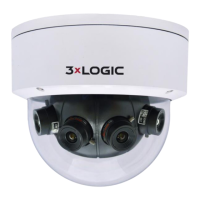
Align the snap and notch.
i. Insert ⑤ into ④.
ii. Secure ⑥ with ④.
Water-proof Accessory Installation
(OPTIONAL) INSTALLATION OF WATERPROOF TAPE
Purpose:
If the camera is installed outdoors, you can use the supplied water-proof tape to protect cable connectors and
unused cables after the camera is secured to the installation surface.
Steps:
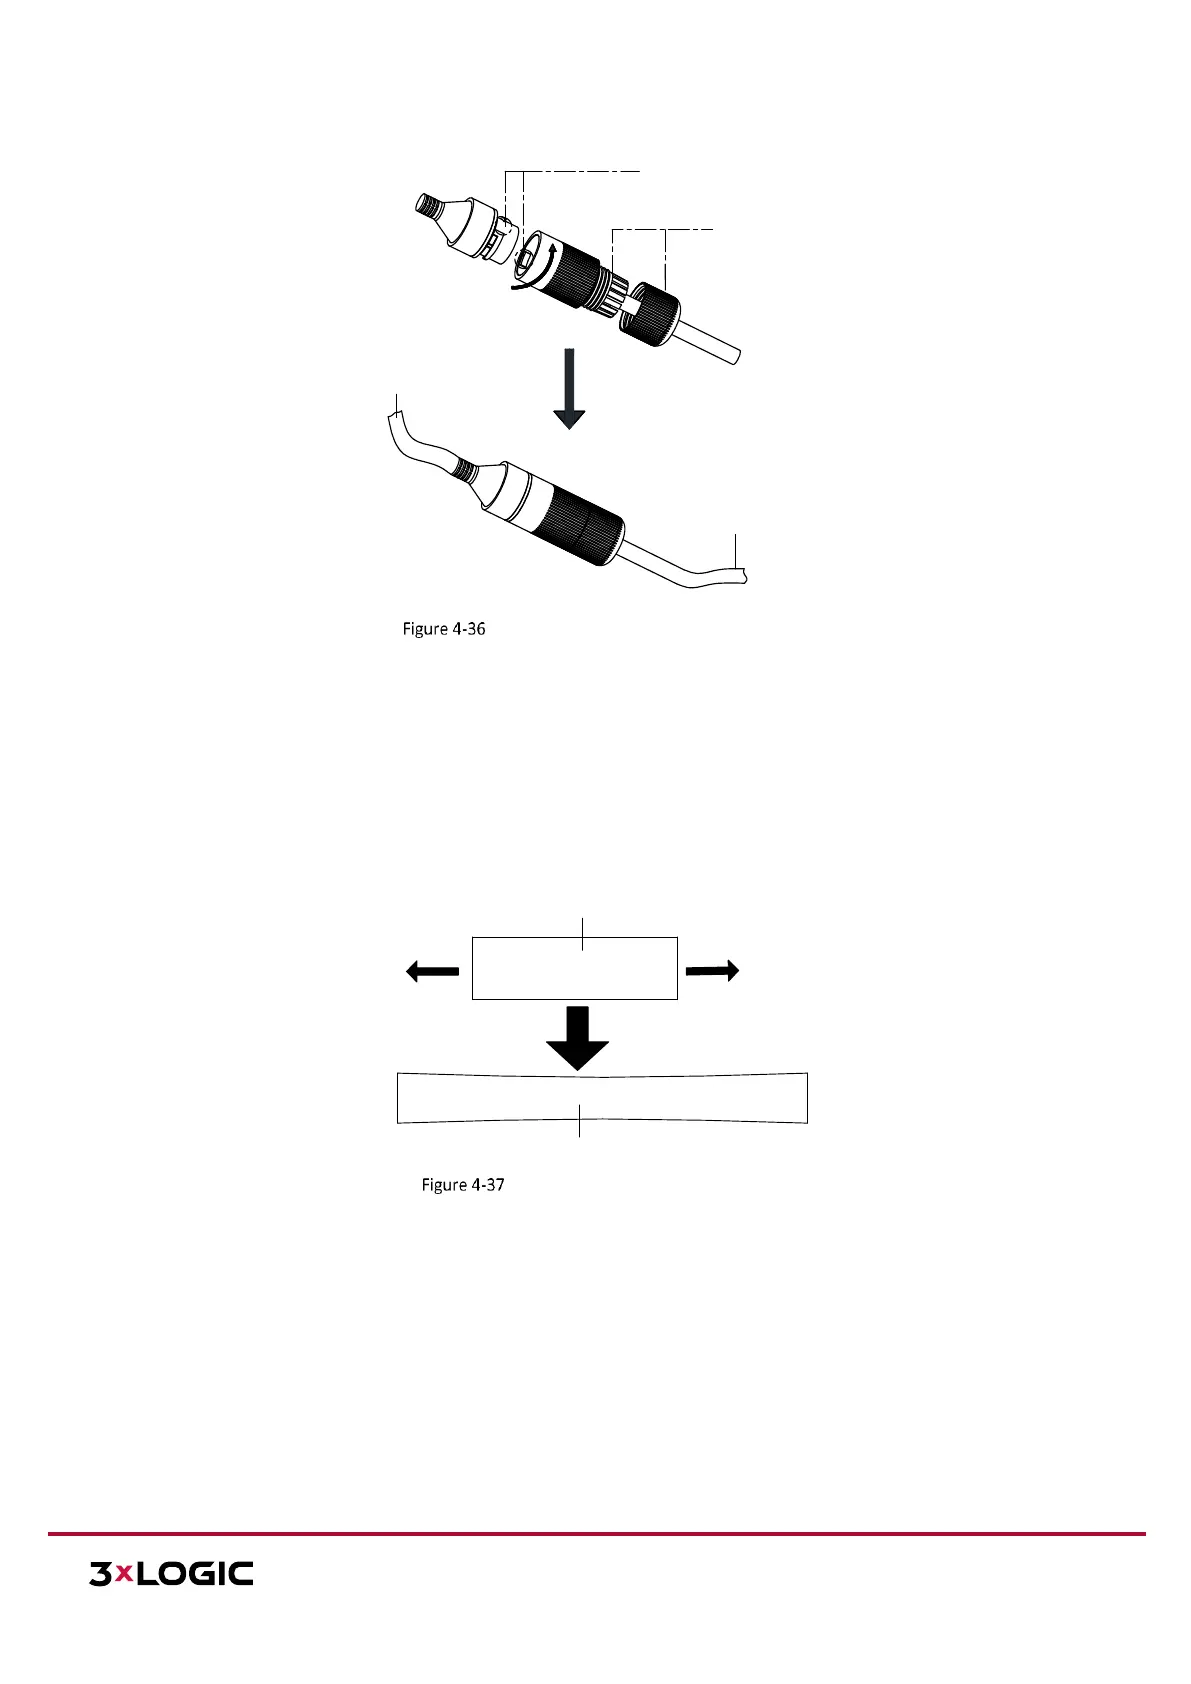
1. Tear off the yellow release paper on the back of the water-proof tape.
2. Stretch the water-proof tape to reach twice the initial length.
Stretch
Stretch
Initial Length
Waterproof Tape Length After Stretching
Stretch the Water-proof Tape
3. Wrap the water-proof tape around the cable connector tightly as shown in the figure below.
 Loading...