4 Transmitter start up
266 MODBUS® multivariable transmitter User manual 2105216 Rev. AB | 39
Leak-testing manifold connections
Process stream connections to the manifold and manifold to flange connections must be leak-free prior to system validation and
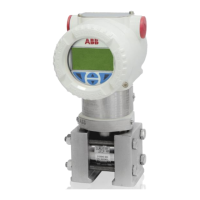
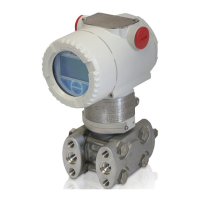
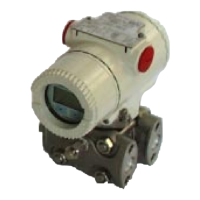
subsequent operation. A leak can produce inaccurate results. Figure 33 shows a view of the transmitter with a 3-valve manifold.
HL
HL
HL
A B
C
Vent/Test Vent/Test
Tap valve connectionsTap valve connections
Manifold tubing connections
Manifold to flange connections
Process Process
Instrument
Figure legend:
A) Low side equalizer valve
B) High side equalizer valve
C) Manifold vent valve
H) High (+) pressure side
L) Low (-) pressure side
Figure 33: Connections and manifold valve operation (for illustrative purposes only)
Before validating the transmitter measurement system, all tube connections should be leak-tested and leak-free. The following
procedure provides instructions for leak-testing a 3-valve manifold. If another type of manifold is used, adjust this procedure
accordingly.
1. Verify that the equalizer valves (Figure 33, items A and B) are open and the manifold vent valve is closed (item C).
2. Apply pressure to the high side vent/test port based on the transducer range (100%).
3. Squirt liquid leak detector onto the following connections.
– High and low pressure tap valve connections
– High and low pressure manifold tubing connections
– Connection point between the flange and the manifold
4. Bubbles in the liquid indicate a loose or poor connection.
5. Using the appropriate size wrench, tighten any loose connections, then recheck with the liquid leak detector. Do not over
tighten.
6. When all connections are leak-free, continue to section 4.3.3, Validating transmitter measurement.