What You See on the Display What You Do Comments
6-2
Questions? Refer to Page 10-10 for Technical Support Instructions.
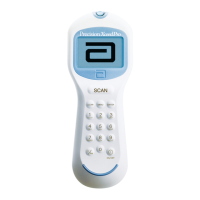
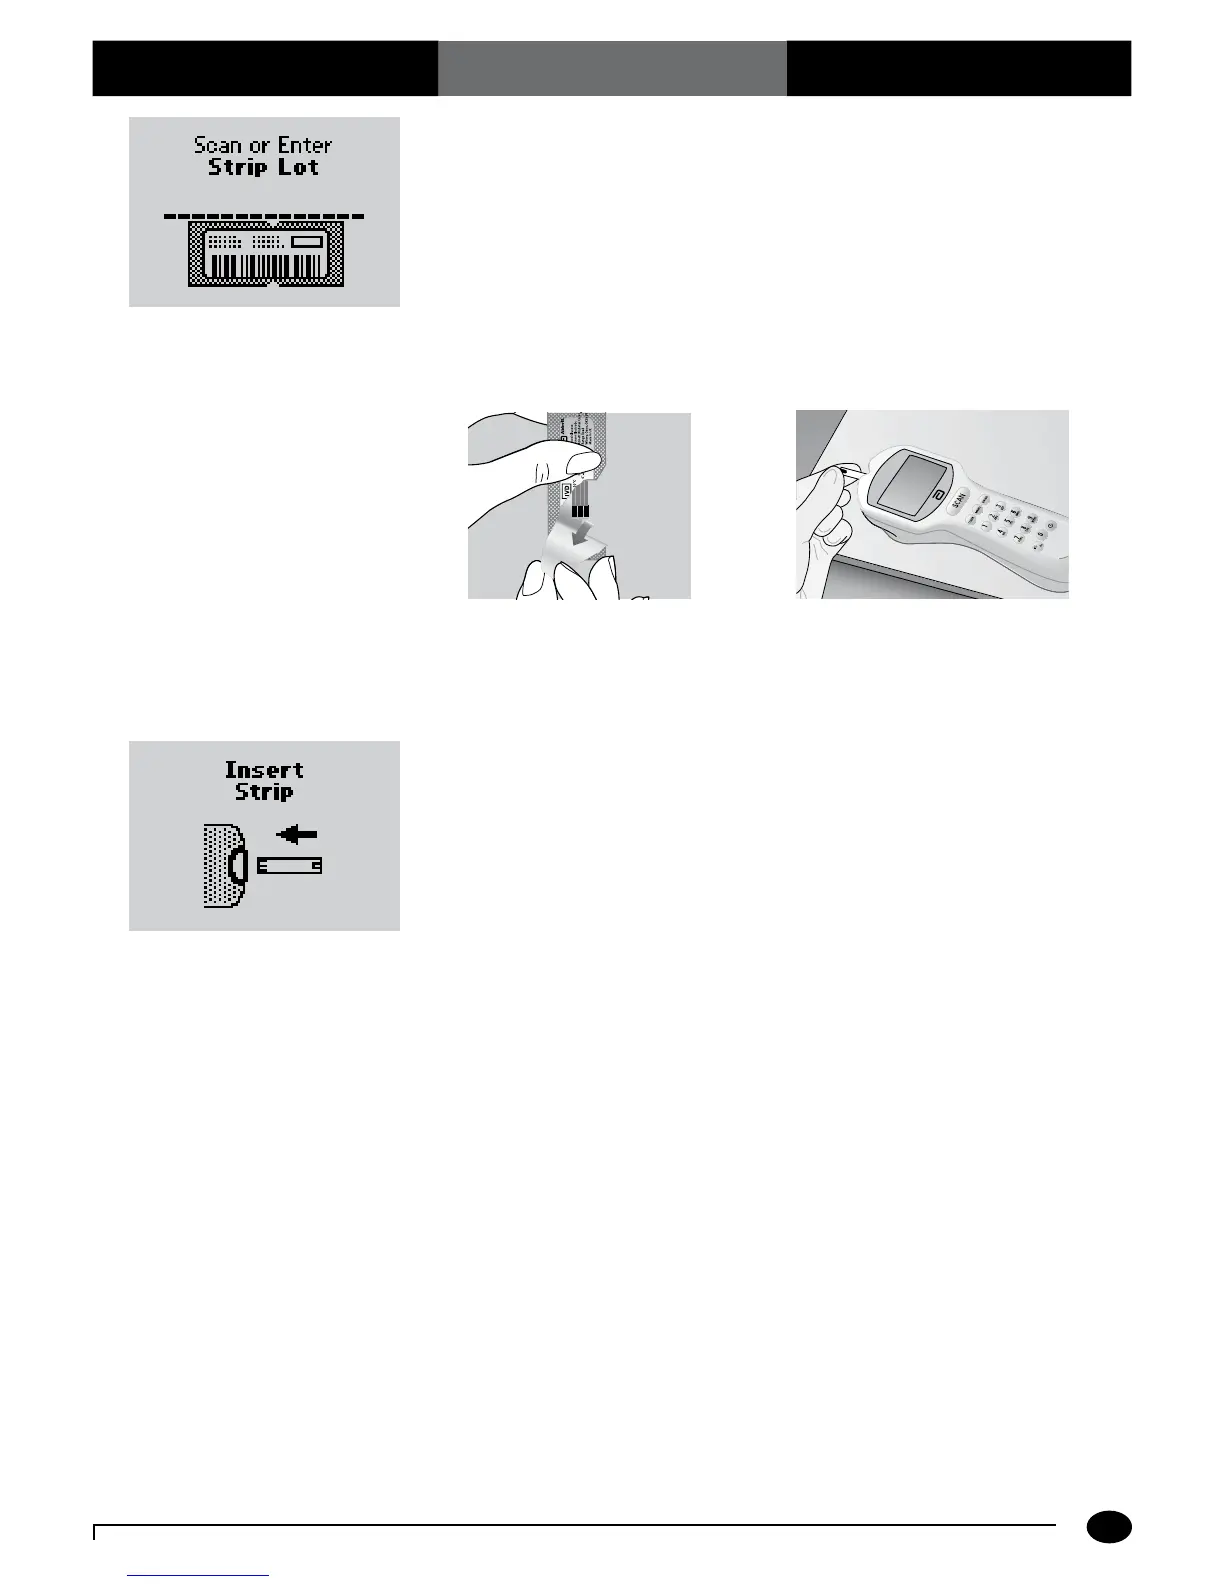
6. P r e s s Scan to scan the test strip bar
code or manually enter the test strip lot
number via the keypad , then press Enter.
Scanning the bar code identifies the strip
type, calibrates the monitor, ensures the
expiry date has not passed, records the strip
lot used, and checks that the lot has been
approved for use by your institution.
7. Open the foil test strip packet at the
notch and tear down to remove the test
strip.
With clean, dry hands, you may gently touch
the test strip anywhere when removing it
from the foil to insert it into the monitor.
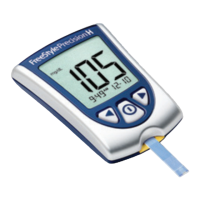
8. With the contact bars facing up, insert the
test strip into the test strip port until it
stops and Strip Inserted is displayed.
Prior to inserting the test strip, ensure that
the port protector is installed and that it
is clean and dry. Replace if necessary. The
display will alternate between Insert Strip
and Glucose.