EN - 19
CAT 3 11 Disassembly
11 Disassembly
• Please also consult the operating instructions for the welding
components, such as the power source and compressed air line.
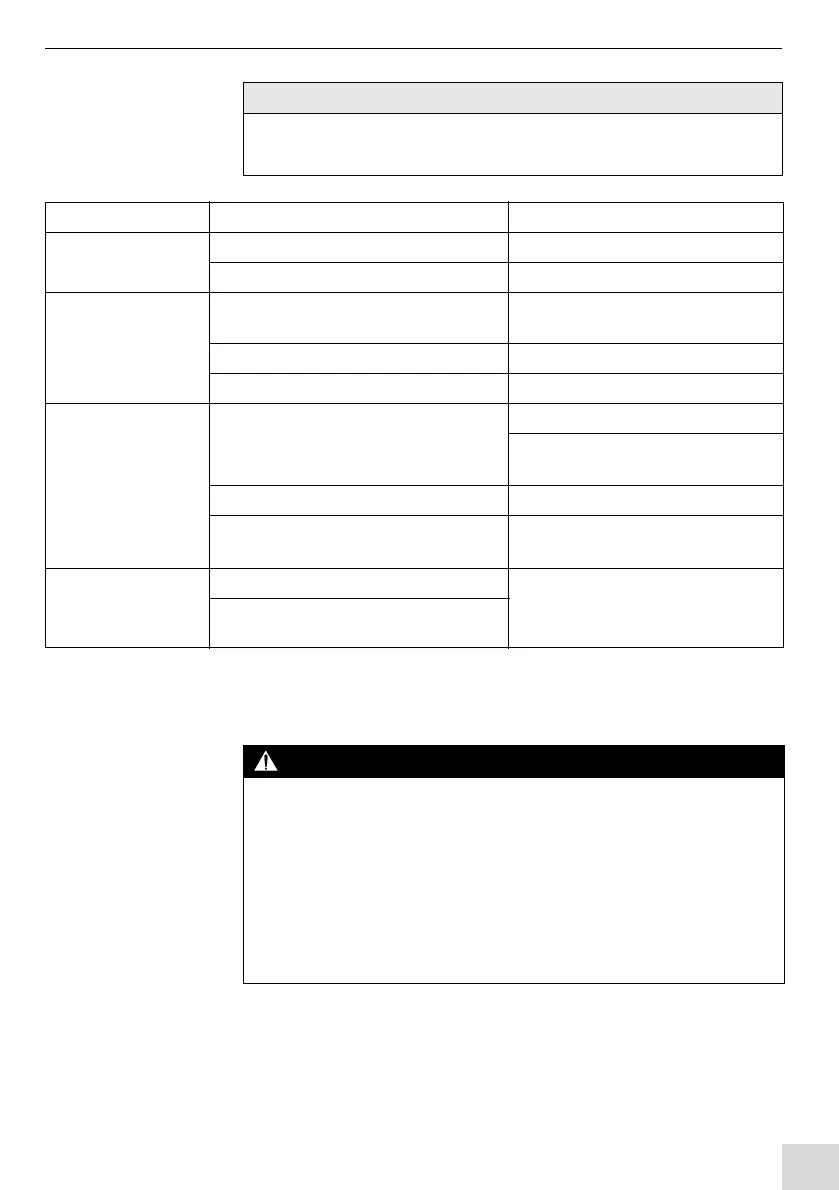
Fault Cause Troubleshooting
Torch mount cannot
be attached
• Wrong torch mount used • Use the correct torch mount
• CAT 3 mounting flange is defective • Send the CAT 3 for repair
CAT 3 does not
activate the stop
signal
• Cable not connected between the
CAT 3 and the cable assembly
• Connect the cable
• Cable defective • Replace the cable
• CAT 3 switch defective • Send the CAT 3 for repair
The CAT 3 does not
reset to the zero
position
• Mounted load is too heavy
• Reduce the mounted load
• Observe the data provided by the
manufacturer
• Mechanical defect • Send the CAT 3 for repair
• Attachment parts (bracket etc.) not
correctly connected
• Check if the attachment parts are
properly connected
CAT 3 triggers
despite there not
being a fault
• Mounted load is too heavy • Adapt the load to the
specifications
3.1 Technical data on page EN-7
• Robot speed is too high
Tab. 13 Troubleshooting
Risk of injury due to unexpected start-up
The following instructions must be adhered to throughout all maintenance,
servicing, assembly, disassembly and repair work:
• Switch off the power source.
• Close the compressed air supply.
• Close the gas supply.
• Switch off the entire welding system.
• Pull the mains plug at the robot welding power source.