120
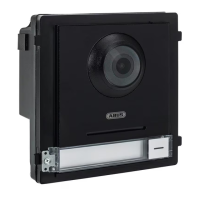
Adding an ABUS Network camera
To add an ABUS network camera to the system, please click the “+” symbol at the top right under
“Add device”.
Select “Private protocol” for ABUS cameras and assign a device name of your choosing. The IP
address of the camera in the network and the RTSP port (default 554) are also required for
connection. Then you still need to enter the username and password for your network camera.
The list of compatible ABUS network cameras can be found at www.abus.com.
5.2.4.4 Configuration – default settings
Default settings: Resets the monitor to default settings. It will still be activated and
the password will remain the same.
Factory settings: Completely resets the monitor including password to factory
settings. The monitor will then be in “inactive” status.
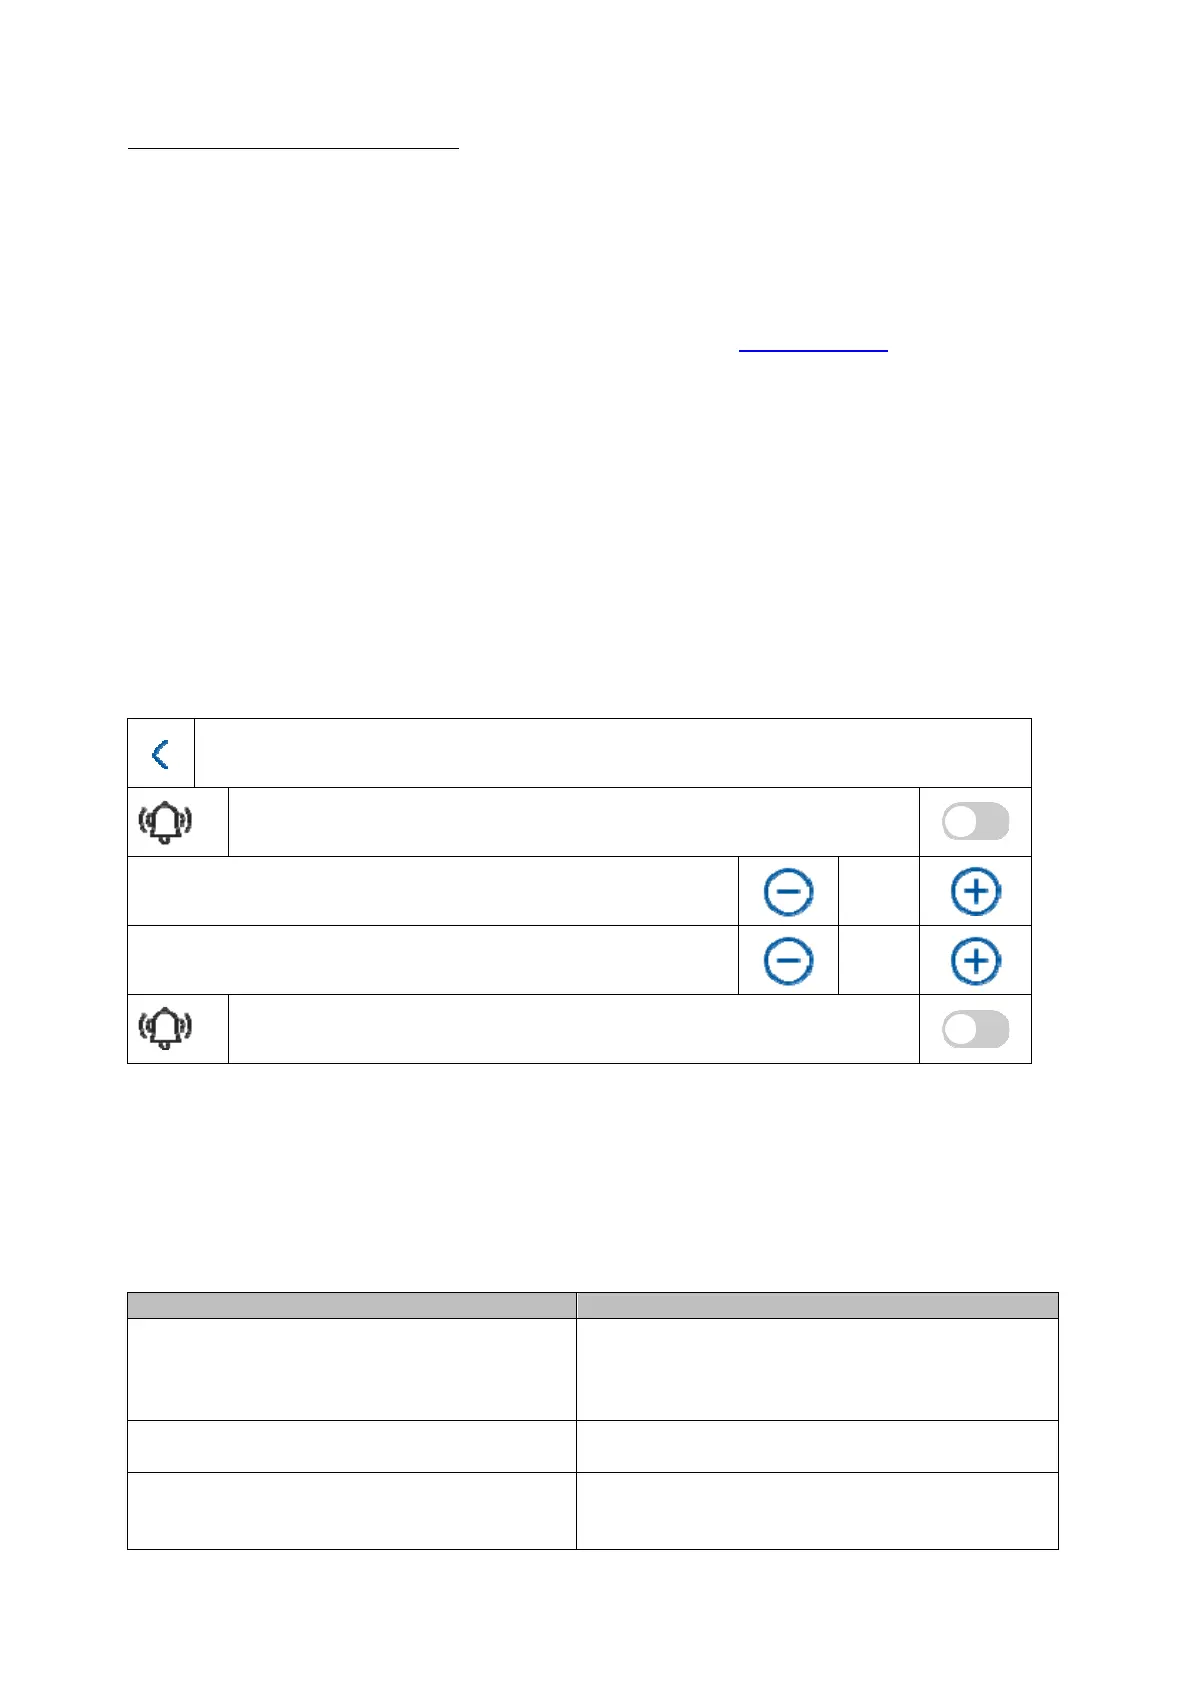
5.2.5 Relay configuration
Relay configuration
Relay 1
Duration
3s
Interval
5s
Relay 2
Under “Relay configuration”, the two monitor relays themselves are configured. The configuration
in this menu has no impact on the video door module relay.
The relay outputs are on the back of the monitor and can be connected via the enclosed splitter
cable. The assignment is printed on the back of the monitor.
The relay 1 is switched between COM1 and NO1, relay 2 is connected to COM2 and NO2.
Button/display Description
Relay 1 Activates/deactivates the function for an
additional (or already existing) doorbell. The
relay 1 on the monitor is triggered in parallel to
a call.
Duration Determines how long the relay for the
additional doorbell is triggered when pressed.
Interval Determines the interval in which the relay is
triggered for the set “duration” of the additional
doorbell when pressed.
 Loading...