User Manual Tags 3-9
7. Wrap and overlap the band around the patient’s
wrist/ankle to determine the band length needed
and the holes to use by lining up the two male
snaps from the 3-hole tab section with two
overlapping holes from the band length section.
A properly fit snap band will not fall off the
patient nor will it restrict movement or blood
flow.
8. Fold over the coupon’s female snaps onto the
male snaps to secure the band. Press firmly on
each snap. Once locked together, the coupon
snaps cannot be adjusted. (Figure 3.21)
9. Carefully cut any excess band length material
and discard it.
10. Using an S-TAD (Secure Tag
Activator/Deactivator), activate the Tag.
The Tag’s red LED will blink rapidly to
indicate that the Tag is active.
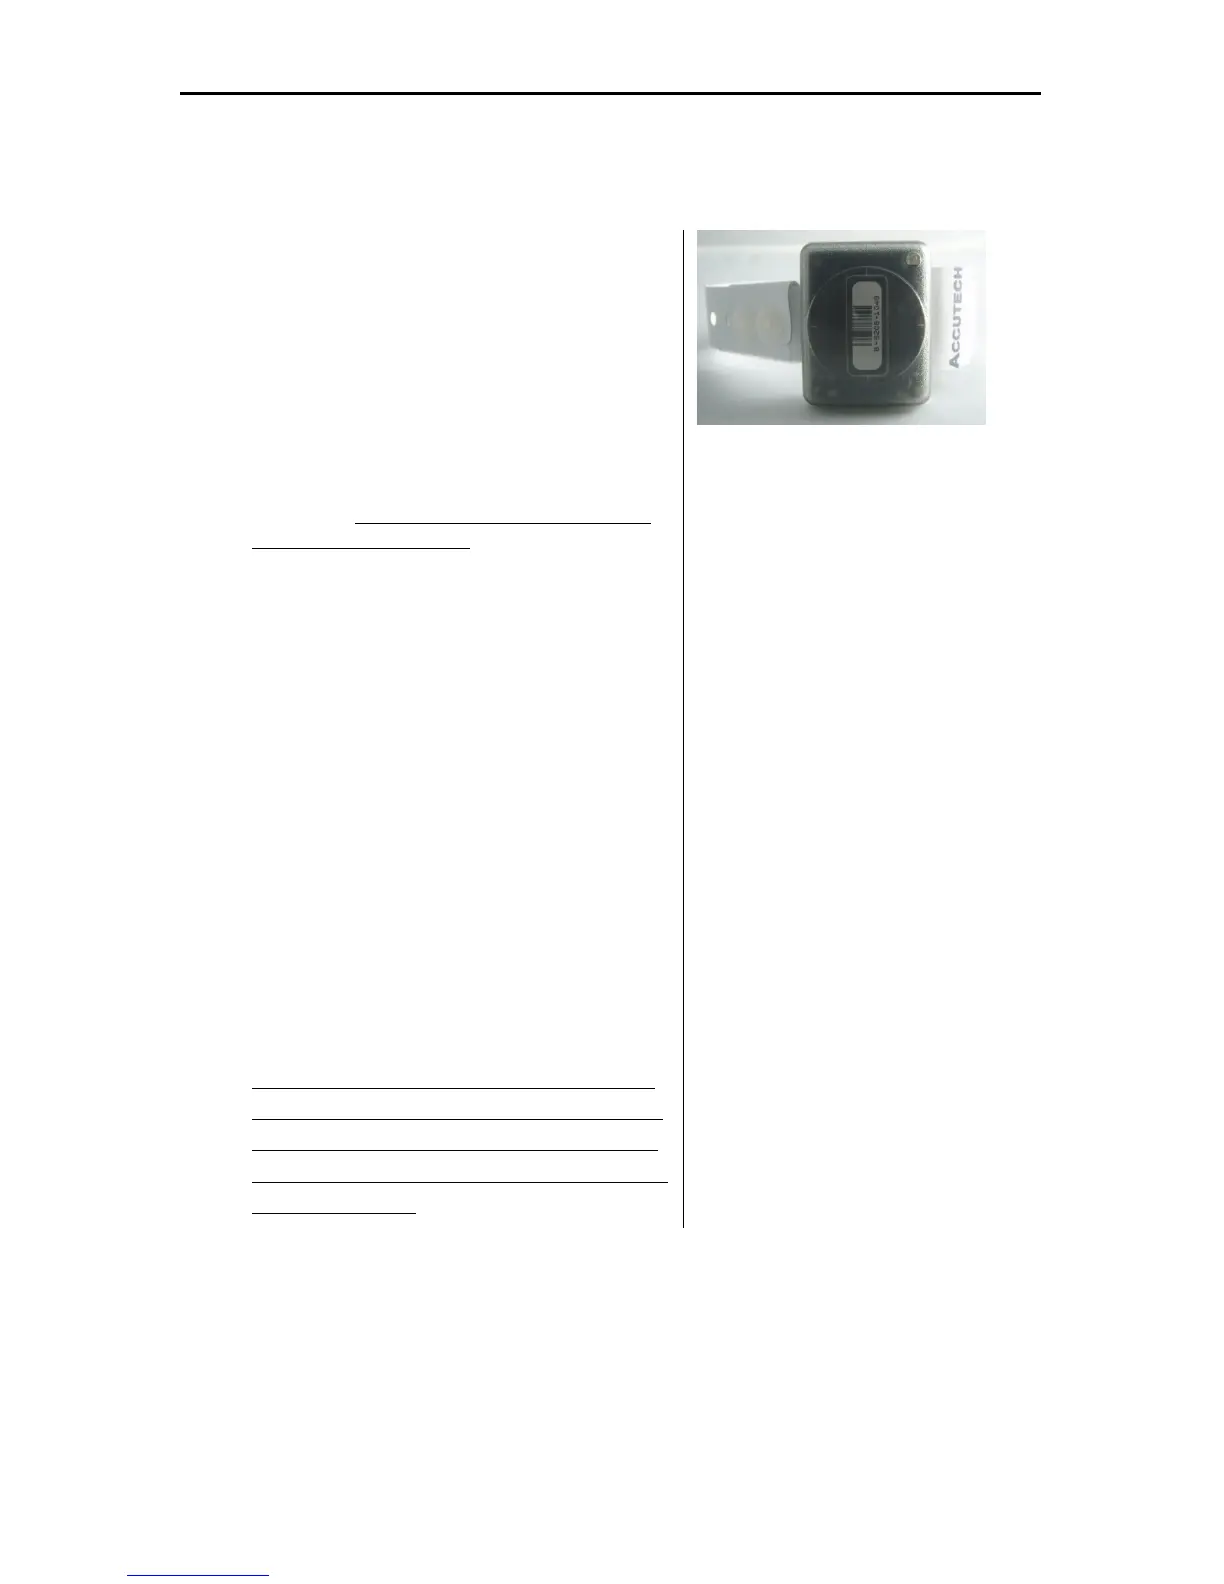
Figure 3.21 Secure the snap band by
folding over the female snaps onto the
male snaps. Carefully cut any excess band
length material. Using an S-TAD activate
the Tag.
Removing a Cut Band Tag with Pod
1. Turn off the Tag with an S-TAD.
2. Carefully cut off the band from the patient’s
extremity.
3. If present, separate and remove the top and
bottom plastic covers from around the Tag.
4. Remove any residue left over from the plastic
cover gasket before pulling the band out of the
Tag slot. Failure to remove residue may result
in residue buildup inside the Tag slot rendering
the Tags unusable.
 Loading...