38
Section 8 Data/Communication
Data Transmission
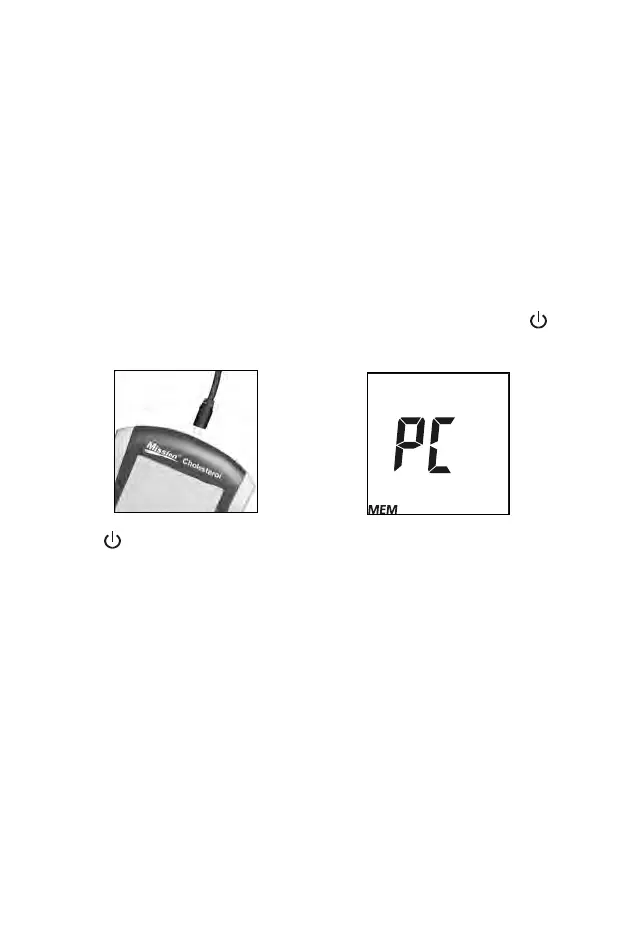
Plug the USB cable into the USB port located on the top of the meter and
connect the other end of the USB cable to a PC or a printer.
Note: The PC must have compatible software installed to receive
and process the data transmitted from the meter.
The printer is sold separately and for professional use only.
To transfer data to a PC, go to the Setup screen, press ◄ or ► until PC is
displayed. Refer to Meter Setup and Options for more details. Press to
enable the Data Communication mode. MEM will be displayed.
Press
to transmit the data to an external certified PC. After data
transmission is complete, the meter will return to the Setup Menu.
Data can also be printed using the Mission
®
printer. Results can be printed
directly after each test or printed from memory. Refer to the Printer Package
Insert for more details.
Note: Up to 200 test records are automatically stored in the memory.
After 200 test records are stored, the oldest test record will be
replaced by a new record. For example, if 200 records are
stored in the memory, the next test result (201) will replace the
first result in the memory.
Deleting Data
To delete all data from the meter database, enter the Setup Menu. Refer to
Meter Setup and Options for more details. Press ◄ or ► until dEL is
displayed.