44
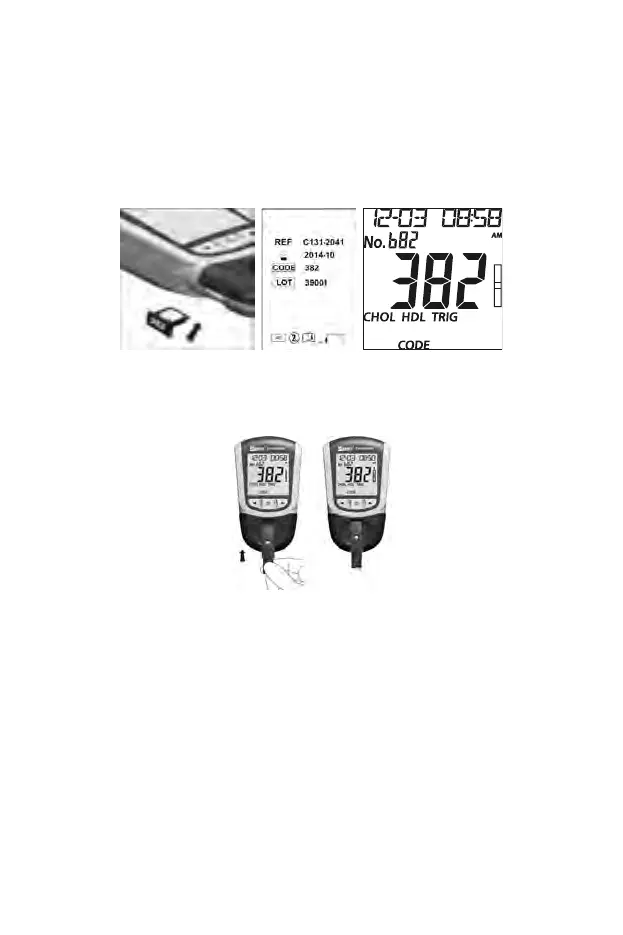
2. Insert the code chip into the meter. Refer to Coding the Meter in the
User’s Manual for details. Make sure the control solution is tightly closed
before use.
3. Compare the code number on the code chip with the code number
printed on the test device pouch label and ensure the two numbers are
identical to avoid inaccurate results.
4. Wait for the meter to flash the test device symbol. Insert a test device
completely into the device channel of the meter in the same direction as
the arrow printed on the test device until it cannot be inserted any further.
5. When the meter is flashing the blood drop symbol, open the screw cap of
the control solution bottle and turn the bottle upside down. Squeeze the
control solution bottle gently and discard the first drop. If there are
bubbles in the previous drop, squeeze the bottle and discard another
drop until there are no bubbles in the drop. Apply the next drop to the
specimen well on the test device while keeping the bottle vertically upside
down. Use about 35 μL of control solution for the 3-in-1 test device or
about 10 μL of control solution for an individual test device. Make sure the
control solution is applied directly into the specimen well and that there is
no bubble in the solution drop. Because the required sample volume of
the 3-in-1 test device is larger than the volume required for the individual
test device, there are two kinds of bottles with different dropper tips.