Installation Guide
25
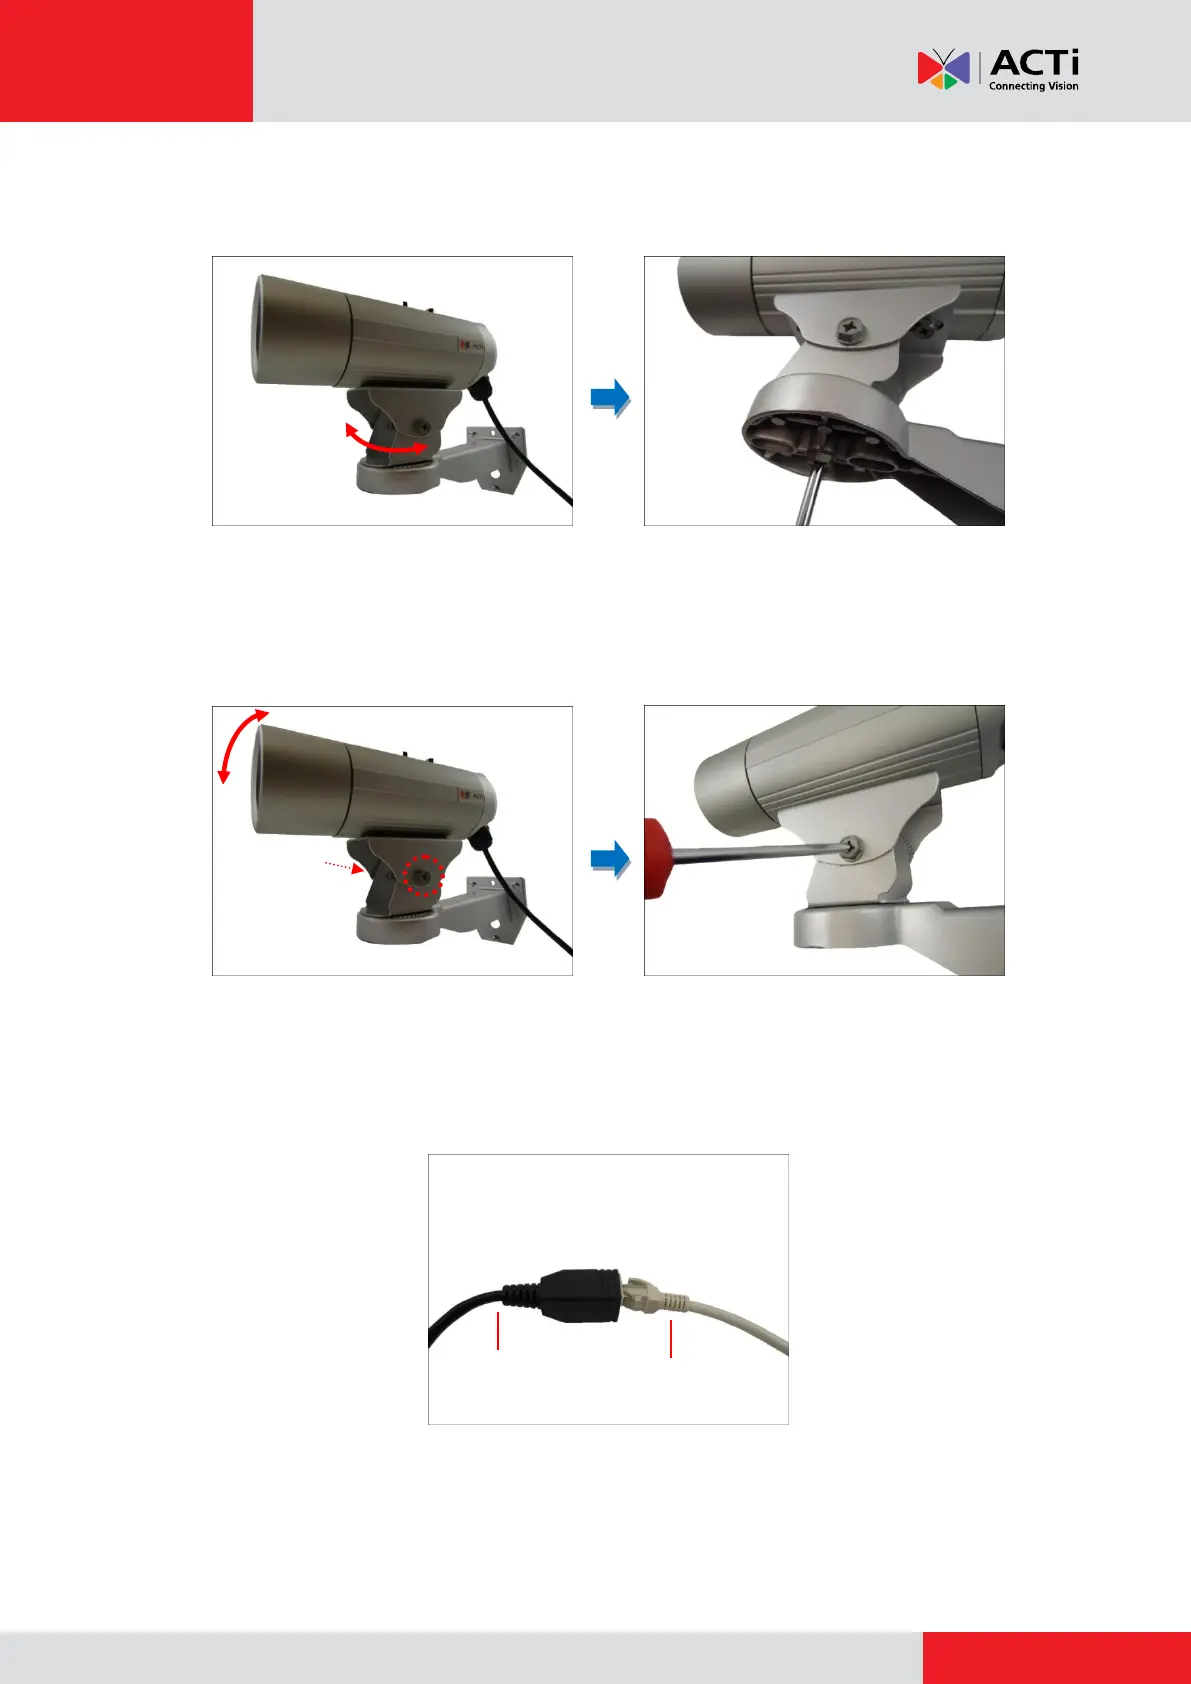
3. As needed, turn the holder left or right to adjust the camera viewing direction. Then, secure
the screw tightly to fix the position.
4. As needed, loosen the two (2) side screws of the holder and then move the camera up or
down to adjust the camera viewing angle. Then, tighten the two (2) side screws to fix the
position.
Step 3: Connect the Cables
1. Connect the Ethernet cable from the network side to the Ethernet port of the camera to
complete the installation.
NOTES on using Ethernet cables: For outdoor installations, it is recommended to use
exterior-grade Ethernet cables (CAT5/CAT5e/CAT6); ordinary Ethernet cables are only
designed for indoor use and may deteriorate quickly when exposed to outdoor elements.
Exterior-grade Ethernet cables are waterproof and do not require a conduit.
 Loading...