Installation Guide
8
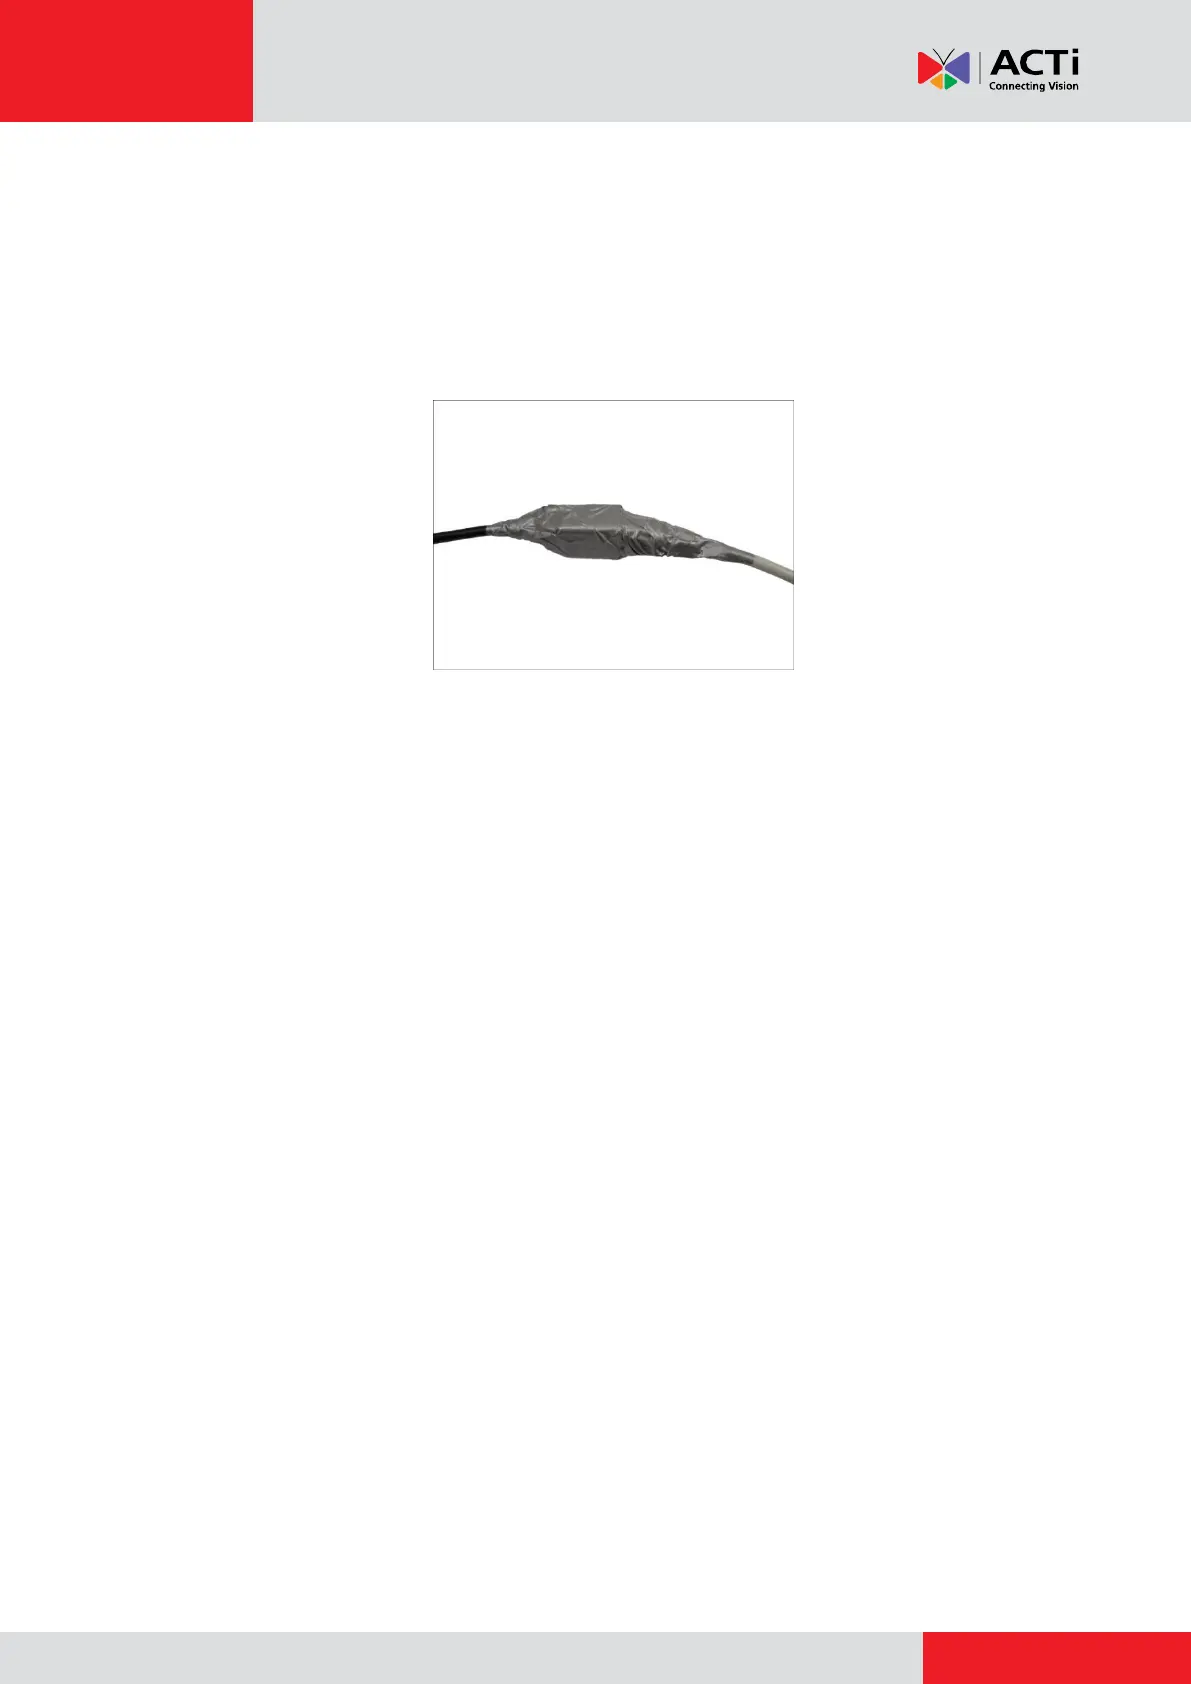
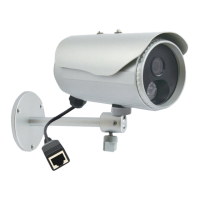
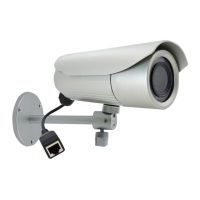
designed for indoor use and may deteriorate quickly when exposed to outdoor elements.
Exterior-grade Ethernet cables are waterproof and do not require a conduit.
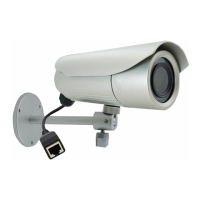
2. If the camera will be installed outdoors, waterproof the cable connection by wrapping it using
a moisture-sealant tape, such as 3M PRODUCTS Core Series 4-1000 (not included in the
package) or equivalent. See example below.
Step 4: Access the Camera Live View
See How to Access the Camera Live View on page 42 for more information.
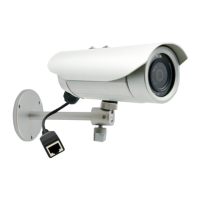
Step 5: Adjust the Viewing Angle and Focus
Based on the Live View, adjust the viewing angle and focus of the camera. Adjustments vary per
model; for detailed information, please refer to the following sections:
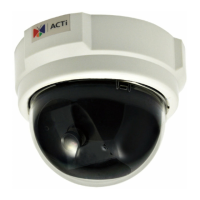
For D3x / E3x camera series, see D3x / E3x Series on page 50.
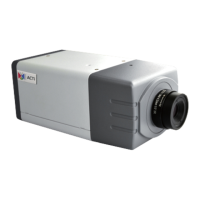
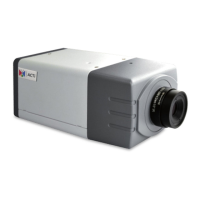
For D4x / E41 / E41A / E42 / E42A / E43 / E43A series, see D4x / E41 / E41A / E42 /
E42A / E43 / E43A Series on page 52.
Step 6: Attach the Sunshield
See How to Attach the Sunshield on page 53 for more information.