GAS CONNECTION
Essential recommendations for safety
• The gas connection must comply with all applicable local standards and regulations, and
the circuit will be equipped with a gas pressure regulator as required.
• The gas burner is factory preset for use with natural gas [equivalent to G20].
• The natural gas to propane conversion or the reverse is not authorized.
• The CO
2
, gas flow rate, air flow rate and air/gas supply parameters are factory-preset and
may not be modified in Belgium, except for type I 2E(R)B appliances.
• Do not change the OFFSET setting of the gas valve: it is factory-preset and sealed.
Essential recommendations for the correct operation of the appliance
• Refer to the technical characteristics of this manual or to the burner documentation to
know the connection diameters.
• Bleed the gas duct and check thoroughly if all the appliance tubes, both internal and
external, are tight.
• Check that the gas type and pressure from the distribution network are compatible
with the appliance settings. Refer to the table containing all relevant data in the section
"Technical characteristics".
• Check the appliance electrical connection, the boiler room air vent system, the tightness
of flue gas outlet pipes and of the burner chamber plate.
• Control the gas pressure and consumption at appliance start up.
• Check the appliance CO
2
adjustment (refer to the adjustment procedure and the
technical data).
1
x1
2
x3
HeatMaster 201: A1004320 - 664Y7500 • A
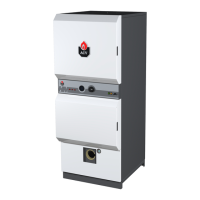
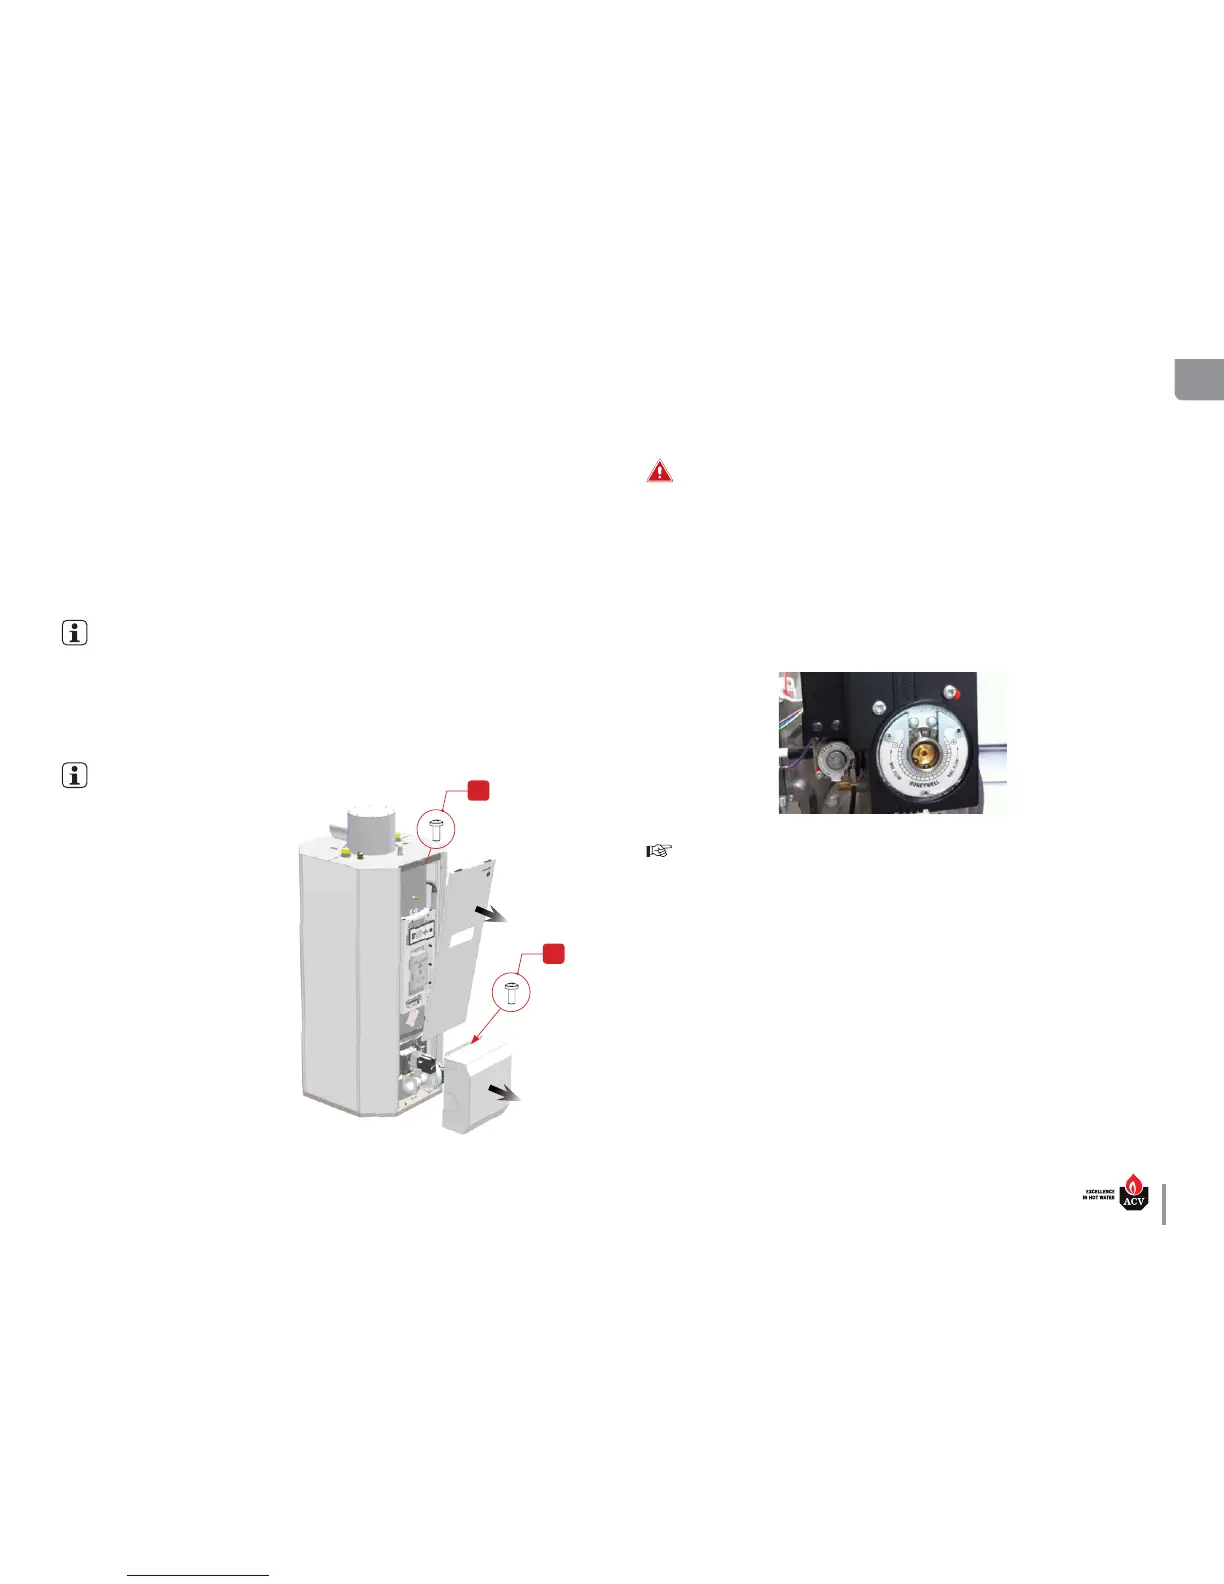
REMOVAL AND INSTALLATION OF THE FRONT PANEL AND THE BURNER
COVER
Set-up conditions
• External power supply isolated
Removal Procedures
Front panel
1. Release 1 screw (1) from the top of the panel. Retain it for reinstallation.
2. Pull the top of the panel towards you to disengage the studs located on the left and right edges.
3. Lift the panel to remove its bottom lugs from the burner cover slots.
Burner cover
To access the top screws of the burner cover, the front panel must be removed first
1. Release 3 screws (2) from the top of the cover. Retain them for cover reinstallation.
2. Pull the cover carefully away from the appliance
Installation procedures
Burner cover
The burner cover must be installed
before placing the front panel in
position.
1. Put the burner cover in position careful-
ly over the burner.
2. Install and tighten 3 screws (2) at the top
of the cover.
Front panel
1. Place the bottom of the front panel in
position and engage the lugs in their slot,
then push studs back into place.
2. Install and tighten 1 screw (1) at the top
of the panel.