5. Withdraw the solenoid plunger (Figure 10) while leaving the sole-
noid body in place. Care must be taken when removing the solenoid
plunger (Figure 11) to not lose the spring, spring retainer, or plastic
washer (if present).
6. Inspect the impactor for excessive wear (see photo examples, Figure
12.)
7. Clean the smaller diameter tip of the solenoid plunger with a 70%
isopropanol solution. Do not use any abrasive for this cleaning pro-
cedure.
8. Dampen the wooden end of a cotton-tipped applicator with a 70%
isopropanol solution, and insert it through the solenoid body into
the smaller diameter plunger hole until it reaches the chamber
cleaner. Move the applicator in and out to scrub the sides of the
hole.
35
Troubleshooting & Service
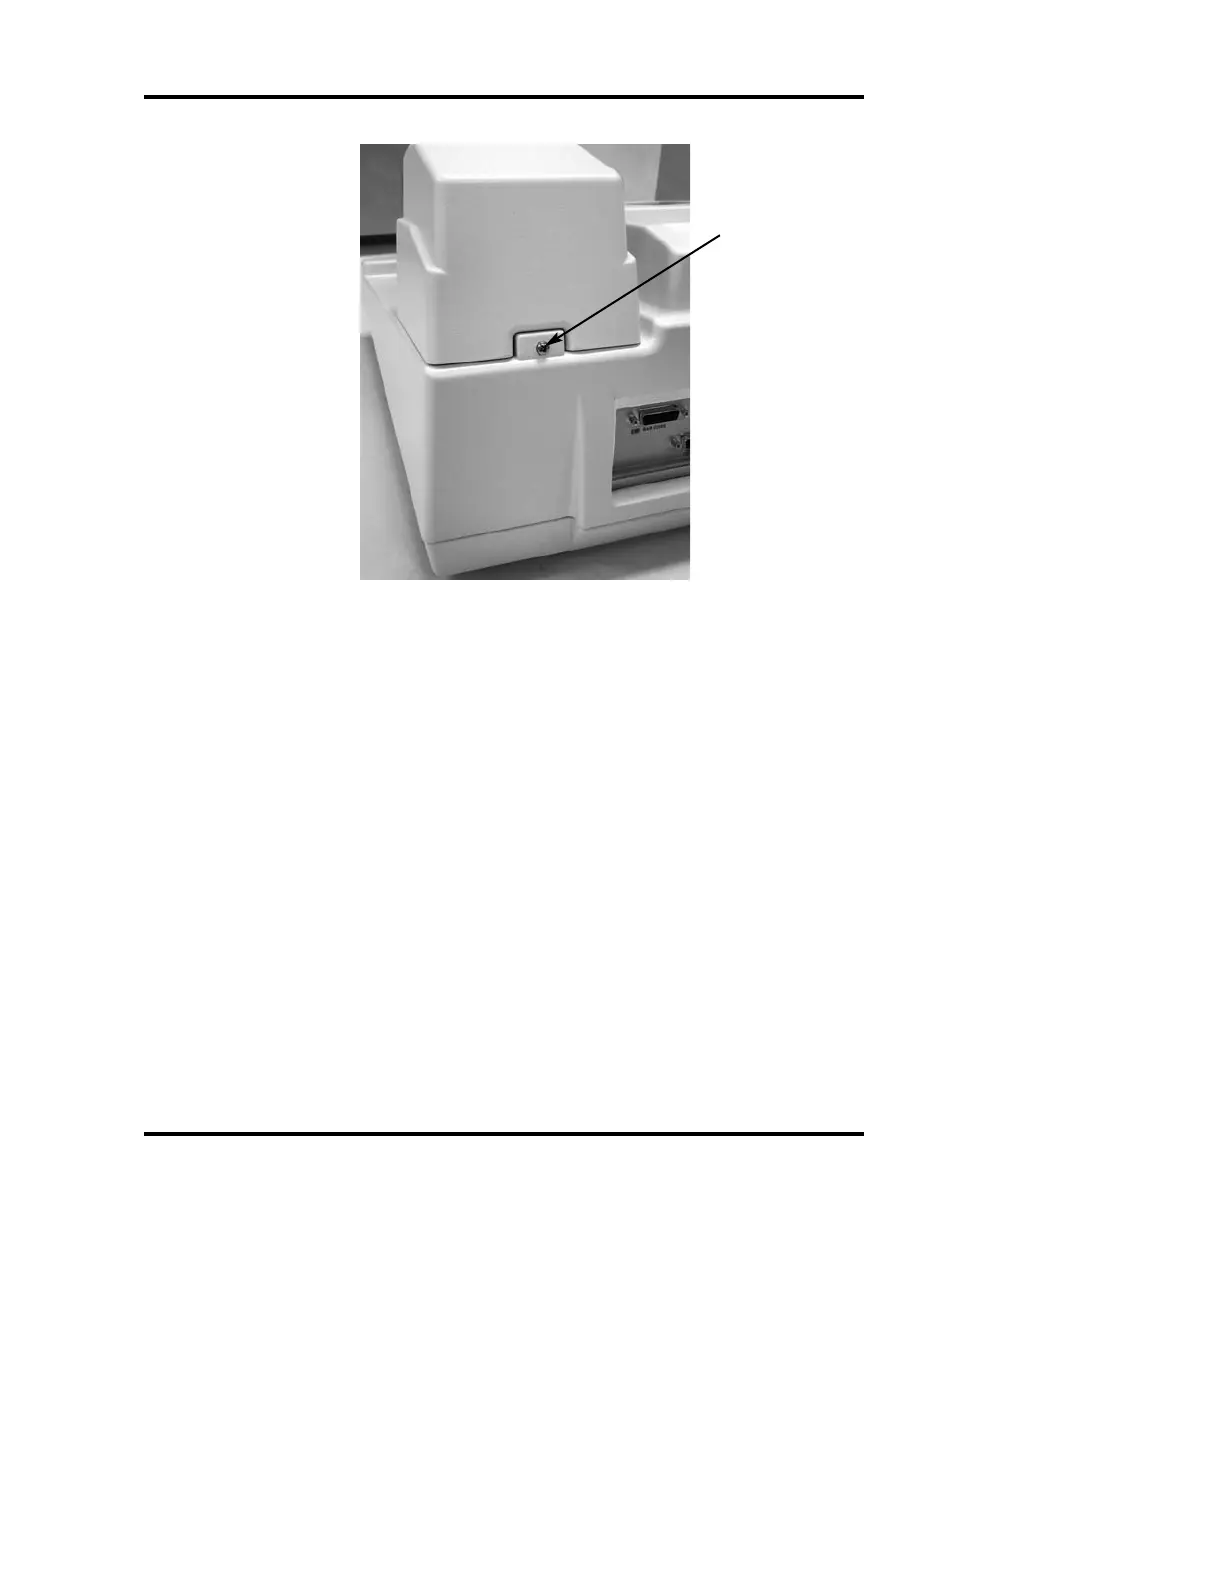
Loosen
screw
Figure 9: Solenoid Cover