4 Operating the Power Supply Remotely
52 Series N8700 User’s Guide
Connecting to the Interfaces
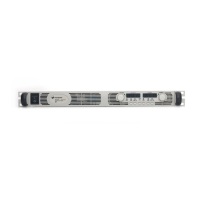
The Agilent N8700 power supplies support remote interface
communication using a choice of three interfaces: GPIB, USB, and
LAN. All three interfaces are live at power-on.
GPIB Interface
NOTE
For detailed information about GPIB interface connections, refer to the Agilent
Technologies USB/LAN/GPIB Interfaces Connectivity Guide, located on the
Automation-Ready CD-ROM that is shipped with your product.
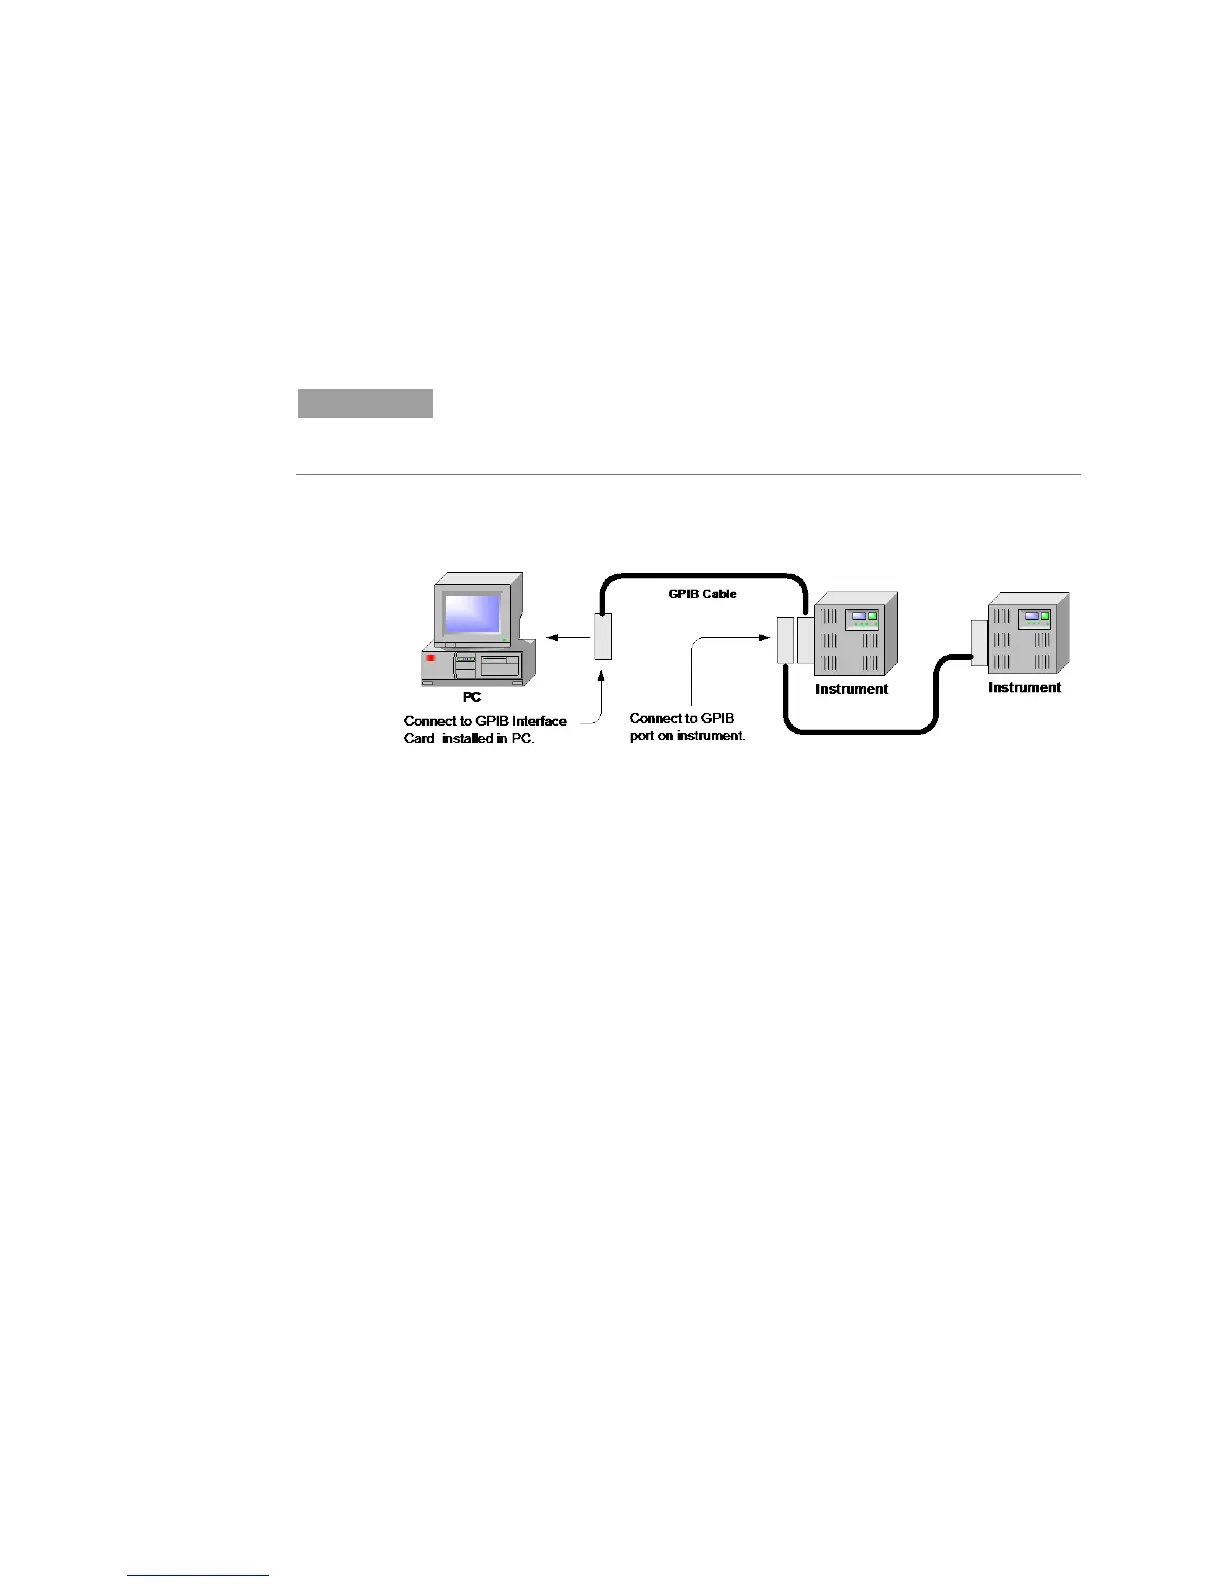
The following steps will help you quickly get started connecting your
instrument to the General Purpose Interface Bus (GPIB). The
following figure illustrates a typical GPIB interface system.
1 If you have not already done so, install the Agilent IO Libraries
Suite from the Automation-Ready CD-ROM that is shipped with
your product.
2 If you do not have a GPIB interface card installed on your
computer, turn off your computer and install the GPIB card.
3 Connect your instrument to the GPIB interface card using a GPIB
interface cable.
4 Use the Connection Expert utility of the Agilent IO Libraries
Suite to configure the installed GPIB interface card’s parameters.
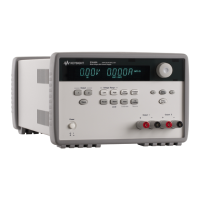
5 The power supply is shipped with its GPIB address set to 5. Use
the front panel menu if you need to change the GPIB address.
a Press and hold the OCP/488 button for about three seconds.
The DC VOLTS display will show the present GPIB address.
b To change the GPIB address, turn the voltage knob until the
desired GPIB address appears in the display. Valid GPIB
addresses are in the range of 0 to 30.
6 You can now use Interactive IO within the Connection Expert to
communicate with your instrument, or you can program your
instrument using the various programming environments.