Page 15
TRanSMiTTER anD REcEivER BinDing
The Binding function allows you to 'Bind' the transmitter and receiver pair. When new, it is necessary to
pair the transmitter and receiver to prevent interference from radio controllers operated by other users. This
operation is referred to as 'Binding'. Once the Binding process is complete, the setting is remembered even
when the transmitter and receiver are turned OFF. Therefore, this procedure usually only needs to be done
once. Under some circumstances, the receiver may not operate after turning the transmitter and receiver
ON. If this occurs, perform the Binding process again.
Before beginning the Binding process, connect your servos and battery to the receiver, using the diagram on page 11.
Make sure that the receiver is turned OFF and that the transmitter is turned ON and in the SETUP menu.
2) While holding down the Bind Button on the receiver, turn the receiver
ON. The Bind LED on the receiver will ash slowly. After approximately
2 seconds, release the Bind Button. The Bind LED on the receiver
will continue to ash slowly.
Use the tip of a pencil or a 1.5mm hex wrench to reach the Bind Button on the receiver.
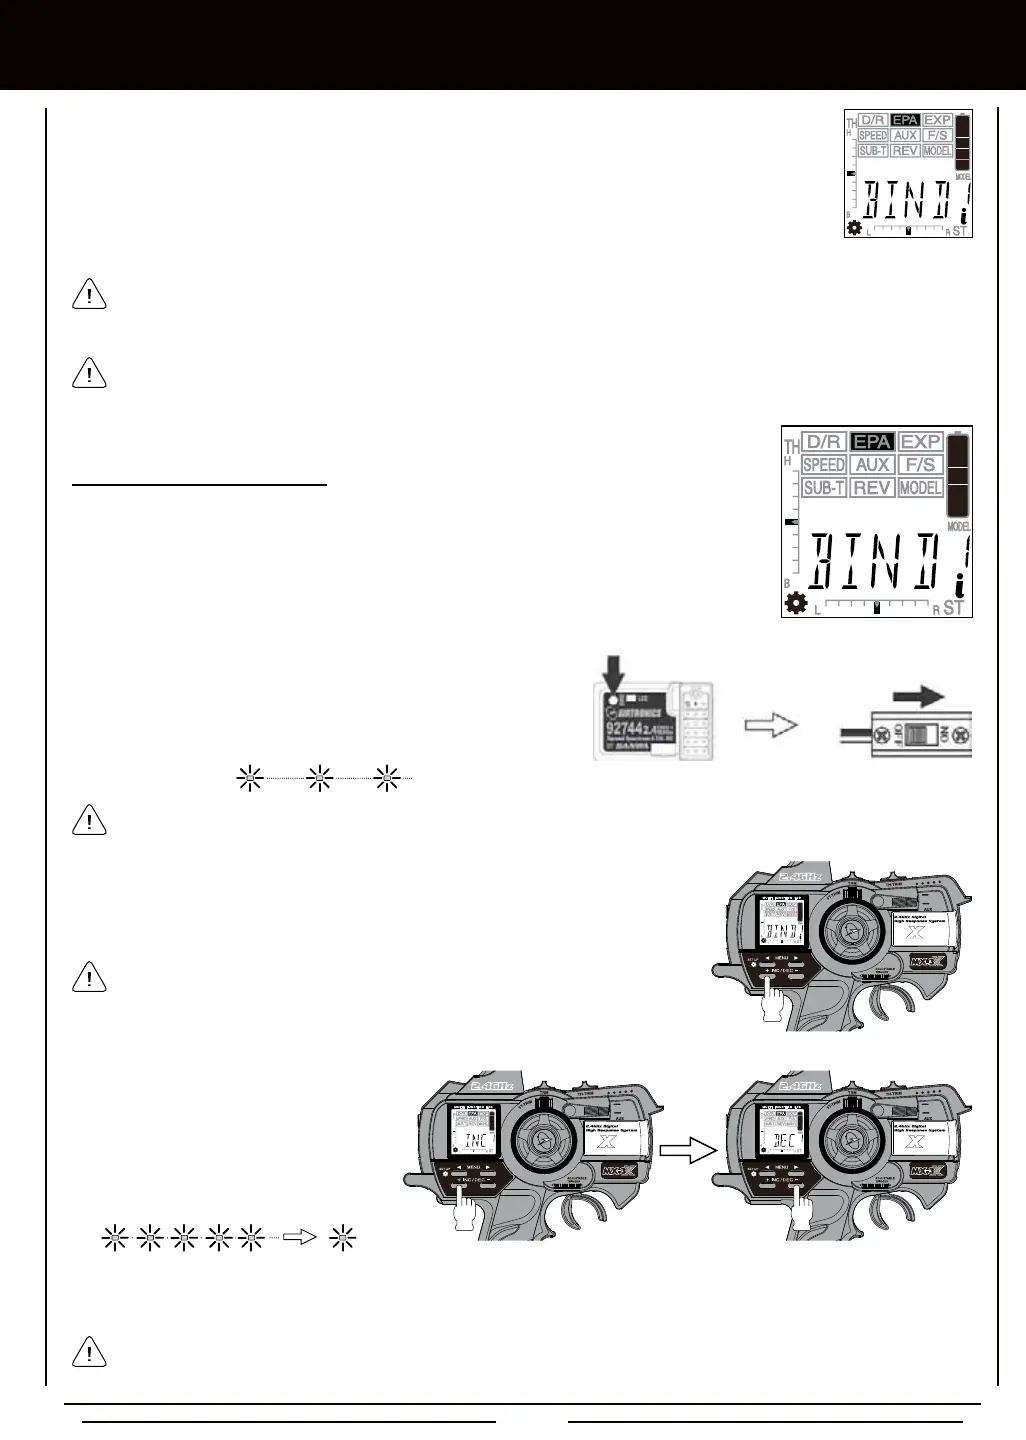
1) Enter the SETUP menu by following the procedures described on page 39.
2) Press the Right or Left MENU key to highlight the EPA menu. BIND will be displayed in the
Programming Window.
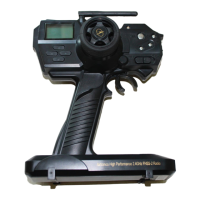
3) Press the +/INC key on the transmitter. PUSH INC will ash in the Programming
Window.
After releasing the Bind Button, you must press the +/INC key quickly (within a couple
of seconds). If you take too much time, you may need to restart the Binding process.
The MX-3X 2.4GHz FHSS-3 radio control system uses FHSS-3 technology, however, the transmitter is compatible with
both FHSS-3 and FHSS-2 Airtronics 2.4GHz receivers. To bind the transmitter to an Airtronics FHSS-2 2.4GHz receiver
(available separately), the transmitter Modulation Type must rst be changed to FH2. For more information, see page 39.
When the Binding procedure is successful, the Bind LED will stay solid blue and the Power Indicator Light will ash slowly
when both the transmitter and receiver are turned ON. If the Bind LED on the receiver is ashing rapidly, the transmitter and
receiver are not paired. In this case, turn both the transmitter and receiver OFF, then repeat the Binding procedure.
5) After verifying that the Binding process is complete (solid blue Bind LED on the receiver) and the servos operating normally,
press either the Right MENU key or the Left MENU key to return to the BIND menu.
4) Press the +/INC key a second time.
PUSH DEC will ash. Press the DEC/-
key once. BIND will be displayed in the
Programming Window, the LCD and the
Power Indicator Light will ash, then the
Bind LED on the receiver will turn solid
indicating the Binding process is complete.