Page 63 of 80
Final Inspection
Perform a final inspection of the assembled PC board:
1. Scan the back of the board to make sure that all the components are soldered.
2. Scan the front of the PCB to make sure that all the components have been
installed.
3. Double check polarized items like diodes and some of the capacitors to make sure
that their polarity is correct.
Install the Op-amps
If you installed sockets
Install the 8-pin DIP ICs. Align the half-moon feature of the IC with the notch in the PCB
silkscreen. If you need a reminder, see Figure 35. Double check the orientation before
you install the op-amps.
Designation Value Description Done
If you didn’t install sockets, then install the opamps directly into the PCB. It is doubly
important to verify that the ICs are installed with the correct orientation.
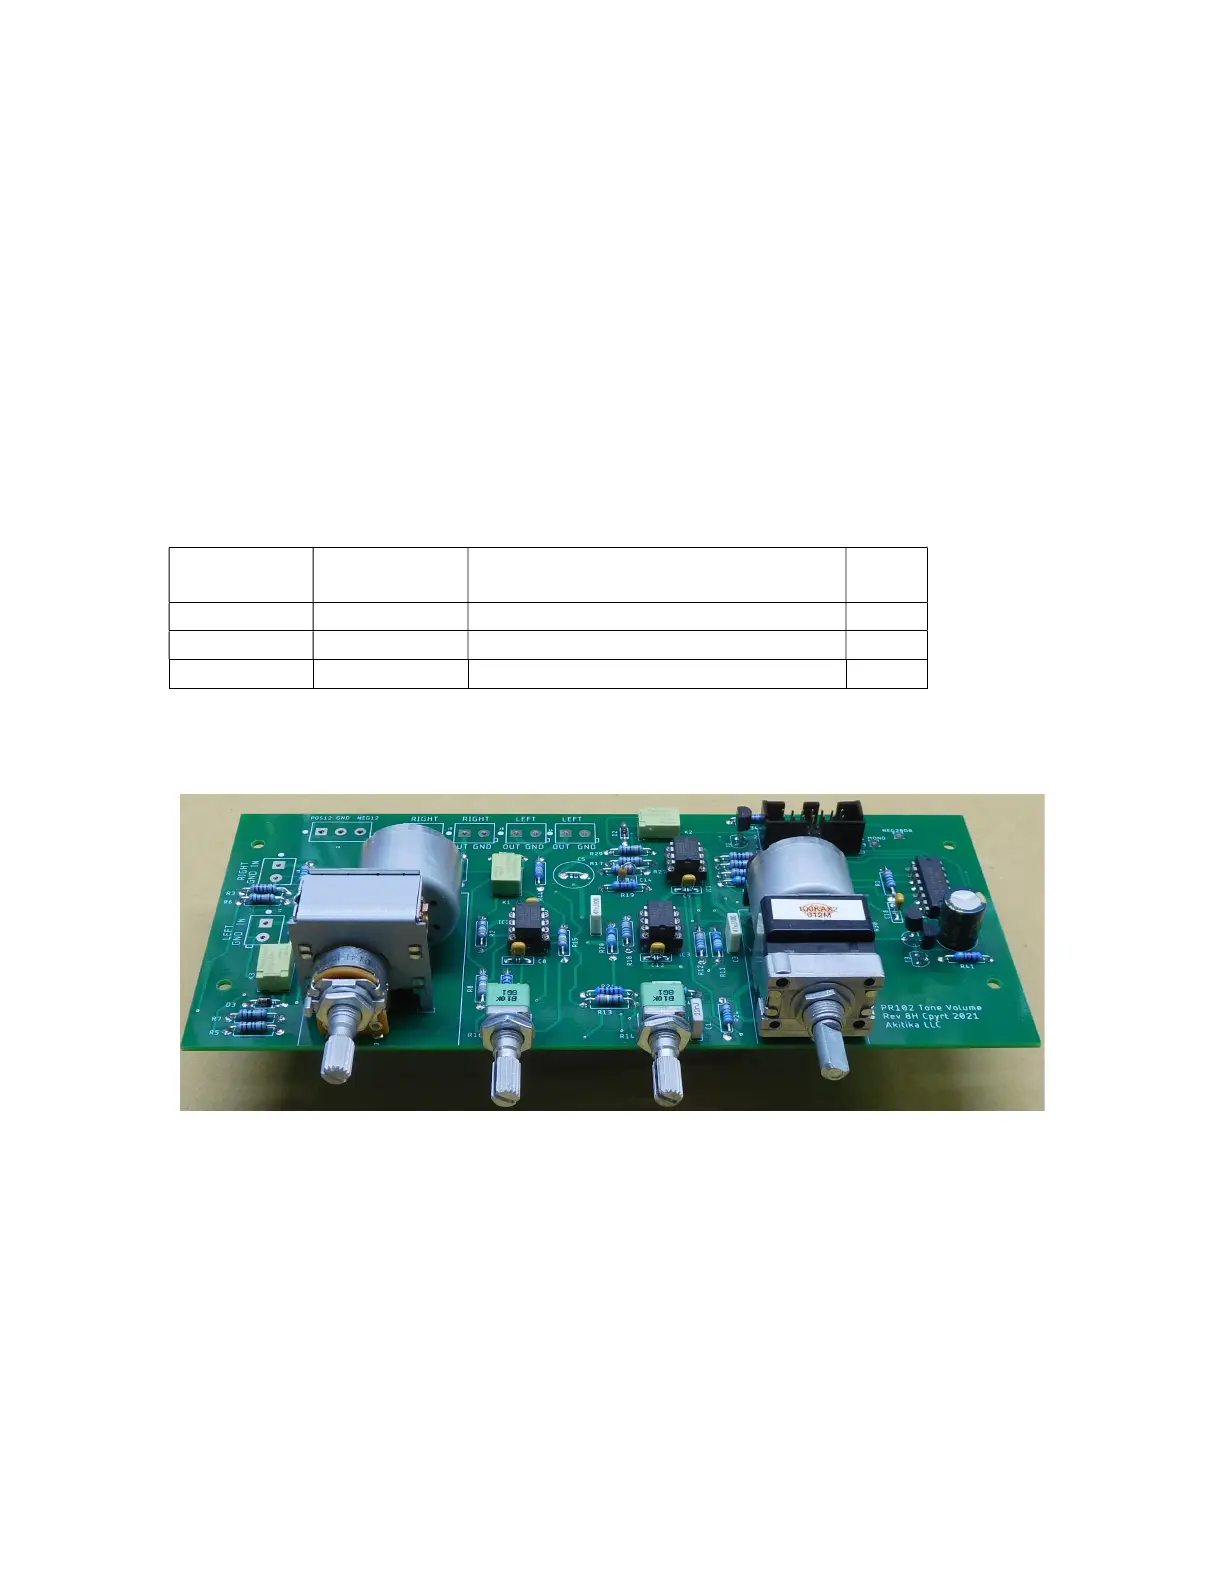
Figure 44-Assembled Tone Volume board (oblique view)