Page 69 of 80
2. Install the 6 plastite screws through the back panel of the PR-102 into the bodies
of the RCA jacks. Some pressure is required as these screws cut their own threads
into the plastic of the RCA jack body.
3. Spin the thumb-nut onto the ground screw on the back panel (near the option
slots).
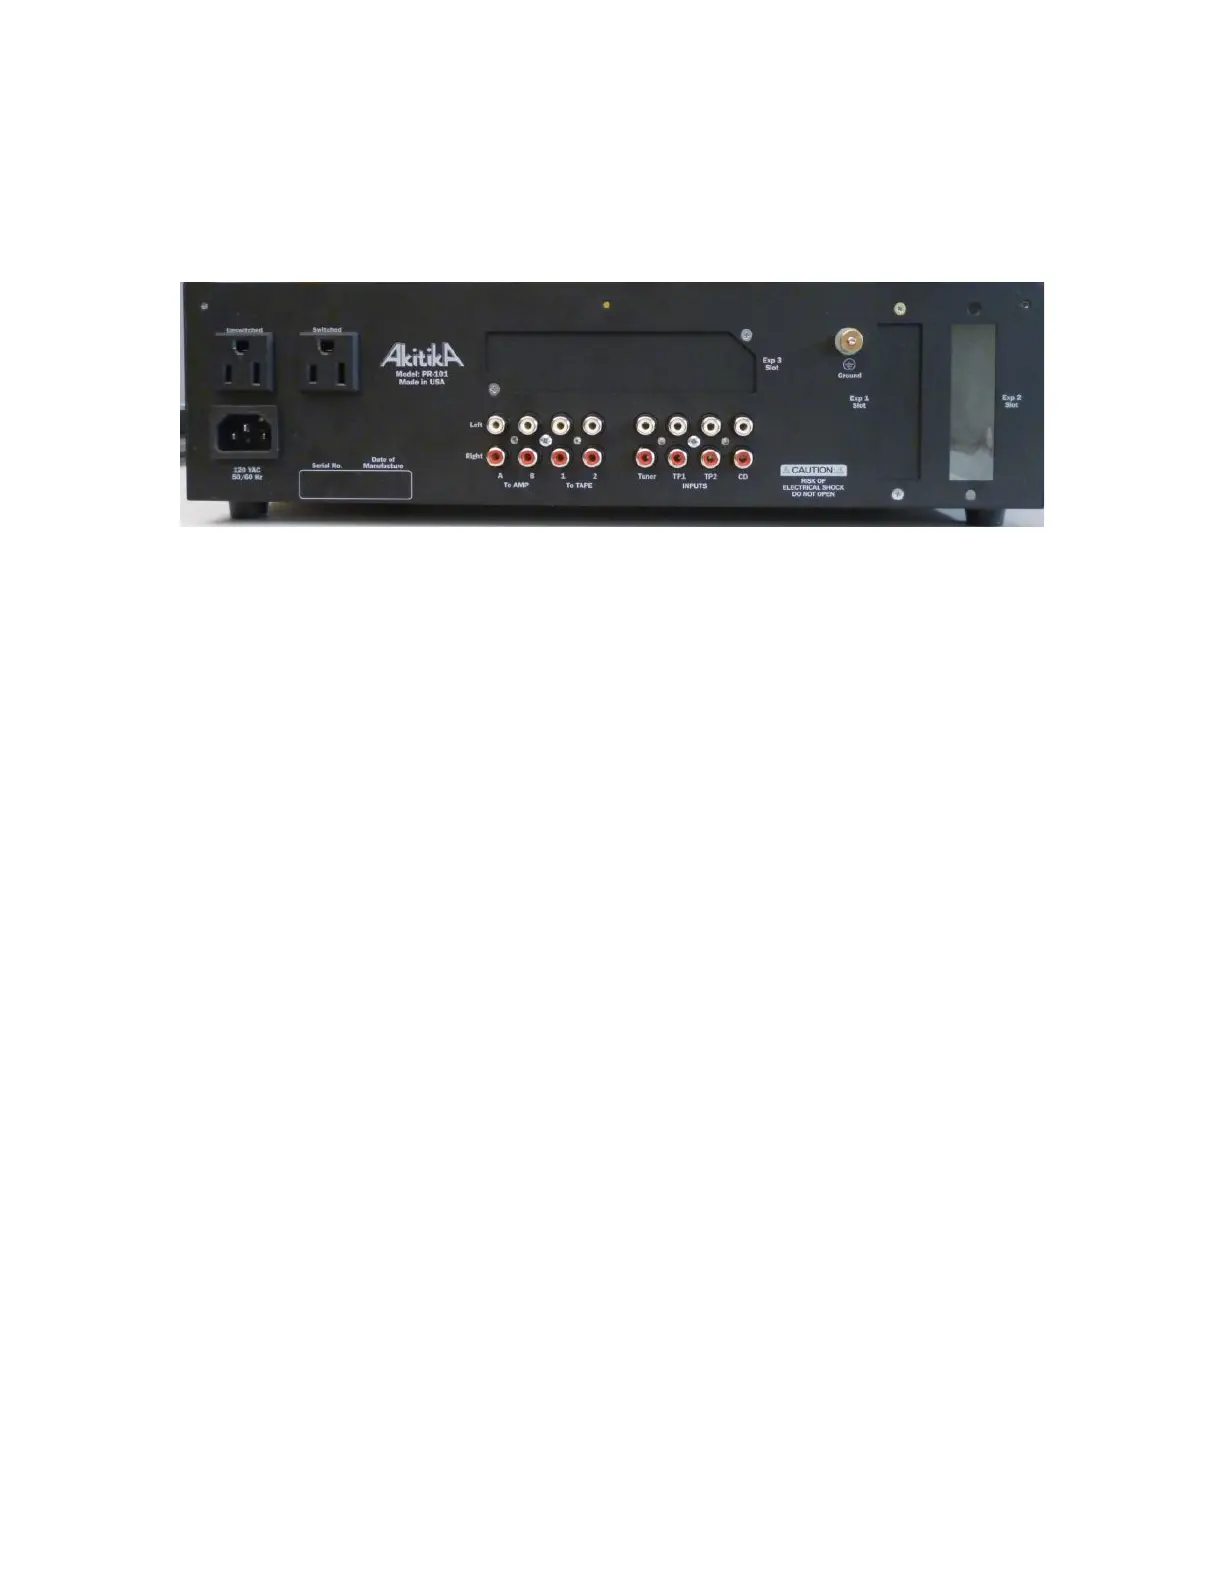
Figure 50-Two of the three cover plates have been installed
4. Find the envelope with the three cover plates.
a. Install the cover plate for Exp Slot 1 using two 4-40x3/16” black oxide
screws.
b. Install the cover plate for Exp Slot 2 using two 4-40x3/16” black oxide
screws.
c. Install the cover plate for Exp Slot 3 using two 4-40x3/16” black oxide
screws.
5. Place the top on the preamp and secure it with 11 4-40x3/16” black oxide screws.
6. Your PR-102 preamp is ready for use.
Section 10: About the Preamp Architecture
Features
The PR-102 preamp has a very flexible design. It features:
Selection amongst six inputs
Support for two tape decks
Buffers for the “to tape” outputs minimizes loading and distortion from
connections to non-powered tape decks
Tone controls with bypass switch
Mono switch can reduce noise when playing back old MONO LP records
Hush switch reduces volume by about 14 dB
Two separate mute-able outputs to drive two separate power amps
Three slots for future options (e.g. phono preamp, active crossovers, DACs...)
Switched and non-switched convenience outlets
Front panel push buttons with rotary volume, balance, bass and treble controls.
Remote control of:
o Volume
o Balance
o Tone control bypass
o Mute Amplifier A
o Mute Amplifier B

 Loading...